Several consumers claimed that they were unable to upgrade to Windows 11 or install the most recent cumulative updates for Windows 10 due to error code 0x800700b7 – 0x2000A. If you are one of these users and are looking for strategies to cope with this issue, this post is for you. So, look over the workarounds suggested in this post and see if any of them work for you.
Error 0x800700b7 – 0x2000a is yet another vexing Windows Update error that appears when customers attempt to upgrade Windows 11/10 to newer versions.
The whole error message is as follows: 0x800700b7 – 0x2000a… The installation encountered an error during the PREPARE FIRST BOOT function during the SAFE OS phase.
Recommended Post:- Can Windows Vista be Upgraded to Windows 11 – Quick Guide
What is the Source of the 0x800700b7 – 0x2000a Update Error
There is no one reason for the 0x800700b7 – 0x2000a update error. It can occur as a result of any of the following factors:
- Corrupted system files or images: The problem could be caused by corrupted system files.
- Insufficient storage capacity on the hard drive for updates: Error 0x800700b7 – 0x2000a happens when there is insufficient disc space for updates.
- A stopped Windows Update service: The Windows Update service has been stopped and must be restarted.
- Incompatible third-party antivirus software: Some third-party antivirus products can conflict with the Windows update process.
- Update component issues: Some Windows Update components may be broken or corrupted.
Applying potential solutions that will most likely address those factors can resolve the problem. This is how the 0x800700b7 – 0x2000a update error can be fixed.
Remember that there are a few others, such as the 0x800700b7 provisioning error, the 0x800700b7 IIS (Internal Server Problem) error, and 0x800700b7 (-2147024713), which are not related to the one we’re discussing.
How can you Resolve the 0x800700b7 – 0x2000a Error Message in Windows 11
Let’s go over some first checks and actions:
- Restart your computer. Perhaps the update is simply stuck, and this simple approach could be the issue.
- This frees up some disc space.
- Disable any third-party antivirus software and see if you can proceed with the upgrade.
After you’ve completed all of these steps, proceed to the remedies below to resolve the Windows Update error 0x800700b7 – 0x2000a.
Solution 1: Use the Windows Update troubleshooter to troubleshoot the error
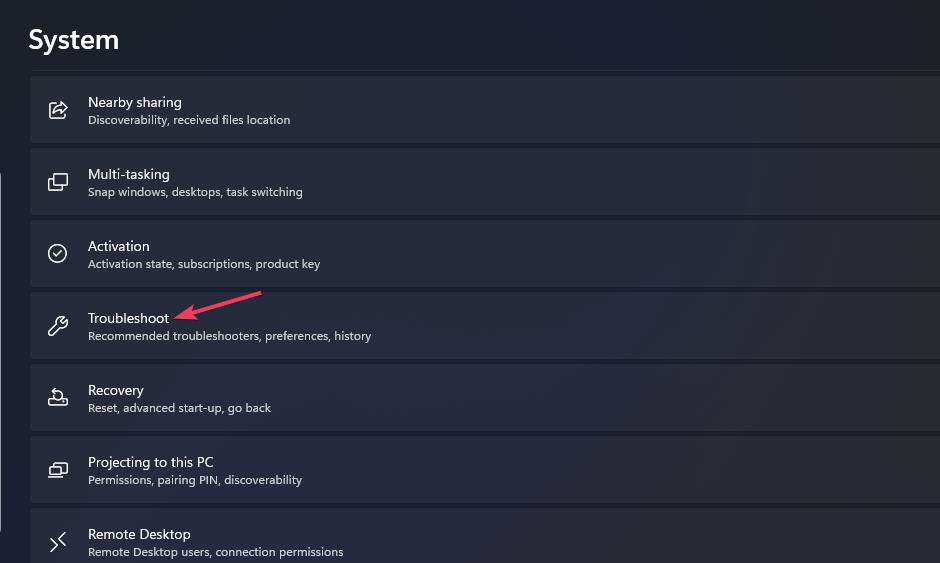
- Step 1: On the Start menu, click the pinned app to access Settings.
- Step 2: Next, choose Troubleshoot to gain access to three troubleshooting navigation options.
- Step 3: Select the Other troubleshooters option.
- Step 4: Click the Run button to launch the Windows Update troubleshooter.
Solution 2: Examine the Windows Update service configuration
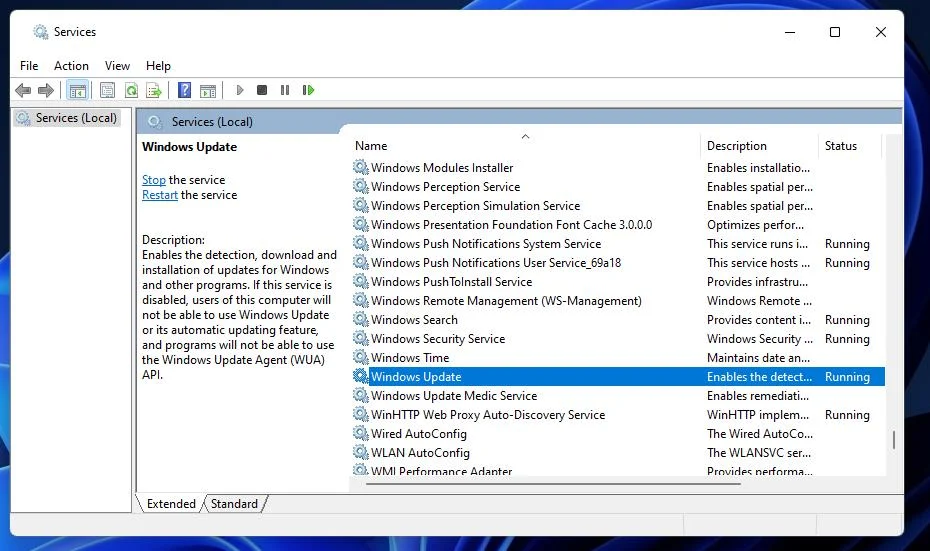
- Step 1: To launch that attachment, press the Win + R key combination to open the Run menu.
- Step 2: To view Services, enter the following command and press OK: services.msc
- Step 3: In the Services app, double-click Windows Update.
- Step 4: Select Automatic from the Startup option for Windows Update.
- Step 5: If the service is halted, press Start (from within the Windows Update Properties window).
- Step 6: To close the service, click the Apply option and then OK.
Solution 3: Perform DISM and SFC scans
- Step 1: From the taskbar, click the Search icon and type cmd into the Type here to search box.
- Step 2: Next, right-click the Command Prompt software in the search results and choose Run as administrator.
- Step 3: Type this image repair command and press Enter. DISM.exe /Online /Cleanup-image /Restorehealth
- Step 4: Run an SFC scan using the following command: sfc/scannow
- Step 5: Wait for the SFC scanning to finish with a 100% completion rate. Your system should be fixed after the DISM and SFC scans.
Solution 4: Remove any third-party antivirus software
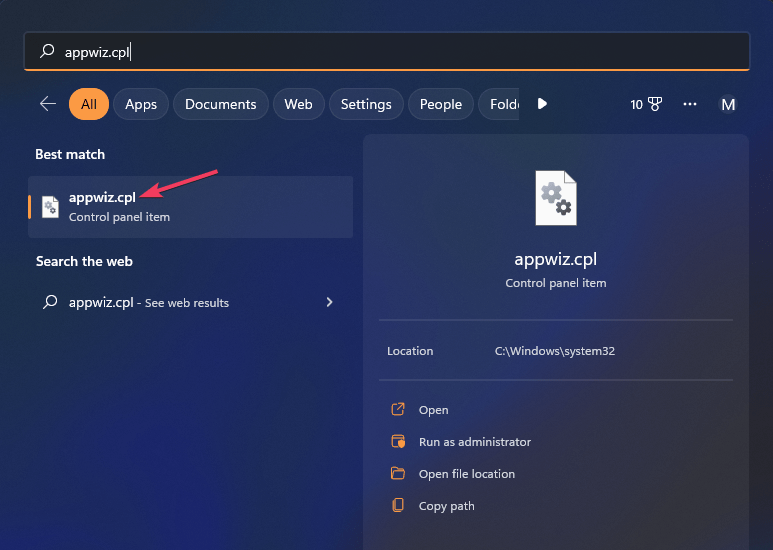
- Step 1: Open the search tool and enter appwiz.cpl.
- Step 2: Navigate to appwiz.cpl to access the Programs and Features applet.
- Step 3: Choose your antivirus software and click the Uninstall button.
- Step 4: Then, in any confirmation box, click Yes.
- Step 5: After deleting the antivirus software, try upgrading to Windows.
If you don’t want to remove a third-party antivirus program, you can disable it. Right-click an antivirus tool’s system tray icon and select the option to disable its shield.
Solution 5: Reset the updated components
By renewing them, you can refresh the Windows update components. Our guide on how to reset update components contains instructions on how to do so with a script.
The technique is far less invasive than a full system reset, and it will repair Windows Update.
Solution 6: Run a clean boot
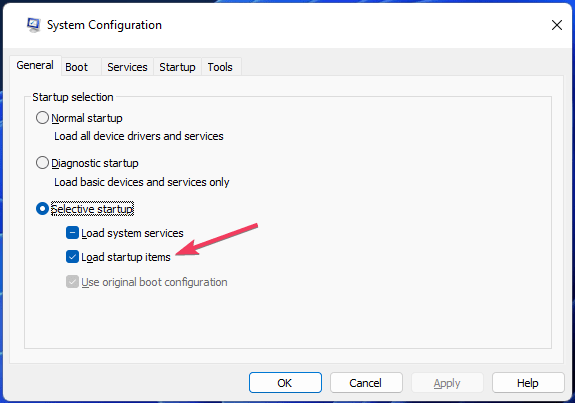
- Step 1: To open the Run terminal, press the Windows key + R, then type msconfig.
- Step 2: Uncheck (disable) the Load startup items checkbox on the General tab.
- Step 3: Go to the Services tab and select the Hide all Microsoft services option.
- Step 4: Click Disable all to deactivate all unnecessary third-party services.
- Step 5: Save the boot settings by using the Apply and OK keys in MSConfig.
- Step 6: When prompted, select Restart to clean the boot.
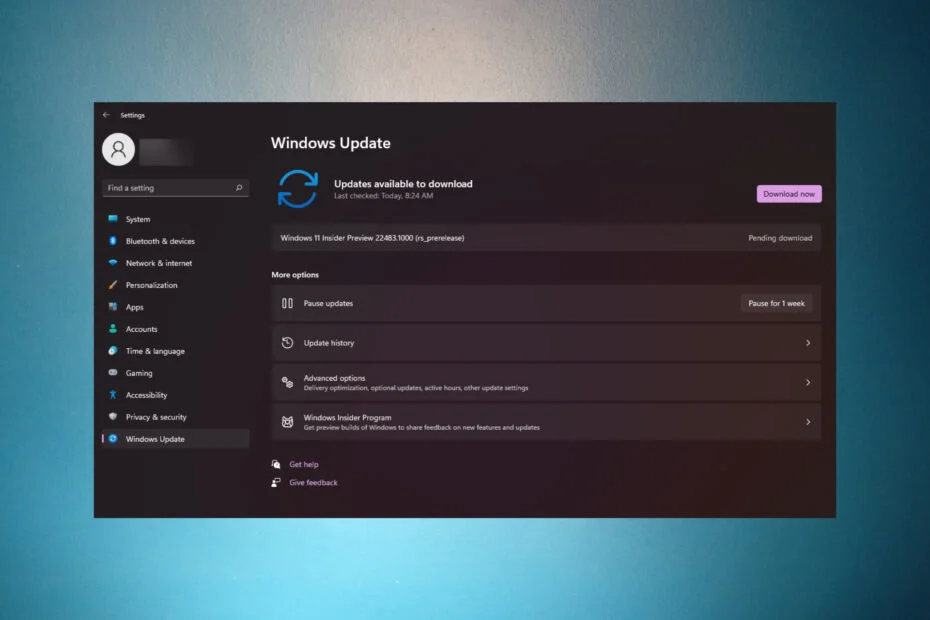
- Step 7: After rebooting, try updating Windows from the Settings app.
Solution 7: Use an ISO image to upgrade to Windows 11 and 10
When even booting into Safe Mode does not work, it means that your system has reached a point where it cannot be repaired. At most, you can create an ISO image of the operating system you wish to install, make it bootable, and then install Windows 11 from scratch.
Conclusion
Fixing Windows update issues isn’t always easy. The probable 0x800700b7 – 0x2000a solutions listed above may work for some users, but not all.
If the error 0x800700b7 – 0x2000a persists, consider reinstalling Windows or upgrading the platform with an ISO.


