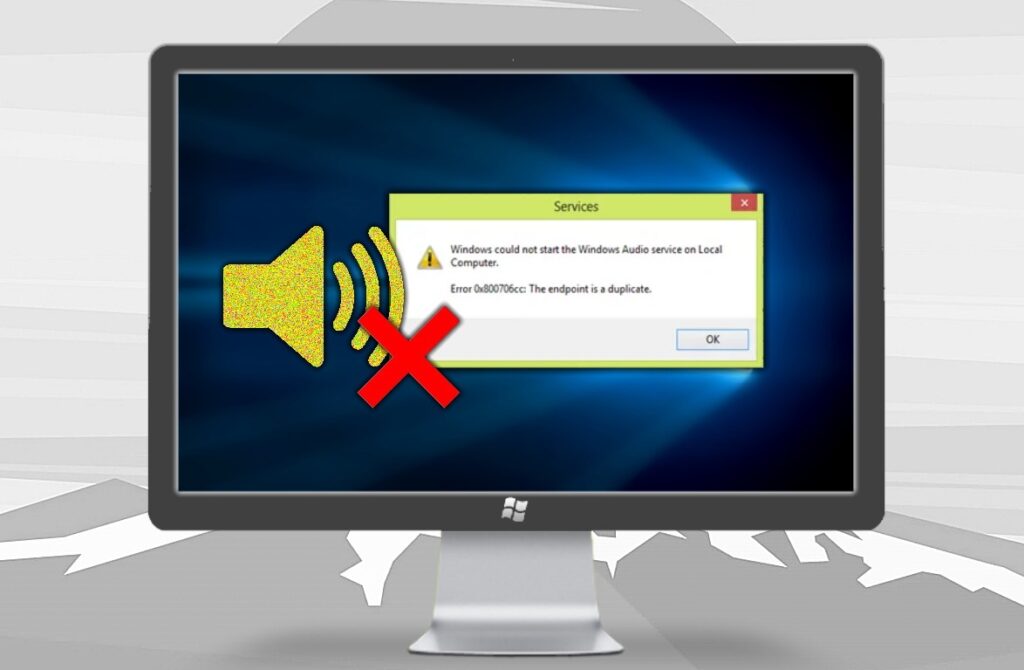
When you run the Windows 10 sound troubleshooter, do you get the “Audio services not responding” error? You’ll discover what it implies and how to manually fix it here.
Frequent issues occur in Windows 10, some of which are easily resolved using one of the built-in troubleshooters. Nevertheless, these troubleshooters cannot always resolve difficulties on their own and must instead describe the problem to assist you in locating assistance. One of these problems, “Audio services not responding,” is generated by the Playing sound troubleshooter.
If you’ve encountered this problem, you may be perplexed as to how to resolve it on your own. Working solutions to “Audio services not responding” in Windows 10 are provided below.
Recommended Post:- Fixed: WhatsApp Microphone is not Working on Windows 11
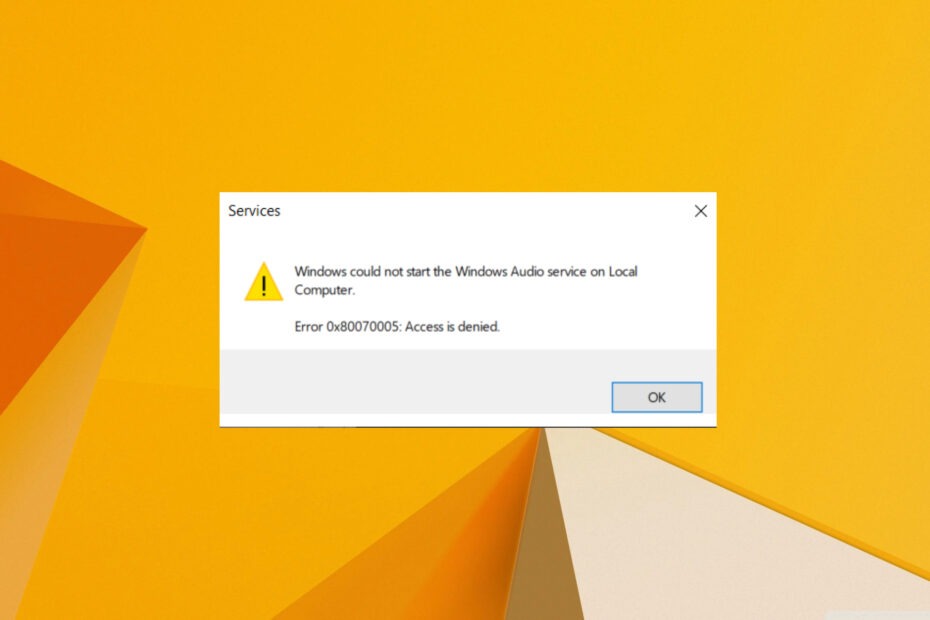
Why are you Getting Windows Could not Start the Windows Audio Service on Local Computer error?
Here are a few common causes of Windows Audio service on Local Computer Error 0x80070005. Access is denied issue:
- Windows Audio service is disabled: You should determine whether or not the Windows Audio service is disabled. This problem will occur if it is disabled.
- Corrupt system files: This problem occurs when audio-related system files are missing or corrupt.
- Old and Outdated Drivers: Drivers are very crucial, and if any file is missing or the drive is obsolete, you may encounter a variety of problems.
What should you do if Windows is unable to launch the Windows Audio service on your local computer?
You can examine and apply the preliminary fixes listed below before proceeding with the advanced solutions.
- Restart the computer to see whether the sound problem has been resolved. Here’s what to do if the computer refuses to restart.
- Ascertain that the audio driver for your device is installed on your System. If it is not present, this error may occur.
- Check the volume levels and make sure your speakers aren’t muted.
If you’ve tried the preceding fixes and are still unable to solve the problem, proceed to the advanced troubleshooting techniques below.
Solution 1: Restart the Audio Services service
The first step should be to restart the Audio services. Because this service controls your computer’s sound, restarting it may help.
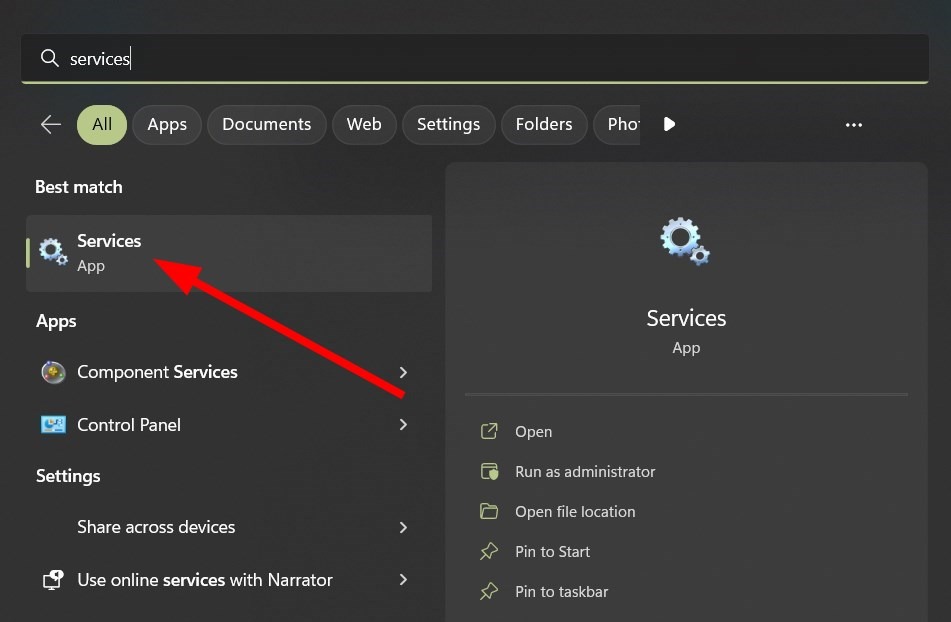
- Step 1: Press the Windows + R buttons on your keyboard and this will launch the Run utility.
- Step 2: Type services.msc into the address bar and press the OK button. This will launch the Services window, which may take a few moments to load completely.
- Step 3: Select Properties from the Windows Audio service’s context menu.
- Step 4: Now, choose Automatic as the Startup method. If the service is not currently running then simply, click on the Start button. Next, click OK and then Apply. You should be back on the list of available services.
- Step 5: Repeat the process with the Windows Audio Endpoint Builder service. After switching both services to automatic startup, restart your computer.
Solution 2: Launch the Required Audio Components
To resolve the “Audio services not responding” problem, some other system audio services may need to be launched. It’s possible that you, someone else, or an application recently disabled these services, resulting in problems on your device.
- Step 1: On your keyboard, press the Windows + R keys and this will bring up the Run utility on the screen.
- Step 2: Enter services.msc and press the OK button.
- Step 3: Right-click on each of the services listed below, then select the Start option:
DCOM Server Process Launcher
Remote Procedure Call (RPC)
RPC Endpoint Mapper - Step 4: Once all three services are up and running, right-click on them again and select Properties.
- Step 5: Restart your computer to see if your audio problems persist.
Solution 3: Use Commands to Add Local and Network Services to the PC
There are various commands you can type into the Command Prompt to potentially resolve the issue. You’ll be adding network service and local service to the local Administrator group with these commands.
It should be noted that this method requires an account with administrative privileges.
- Step 1: Click the magnifying glass icon in your taskbar to open the search bar. You can also use the Windows + S keyboard shortcut to bring it up.
- Step 2: Launch Command Prompt. When it appears in the results, right-click it and click on Run as Administrator.
- Step 3: When the User Account Control window appears, click Yes to allow the app to launch with administrative privileges.
- Step 4: Once the Command Prompt window is open, type and press Enter to execute the following command: network service /add net local group administrators.
- Step 5: After that, run the following command: local service /add net local group administrators.
We recommend restarting your device and checking to see if the audio problems persist after entering these commands. Don’t worry, there are still numerous things you may try if you’re still getting the “Audio services not responding” issue.
Solution 4: Download and install the default sound drivers.
Customers reported that merely installing the default sound drivers fixed the “Audio services not responding” problem.
- Step 1: To open the Start menu, click on the Windows icon in the bottom left corner of your screen. Choose Settings or use the Windows + I keyboard shortcut.
- Step 2: From the right-side menu, select Advanced system options from the System tile.
- Step 3: Go to the top-level Hardware tab, then click the Device Installation Settings icon.
- Step 4: A new window will be displayed. Choose the option that says “No (your device may not perform as expected)” here. After that, click the Save changes button.
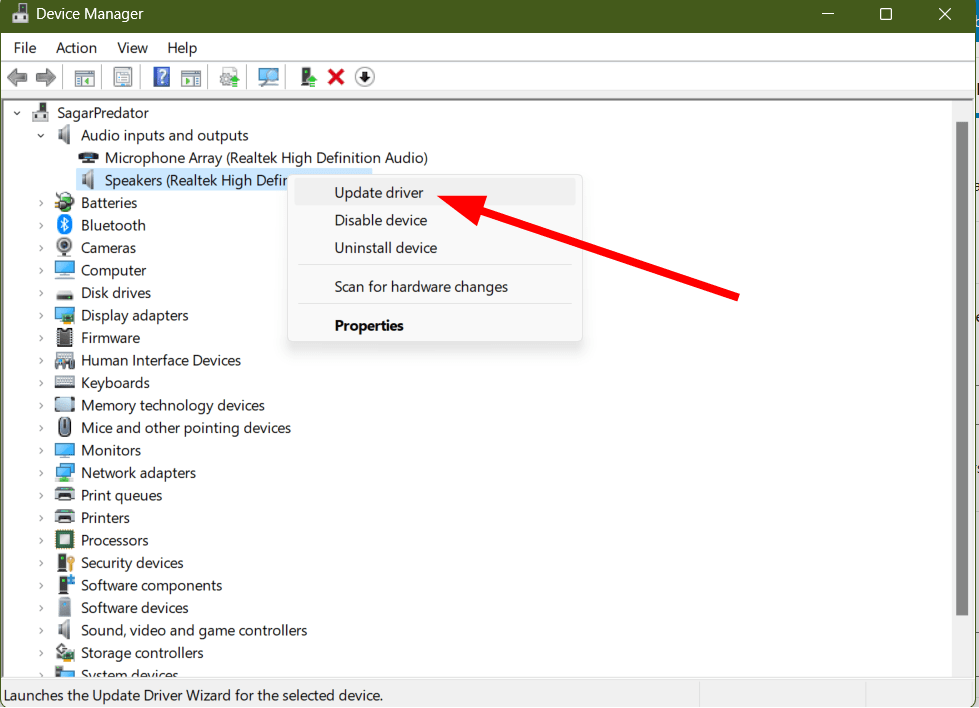
- Step 5: Next, you must uninstall your current audio driver (s). Hit the Windows + X keys on your keyboard simultaneously, then select Device Manager.
- Step 6: Click the arrow icon in front of the Sound, video, and game controllers section to expand it. This is where you’ll find all of your audio drivers. Choose Remove the device from the context menu when you right-click on your audio driver.
- Step 7: Choose the Remove the driver software for this device option and then click Uninstall. This will delete the driver entirely.
- Step 8: Once the device and driver have been uninstalled, click the Scan for hardware changes button. The default sound drivers will get installed.
We recommend unplugging any sound devices and restarting your computer. After reconnecting the devices, check to see if your audio problems have been resolved.
Solution 5: Make use of a Restore Point
You’ll be able to restore your system to a previous state if you or your system generated a restore point before the audio difficulties appeared. This may resolve the “Audio services are not responding” issue.
- Step 1: Click the magnifying glass icon in your taskbar to open the search bar. You can also use the Windows + S keyboard shortcut to bring it up.
- Step 2: In the search results, type System Restore and then click on Recovery. This should be at the top of the list in the Best match category.
- Step 3: Under the Advanced recovery tools area, click the Open System Restore link.
- Step 4: Follow the on-screen directions to go back in time. You can choose your restoration point or utilize the recommended one. Check to see which files and programs will be affected if you restore your system.
- Step 5: Once you’ve selected the options you want, click the Complete button and wait for Windows 10 to restore your machine.
Check to see if you’re still having audio problems when the restoration process is finished. Don’t notice any progress? It might be time to consider reinstalling Windows 10.
Conclusion
We hope this guide has assisted you in resolving the ‘Audio Services Not Responding Problem in Windows 10’ issue. If you require additional assistance, the Microsoft Help Center contains hundreds of instructions.


