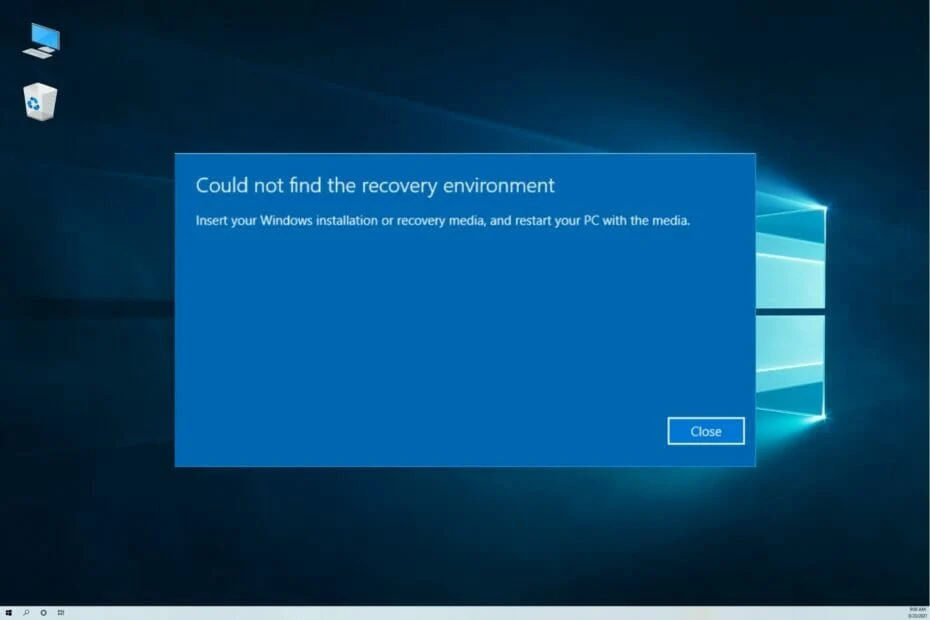
When using a Windows PC, you may come across an error notice that states ‘Insert your Windows installation or recovery DVD’. When this happens, the natural impulse is to look for a Windows installation DVD. Unfortunately, DVDs are becoming useless as the operating system is now preinstalled on most computers, particularly laptop PCs. If something goes wrong with the operating system, Windows is either updated, upgraded, or reset using fresh files that are either downloaded automatically or received from a local backup throughout the process.
That being said, the parts that follow describe how to resolve the aforementioned issue, as well as what other options you have for recovering your essential files if none of the solutions works and your Windows PC becomes unbootable.
Recommended Post:- How to fix this Computer is Configured to Require a Password
Overview
The first thing you should consider is what is causing the problem. Among the possible explanations are:
- System files that are faulty or Corrupt: When you use Windows and constantly install and uninstall various apps on the operating system, the system files may become corrupted over time, especially if any programme includes harmful scripts or viruses.
- Disk Clusters That Aren’t Consistent: This is particularly common when using a hard disc drive. If you turn off your Windows computer abruptly because of a power outage or a broken outlet, the HDD may create inconsistent or poor clusters. As a result, Windows is unable to access the bootable files and displays an error message indicating that the operating system must be repaired.
- Drivers for incompatible Devices: If you recently upgraded Windows and the device drivers become obsolete, resulting in startup failure, you may encounter the above error message, in which the OS requests that you use recovery or installation media to get the PC back up and running.
Note: It is critical to recognize that reinstalling Windows from scratch is not the first answer, as many local suppliers may propose, nor is it the only solution to resolve the issue. In truth, Windows reinstallation should only be performed as a last resort when all other techniques of repairing the operating system have failed.
Why is the warning “Windows installation or recovery media and restart your PC” displayed
The two most common causes of the insert your Windows installation or recovery disc to continue issue are as follows:
- Corrupt Files in the System: If you insert your Windows installation disc and restart your computer, the system files required for the reset process are most likely corrupted or damaged. The fix is to restore and repair these files.
- Malware presence: Malware activity on your computer is another source of this issue. It has the ability to modify system files or generate false alarms. You must run a thorough virus check using one of the finest antiviruses for Windows OS.
Solutions to Fix ‘Insert your Windows installation or recovery media’ Error
There could be several solutions depending on why the problem arose in the first place. Some of the simplest and most useful ones are listed below:
Solution 1: Start the SFC (System File Checker) Command
The SFC function acts as a “master key” for practically all Windows and system file issues that your PC may encounter. When you run SFC, it analyses all of your mission-critical files, detecting and correcting any flaws or inconsistencies. The SFC command is built into the operating system and is incredibly simple to use. The procedure is as follows:
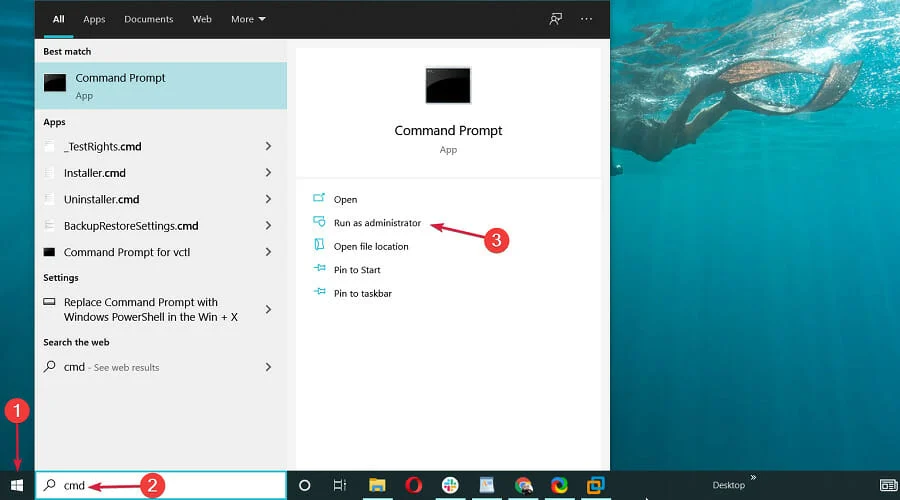
- Step 1: Launch Command Prompt as Administrator.
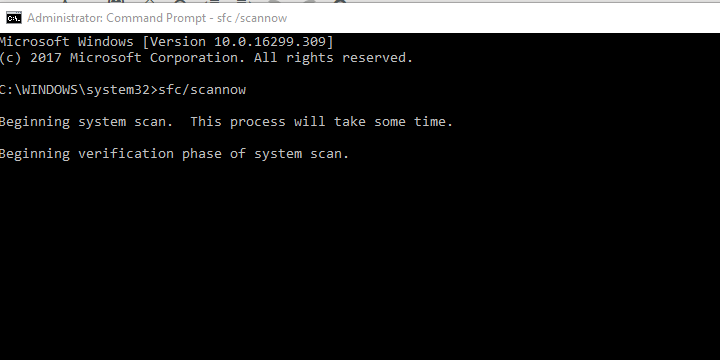
- Step 2: Launch the System File Checker utility.
- To run the command, type SFC /SCANNOW in the Command window and press Enter. Wait while the System File Checker tool scans and repairs your system files.
- Step 3: Reboot Windows ( Though it is an optional step we highly recommend users do it.)
Although Windows 10 is intelligent and capable of absorbing all changes made to system files and other critical configurations without rebooting, it is strongly advised to restart the PC to allow all changes to take effect.
Solution 2: Run the Deployment Image Servicing and Management (DISM) Tool.
The DISM tool is nearly identical to SFC, except it has a different set of commands. When you start DISM, it looks for inconsistent or corrupt files and performs any necessary steps, such as repairing or replacing them with new ones. The following is how to use DISM:
- Step 1: Launch the Command Prompt. To open the Command Prompt window with administrator privileges, follow the steps outlined earlier.
- Step 2: Execute the DISM Utility.
- Step 3: Enter the command DISM /online /Cleanup-Image /ScanHealth. Wait for the command to run. After that, type DISM /Online /Cleanup-Image /restore health and hit Enter. Wait for the command to complete successfully.
- Step 4: Reboot Windows.
Although this step is optional, as mentioned in the last section, you should restart Windows to ensure that all of the changes take effect properly.
Note: Please keep in mind that the execution procedure may take some time, depending on the processor, RAM, and other hardware settings of your PC.
Solution 3: Restore Windows to Factory Settings
If the first two options fail, you can restore Windows to its factory settings, with or without losing your personal files. When you reset Windows, all custom preferences are reset to their default settings, and all third-party software is uninstalled from the computer, making the operating system appear new and freshly installed. Follow the instructions below to discover how to reset Windows 10.
Warning: Although Microsoft promotes this procedure as a permanent solution to all operating-system difficulties, several users have noted that Windows does not run as smoothly as promised. As a result, you should use this solution with caution and only when absolutely required.
Step 1: Enter Advanced Recovery Mode
Turn on your computer, and when Windows displays, press the reset button to restart it. Repeat this procedure two more times, or until you receive a notification indicating that Windows is prepared for automatic repair. If the problem is resolved at this point, Windows will boot normally. If it does not, and you see a screen indicating that your computer did not start successfully, proceed to the following step.
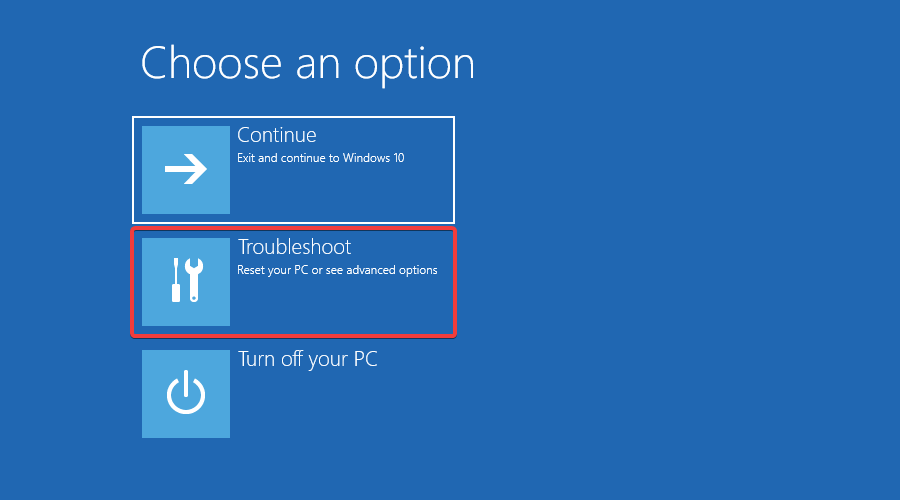
Step 2: Navigate to the Troubleshooting Screen
On the Automatic repair screen, click Advanced options, and then, when the Choose an option window appears, click Troubleshoot.
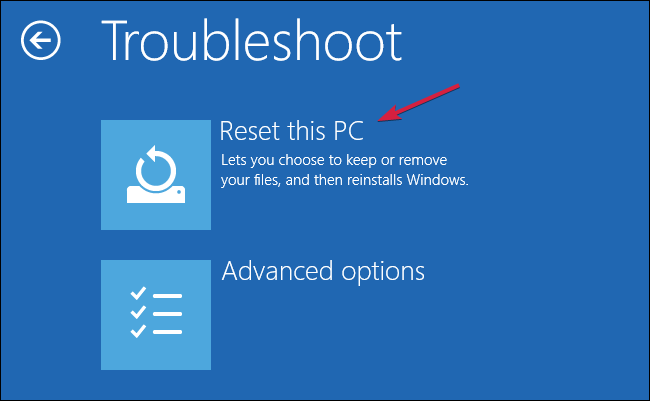
Step 3: Reinstall Windows 10
On the Troubleshoot screen, click Reset this PC, and then click Keep my files or Remove everything to instruct Windows whether to save your personal data or remove all of your files throughout the reset procedure.
On the next screen, choose Cloud download or Local install to either download new files from Microsoft’s official website while reinstalling Windows or use those saved locally (you may end up with old data after reinstallation).
From this point forward, follow the on-screen directions to reset Windows 10 to factory defaults in order to resolve the issue and remove the error message.
Tips to Avoid the Problem
Although the methods listed above can assist you in troubleshooting the issue, the following suggestions can help you avoid having the problem in the first place:
Always properly shut down or restart Windows
Make sure you shut down or restart Windows properly, i.e., by selecting Start > Power > Shut down or Start > Power > Restart. This not only allows Windows to preserve all system files before powering off, removing the possibility of them becoming corrupted, but it also prevents the hard disc drive from developing any faulty clusters and/or bad sectors in the long run.
Maintain the Health of Windows with the Most Recent Updates
Check that your Windows 10 installation has the most recent updates. Manually, go to Start > Settings > Update & Security > Windows Update, and then click Check for updates from the right pane. This prevents the operating system from crashing at random and causing problems.
Update Device Drivers Frequently
Check for and install the most recent device drivers on a regular basis. Although Windows does this automatically, you can do it manually by right-clicking Start, selecting Device Manager, expanding the category tree of the device whose driver you want to update, right-clicking the device, selecting Update driver from the context menu, and following the on-screen instructions.
Run Disk Checker Often
Another built-in programme in Windows is Disk Checker, which allows you to automatically check and repair HDD/SSD errors. You can use this tool by opening the Command Prompt window with administrative privileges as previously described, and then typing the following command: CHKDSK C: /R
Conclusion
When your Windows files get corrupted, or the physical disc develops certain faulty clusters or sectors that prohibit the operating system from accessing the system files, you may notice the error message ‘Insert your Windows installation or recovery disc’. You can use any of the options given above to solve the problem. If Windows still won’t boot, you can use Wondershare Recoverit to recover crucial data files to a separate computer.


