When it comes to having an operating system at home, Windows 10 is virtually a full bundle because it includes almost every potential built-in tool.
For example, it includes its lines of defense in the form of Windows Defender, a firewall, and an antivirus tool.

It is, however, nothing more than a piece of software that is prone to flaws and difficulties.
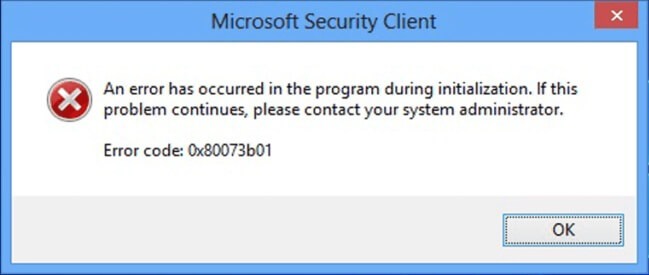
One such example is Windows Defender error 0x80073b01, which many users have experienced causing significant problems.
Fortunately, this antivirus issue is rather frequent, and there are various remedies available to help you get rid of it. All you have to do now is keep reading the step-by-step guide outlined below.
Recommended Post:- Fixed: Illustrator can’t finish Previewing in Windows 11
Windows Defender Won’t Launch on Windows 11/10/8/7
Windows Defender (also known as Windows Defender Security Center in Windows 10 1703 or later) is an antivirus application that is entirely integrated into Windows. It can defend your computer in real time from numerous dangers such as spyware, malware, and viruses. This application will stop potential dangers after scanning them.
However, several users have reported that when they click on the Turn on option, their Windows Defender cannot be switched on for malware defense in Windows 11/10/8/7.
In addition to the scenario where Windows Defender may be turned off via group policy, other users reported that Windows Defender crashes and cannot be accessed, or that Windows Defender cannot be opened after removing Avast, Bitdefender, McAfee, or AVG.
Simply put, this problem could be caused by the installation of third-party antivirus software, a corrupted registry, software conflicts, and other factors. It is fairly popular among Windows 7, Windows 8, Windows 10, and Windows 11 users.
How can You resolve Windows Defender problem code 0x80073b01?
So, what should you do if Windows Defender isn’t operating properly? How can I effectively activate Windows Defender on Windows 8/10/7? Take your time! Get the whole solutions from the following section to assist you.
Eliminate any third-party antivirus software and its remnants
Because Windows Defender is the default antivirus utility in Windows 10, any interaction between it and any other similar third-party tool is unavoidable.
Unfortunately, even if you have already uninstalled your previous third-party antivirus, this error can appear. So make sure you do it all the way through.
Thus, simply access the “Applications” menu from Settings and remove it like you would any other software by following the instructions on the screen.
Some antivirus products can only be uninstalled by downloading specific software from the developer’s website.
As a result, make sure you document the removal methods for your specific antivirus tool.
Even if you have reasons to remove a previous third-party antivirus, you should consider acquiring the tool below if you want better security and fewer difficulties.
The security solution we offer is ideal for the modern lifestyle, in which you work, play, and surf the Internet.
It focuses on security and privacy, with a multilayer security system capable of withstanding even the most advanced attackers.
The program is downloaded not just to your PC, but also to all of your devices, including IoT network components such as a router or webcam.
Modify certain registries
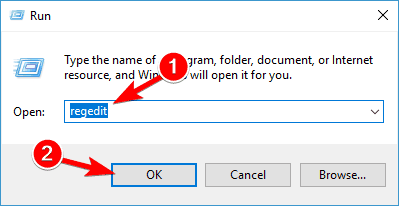
- Step 1: Firstly, press Windows + R.
- Step 2: Type Regedit and press the Enter key (Registry Editor will open).
- Step 3: Navigate to the following URL and delete the msseces.exe entry from both: HKEY_LOCAL_MACHINE/SOFTWARE/Microsoft/WindowsNT/Current Version/Image File Execution Options
HKEY_CURRENT-USER/Software/Microsoft/Windows/Current version/Policies/Explorer/DisallowRun - Step 4: Restart the computer.
Things aren’t as awful as they appear if you can’t access the Registry Editor. Use these step-by-step instructions to swiftly resolve the problem.
Start SFC
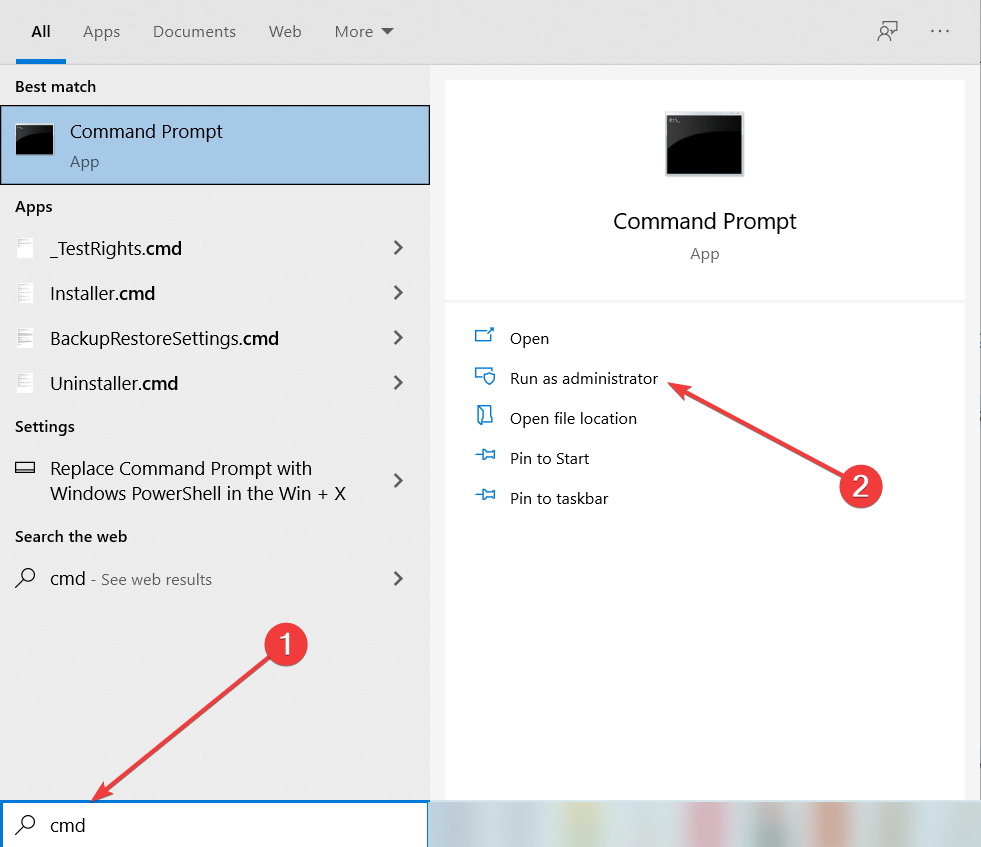
- Step 1: Press the Start button.
- Step 2: Enter cmd.
- Step 3: Choose Run as administrator to launch Command Prompt with administrative capabilities.
- Step 4: Type and hit Enter the following command: Enter: sfc/scannow
- Step 5: After the scan is finished, restart the computer.
The System File Checker scan will do exactly that, verifying all system files and doing any necessary repairs to return everything to normal.
Update your computer
- Step 1: Press the Start button.
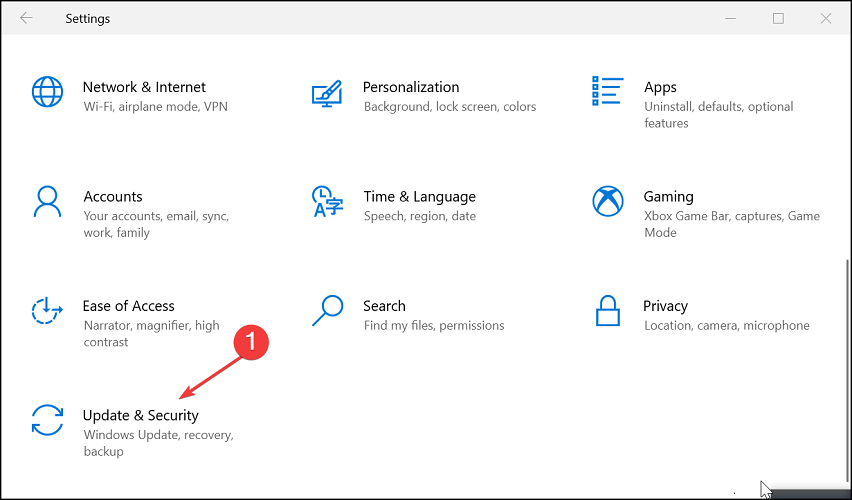
- Step 2: Go to Settings.
- Step 3: Select Update and Security.
- Step 4: Click Check for Updates; if there are currently pending updates, the button will be renamed Download Updates.
- Step 5: Reboot your computer after the updates have been installed.
Modify Your Group Policy
Sometimes Windows Defender will not start in Windows 10/11/8/7 because it has been disabled by your group policy. This can be a problem, but you can easily fix it by modifying the group policy. Follow the steps below to get started:
- Step 1: Firstly, open the Run dialogue by pressing the Win+R keys on your keyboard.
- Step 2: Enter gpedit.msc and press the Enter key.
- Step 3: On the Local Group Policy Editor interface, navigate to Computer Configuration > Administrative Template > Windows Components > Windows Defender Antivirus in the left pane.
- Step 4: Double-click on Turn off Windows Defender Antivirus in the right pane.
- Step 5: In the pop-up box, select Not Configured and then press the Apply and OK buttons.
After you apply these changes, the problem of Windows Defender not working due to the group policy being turned off should be resolved, and you may use it to defend your computer.
Conduct a Clean Boot
When you start the Windows system in normal mode, various third-party applications may be operating in the background. These applications have the potential to cause software conflicts and interfere with Windows. As a result, Windows Defender cannot be activated in Windows 11/10/8/7.
You can repair the Windows Defender problem by doing a Clean Boot. This approach is quite simple, and you may accomplish it by following these steps:
- Step 1: Open the Run dialogue box and type msconfig into the textbox.
- Step 2: Navigate to the General tab in the System Configuration interface, select Selective startup, and uncheck Load startup items.
- Step 3: On the Services page, check the box Hide all Microsoft services and then click Disable all.
- Step 4: To restart your computer, click the OK and Restart button.
Conclusion
Windows Defender is built into your machine and, like your operating system, receives monthly upgrades. The problem can be resolved by checking for and installing the most recent updates.
Following these instructions should have resolved the Windows Defender problem 0x80073b01, and you can now use it as intended.
These solutions have shown to be useful, and they are also extremely effective in a variety of other Windows Defender issues.


