The login screen should be familiar to all Windows 10 users. It gives you access to your unique user account or accounts, making even shared computers feel like yours. However, when the login screen does not appear at launch, it might cause a slew of problems.
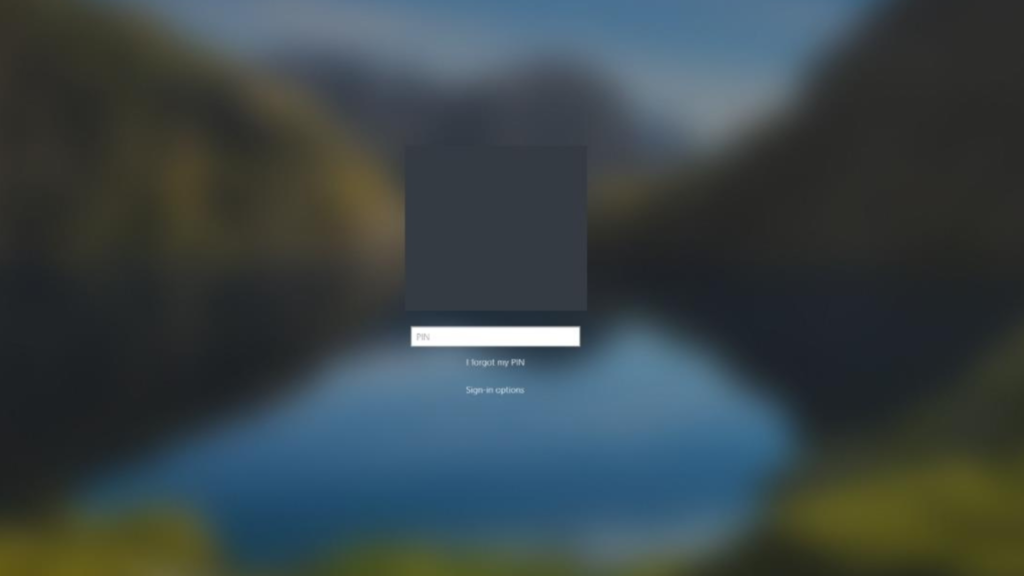
If you don’t have a login screen, you may be shut out of your computer almost entirely. Don’t worry, we’re here to help. This post will show you how to recover the login screen if it has disappeared from your Windows 10 device.
All of the techniques in this post are simple to follow and do not require any prior Windows 10 knowledge.
There are numerous causes for your login screen to disappear, just as there are for the majority of Windows 10 issues. This leads to a plethora of possible solutions, some more difficult than others.
Recommended Post:- How to Run 32-Bit Programs on 64-Bit on Windows 11 – Quick Guide
Fixing the Windows 10 Login Screen Not Appearing: A Step-by-Step Guide
When your Windows 10 login screen does not show, try the solutions listed below. There is basic troubleshooting advice as well as tutorials designed specifically for this issue. Let’s start.
Method 1: Restart Your Device
Despite being one of the most popular operating systems, Windows 10 occasionally experiences glitches that are only temporary. In certain situations, the simplest action can have a significant impact.
If you don’t see a login screen when you boot up your computer, the first thing you should do is restart it. This method appears to work best when there is no file corruption and your machine is in good working order.
While this method may not be as effective as other methods, it may be a quick and easy option for you. If you still don’t see a login screen when your computer boots up, keep reading and trying alternative methods.
Method 2: Try the keyboard shortcut Ctrl + Alt + Delete
Another technique that has been found to work in many circumstances is to use the Ctrl + Alt + Delete keyboard shortcut. Many users have confirmed that tapping these keys at the same time returns them to the login screen.
When the login page displays, enter your password and continue using your smartphone as if nothing had happened. If you don’t see the login screen after tapping those buttons, go to the next section.
Method 3: Activate Safe Mode
The essential key to resolving this issue is gaining access to your computer. To accomplish this, consider booting Windows 10 into Safe Mode, which provides you access to your core system.

Here’s how to get Windows 10 to boot into Safe Mode.
- Step 1: Power off your device, then hit the power button to restart it. When you see Windows 10 starting, press the power button down until your device goes down again. Repeat this procedure till you reach winRe.
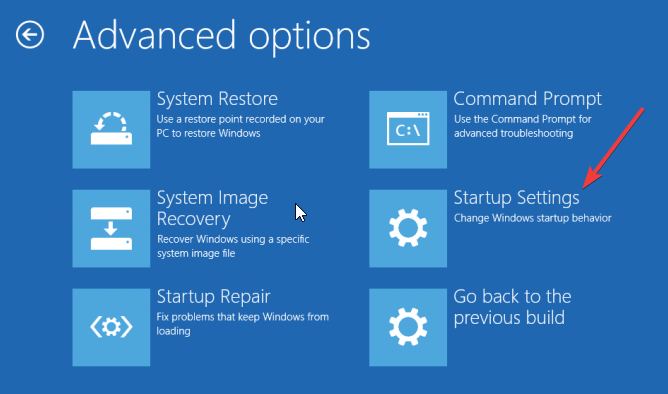
- Step 2: In the winRE interface, navigate to the “Choose an option” tab. Navigate to Troubleshoot Advanced Options Startup Settings Restart from here.
- Step 3: The device should restart automatically. You’ll get a selection of possibilities the next time it powers up. For Safe Mode, select option 5 from the list.
Method 4: Turn off fast startup
While Windows 10’s rapid starting is typically a nice feature, it may cause problems on your device. This is because Windows 10 simply skips over some items to improve boot speed.
This is readily disabled through the Settings menu. What you must do is as follows:
- Step 1: Start Windows 10 in Safe Mode. Method 3 has detailed steps.
- Step 2: In your taskbar, click the Windows icon to open the Start menu. Select “Settings” from the drop-down menu. You can also use the keyboard shortcut Windows + I.
- Step 3: Navigate to the “System” tile.
- Step 4: Using the menu on the left pane, navigate to the “Power & sleep” area.
- Step 5: Select the “Additional power settings” option. This should be toward the bottom of the page or in the right-hand panel.
- Step 6: Next, depending on how many power buttons your computer has, click on the “Choose what the power button does” or “Choose what the power buttons do” link.
- Step 7: Select “Change settings that are presently unavailable” from the drop-down menu. This allows you to make changes to your power settings.
- Step 8: Uncheck the box next to “Turn on fast startup (recommended).” When you uncheck this box, your device will boot normally.
- Step 9: Click the “Save changes” button to complete the change, then restart your computer. You should be able to see whether or not your login screen has been restored instantly.
Method 5: Disable the “Users must enter a username and password to access this computer” setting
Many customers have stated that simply removing the need to log in with a password can preserve their machine from being destroyed. This technique is best suited for personal computers, as allowing numerous users to log in to any local account may cause problems.
- Step 1: Start Windows 10 in Safe Mode. Method 3 has detailed steps.
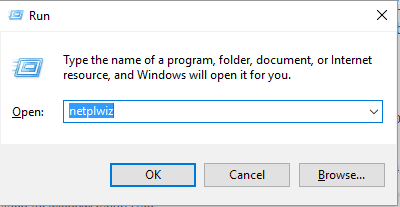
- Step 2: To open the Run application, press the Windows + R keys on your keyboard at the same time. Click into the input field, type “netplwiz,” and then press the OK button.
- Step 3: De-select the “Users must input a username and password to use this computer” checkbox.
- Step 4: After clicking OK, restart your computer. You should be able to see whether or not your login screen has been restored instantly.
Method 6: Make a new user account
Your current user account may have been compromised. This means that you must create a new account to restore the login screen. When you create a new account on your local workstation, it starts with fresh, untouched settings, allowing you to test user account issues.
Here’s how to make a new user in Windows 10.
- Step 1: Start Windows 10 in Safe Mode. Method 3 has detailed steps.
- Step 2: In your taskbar, click the Windows icon to open the Start menu. Select “Settings” from the drop-down menu. You can also use the keyboard shortcut Windows + I.
- Step 3: Navigate to the “Accounts” tile.
- Step 4: Select “Family & other users” from the left-hand menu. This is where you may view all of the accounts on a computer.
- Step 5: Scroll down to find “Other users.” Click the “Add someone else to this PC” option here.
- Step 6: Creating a new account offline is the easiest way. Choose the “I don’t have this person’s sign-in information” option.
- Step 7: Now, click “Add a user without a Microsoft account“.
- Step 8: Enter all of the necessary information, such as your name, password, and security questions. When finished, click the Next button to create a new user.
Method 7: Repair the MBR
Step 1: Power off your device, then hit the power button to restart it. When you see Windows 10 starting, press the power button down until your device goes down again. Repeat this procedure till you reach winRE.
- Step 2: Select Troubleshoot Advanced Options Command Prompt from the menu.
- Step 3: Run the following three instructions, pressing Enter between each one:
bootrec /fixmbr
bootrec /fixboot
bootrec /rebuildbcd - Step 4: Restart your computer in step four. You should be able to determine whether or not your login screen has been restored instantly.
Conclusion
We’re all familiar with the Windows 10 boot sequence. However, some users have reported that the Windows 10 login screen does not appear for unknown reasons.
We hope that this guide was able to assist you in restoring your Windows 10 login screen. You should now be able to access all of your local accounts. If the login screen disappears again, please return to our article and experiment with alternative approaches!


