Windows is a versatile operating system and provides you with many customizable functions and features. You can use these functions to improve your workflow efficiently and manage time better. Windows OS already comes with many shortcuts and tools available on the desktop using which you can function better and control different hardware components like WiFi, Bluetooth, and many others. You can also find many keyboard shortcuts like display mode speaker control and brightness control, but all these keyboard shortcuts depend on the type and brand of the keyboard.
Windows also allow you to create handy shortcuts that you can use and perform better functions, these shortcuts don’t depend on the brand of the computer or the hardware but are solely controlled by the operating system. One such customizable function is the lock function, which allows you to instantly lock the current user. This feature comes very much in handy when you are in need of taking a break and need your system to be secure and untrampled.
This feature is very useful for professionals and home users to protect the currently active function from being accidentally trampled by kids, colleagues, and pets. This feature can also be used to avoid people seeing what you are currently doing, and can save you from being embarrassed. Try out to lock your user and then you will be saved from embarrassment and that’s something everyone needs when there is an interruption.
The lock function does nothing but just locks the user and requires a password to access the user( when the computer is protected by a password). If the computer is not protected by a password the lock function will just bring the system to the boot page and allow anyone to access the user by clicking login.
Recommended Post:- Best Antivirus for Windows 10: Is Windows Defender Good Enough
How to Create an Accessible Lock Shortcut to Start and taskbar in Windows 10
Customization of the features is what Windows is famous for, it lets you customize, add, remove and do much more with easy steps. You just need to learn how things are done and get going with it to create, remove and customize functions. You can easily create a locked shortcut or an icon on your desktop, taskbar, and start menu with the built-in create shortcut function. With the locked shortcut created you can instantly lock your user and do other computer-unrelated jobs that might need your attention. You can protect your progress from getting trampled and can access the user by entering the password once you want to resume using the computer.
Learn how to create the shortcut for easy use:
- Follow these simple steps for creating the shortcut for the lock function on the taskbar and start menu.
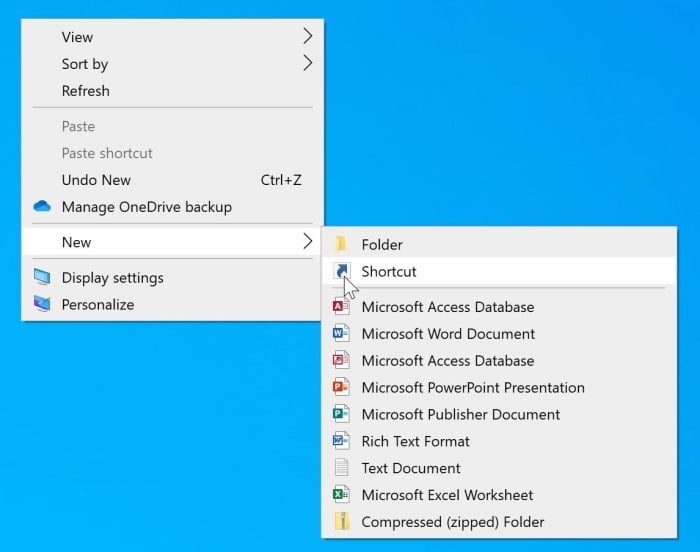
- First, on your desktop, click the right mouse button to bring in the pop-in contextual menu.
- From the menu list, select the new option.
- From the new option, select the shortcut option.
- You will see a new windows pop-up which states “create shortcut”.
- In this window, you will find a blank box under the text “type the location of the item”.
- Enter this location path in the blank space “ Rundll32.exe user32.dll, LockWorkStation, and click on the next from the bottom of the Window.
- Now you will see a new blank box under “type the name for this shortcut”.
- Type Lock in the black space to create the locked shortcut.
- Now click the Finish button to create the shortcut on the desktop.
- Once the locked shortcut has been created on the desktop, check if it is functional.
- Now you can select a suitable icon from the properties panel of the locked shortcut.
- Once done with the icon, you can pin the shortcut to the taskbar by dragging the icon to the taskbar. This will pin the icon to the taskbar.
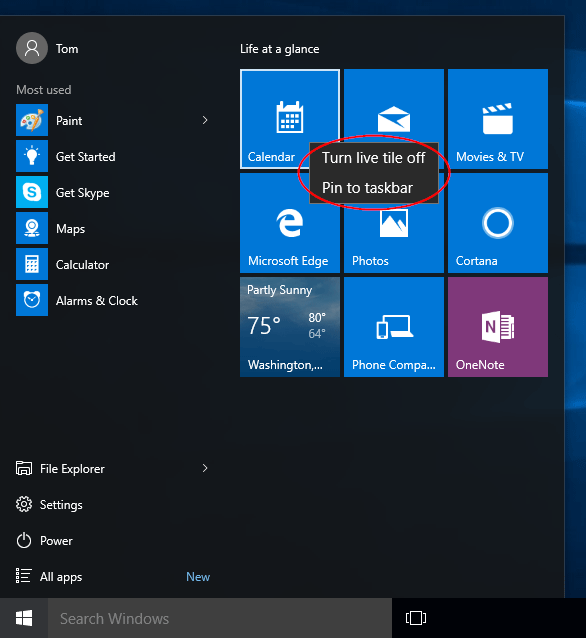
- To pin the icon to the start menu, right-click on the icon to pull out the menu options, now select the pin to start menu option to pin the icon to the start menu.
- The procedure is quite simple and is very easy to follow. You can easily create such shortcuts for many other functions.
- Once you are done with the creation of the shortcut, you can make use of them to directly lock up your computer. The shortcut functions instantaneously and will come in handy many times.
NOTE: If you are good with the keyboard and your keyboard is good enough, you can use the shortcut key for locking your computer, you don’t need the on-screen shortcut to lock your computer. The key is the Windows button + the letter L on the keyboard is the shortcut for locking the computer. This will instantaneously lock your computer.
The on-screen lock function is very easy to create and use and can come in very handy. You can lock your computer instantaneously without having to use the traditional method of choosing the lock function from the start menu, this way, you can save your time and also act quickly.
You have seen two ways of using the shortcut for locking up your desktop and choose the one that better suits you can apply it. Now, you can create the on-screen shortcut and also use the keyboard shortcut. Hope the information shared above was useful and you were able to get, one or two things from the article. Create the shortcut as mentioned above and use it to save progress at instances. Keep your data and progress protected from any uninvited disturbances.


