Windows Security contains a virus and threat prevention tool that assists in the detection of hazards on your computer. This function is included as part of Microsoft’s security tool to help prevent harmful programs from being installed on your computer. What would happen if we lost access to this feature now that we know how valuable it is?
Your system’s protection against harmful technology and unauthorized access will be compromised. This is the same issue that consumers are now experiencing and attempting to resolve. Many users have claimed that their virus and threat protection in Windows 11 is not working. If you’re experiencing a similar issue on your Windows device, this advice may be of assistance.
Recommended Post:- Fixed: VCOMP100.Dll was not found or Missing Errors on Windows 11
It’s not difficult to see why this is such an issue, and in today’s article, we’ll show you how to remedy it.
Why won’t Windows Security open in Windows 11?
The followings are the possible causes of the Windows 11 virus and threat protection not working issue:
- The current version of Windows 11 has a bug:- If this is the case, the best course of action is to update the operating system.
- Conflict with third-party antivirus installed on the PC:- You should disable or delete the antivirus. Uninstaller software can be used to remove it.
- Corrupted Registry:- Your Registry is a critical component of the operating system; if it becomes corrupted, many OS operations will cease to function properly. If you’re not familiar with Registry Editor, see our guide on how to use it in Windows 11.
- Malware-infected system:- In this scenario, you should use a robust antivirus and run a comprehensive system scan.
- Corrupted system files:- You can use a Windows utility to repair or recover these files.

With a rudimentary grasp of the underlying problem, you must first determine which of these is causing the problem and then proceed to the appropriate fix. You will wind up saving a lot of time this way.
Nonetheless, if you have no idea what’s generating the problem, follow the steps in this article in the same order.
What can You do if your virus and threat protection fail?
Before we begin working on this problem, you should do the following checks:
- Restart your computer:- In some cases, this problem is caused by a glitch, and a short restart is all that is required to resolve it.
- Install the most recent updates:- Certain components can occasionally have malfunctioned, resulting in situations like these. Keeping Windows updated is an excellent approach to resolve this issue.
- Check the date and time:- Problems like these might occur if the date or time on your PC is incorrect. To repair it, change the time on Windows 11 and double-check that it is right.
- Carry out a system restore:- This problem could be caused by installed applications or settings. Make a restore point and restore your system to repair it.
Solution 1: SFC (System File Checker) Scan should be Done
- Step 1: To open the Quick Access menu, press Windows + X.
- Step 2: From the list of options, select Windows Terminal (Admin).
- Step 3: When the UAC prompt comes, click Yes.
- Step 4: In Windows Terminal, click the downward-facing arrow at the top and pick Command Prompt from the menu.
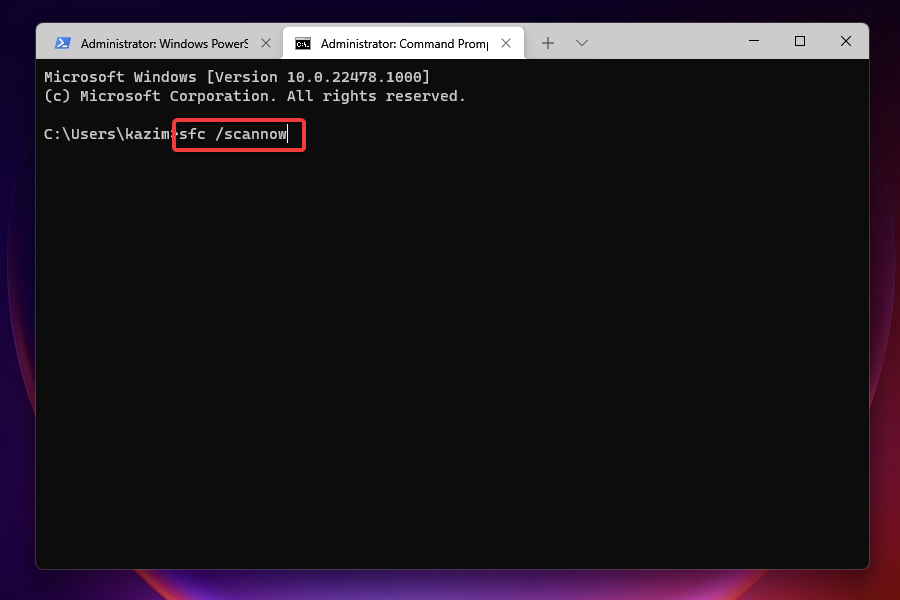
- Step 5: To conduct the SFC scan, type or paste the following command and press enter: sfc/scannow
- Step 6: After the scan is finished, restart the computer and check to see if the error has been resolved.
Solution 2: Remove any other third-party antivirus software
- Step 1: To open Settings, press Windows + I.
- Step 2: On the left, click the Apps tab.
- Step 3: Choose your apps and features.
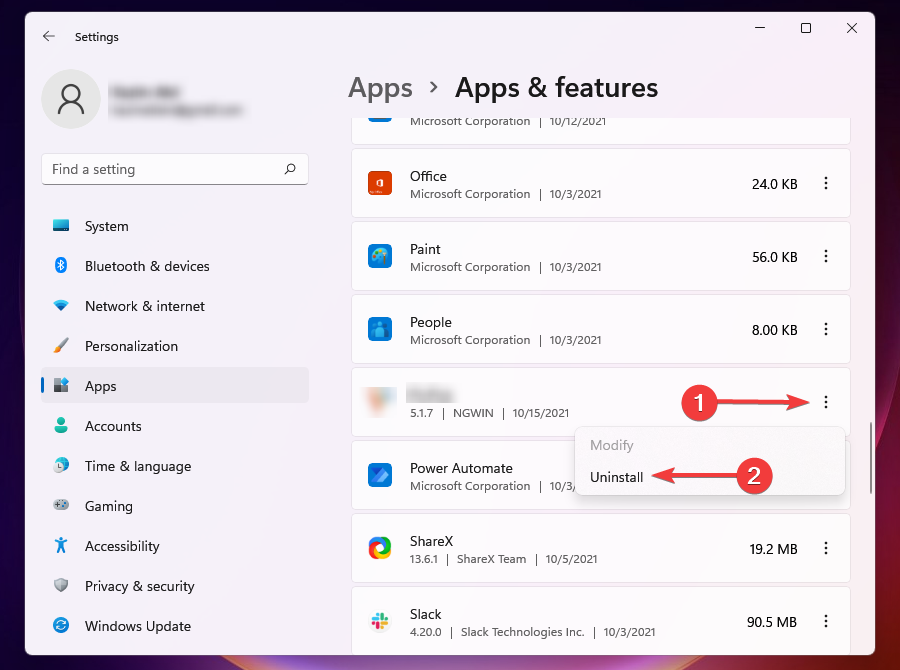
- Step 4: Select Uninstall from the flyout menu by clicking on the ellipsis next to the antivirus you want to delete.
- Step 5: On the prompt, click Uninstall.
If you have a third-party antivirus program installed on your computer, it may interfere with the virus and threat protection.
Also, when Windows finds a comparable utility installed on the machine, it temporarily disables Windows Defender to prevent the two from conflicting. As a result, uninstalling the antivirus should be the first step in resolving the problem.
Solution 3: Make use of PowerShell
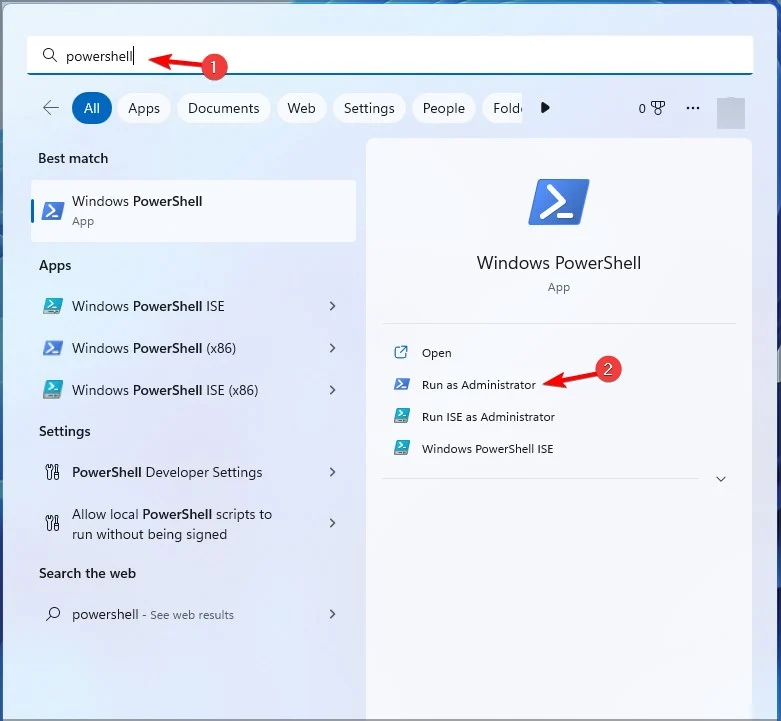
- Step 1: Type PowerShell into the Windows key + S. Choose Run as administrator.
- Step 2: When PowerShell launches, type the following command: Set-MpPreference -UILockdown 0
- Step 3: Hit the Enter key.
Solution 4: Enable real-time protection
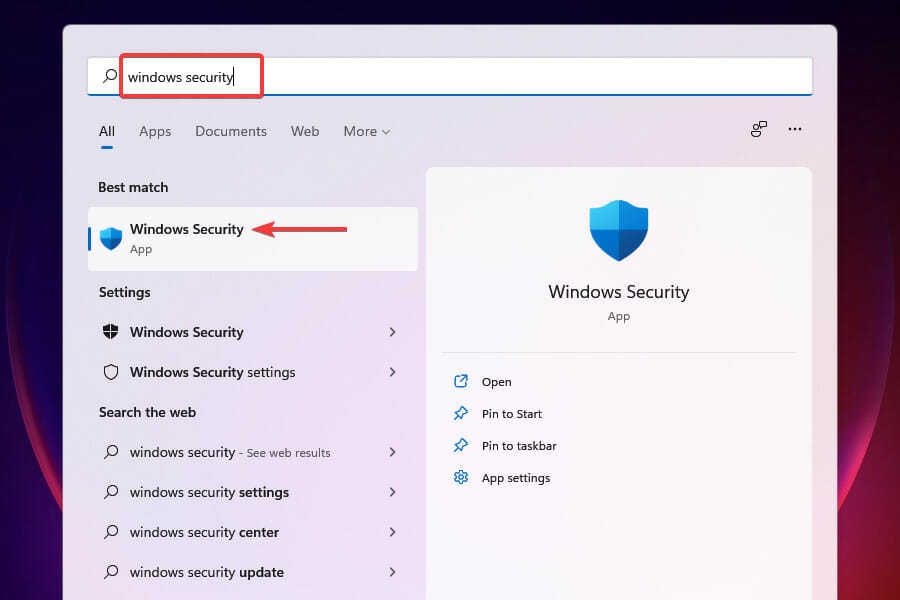
- Step 1: To open the Search menu, press Windows + S.
- Step 2: Type Windows Security into the text field and select the appropriate search result.
- Step 3: Choose Virus and threat protection.
- Step 4: Under Virus & threat protection settings, select Manage settings.
Enable the Real-time protection option.
You should be able to access virus and threat protection after enabling real-time protection. For example, if Windows detects a third-party antivirus, it may switch off the toggle manually or automatically.
Solution 5: Repair the Windows Security application
- Step 1: To open Settings, press Windows + I.
- Step 2: Choose Apps from the left-hand menu and then click on Apps and features on the right.
- Step 3: Find the Windows Security app, click the ellipsis next to it, and then choose Advanced settings from the flyout menu.
- Step 4: Select Repair from the Reset menu.
- Step 5: Wait for the repair to be finished.
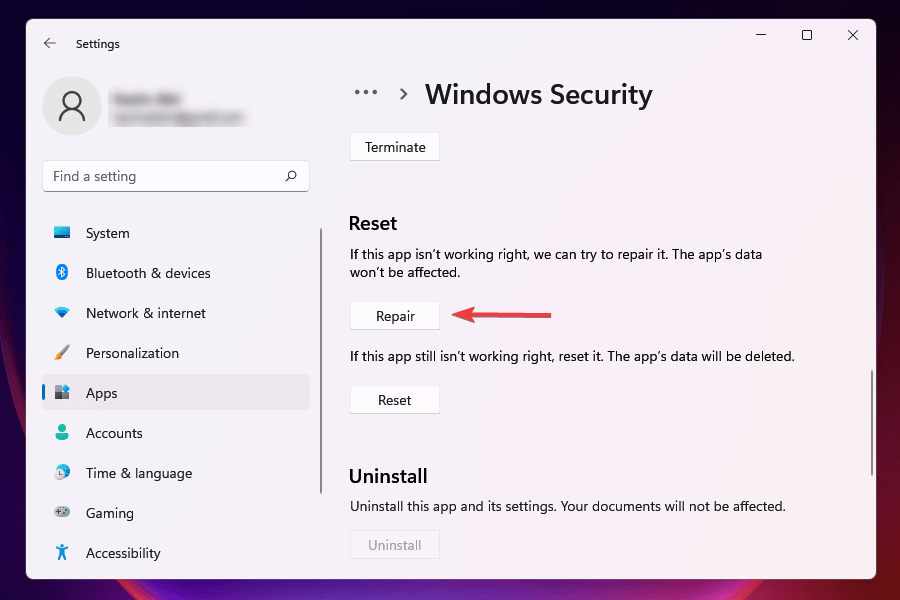
If a program fails to launch or perform properly, fixing it may be beneficial. When you repair an app, Windows examines its installation, finds and replaces any defective files, and analyses its Registry entries.
Solution 6: Perform a malware scan
Malware or viruses were reported to be causing problems with virus and threat prevention in numerous circumstances. However, because the Windows Defender software is broken, you must use another tool to do a scan.
Install one of the top third-party antivirus software for Windows 11. After installing the application, conduct a malware scan to detect and remove any infections from the system.
Solution 7: Start the Security Center service again
- Step 1: To open the Run command, press Windows + R.
- Step 2: To launch the Services app, type services.msc into the text area and press are OK.
- Step 3: Right-click on the Security Center service and pick
- Step 4: Restart from the context menu.
- Step 5: Restart the computer to see if the problem has been resolved.
Note: The services are presented alphabetically (or reverse-alphabetically), so finding the Security Center service should be simple.
Solution 8: Make changes to the Registry
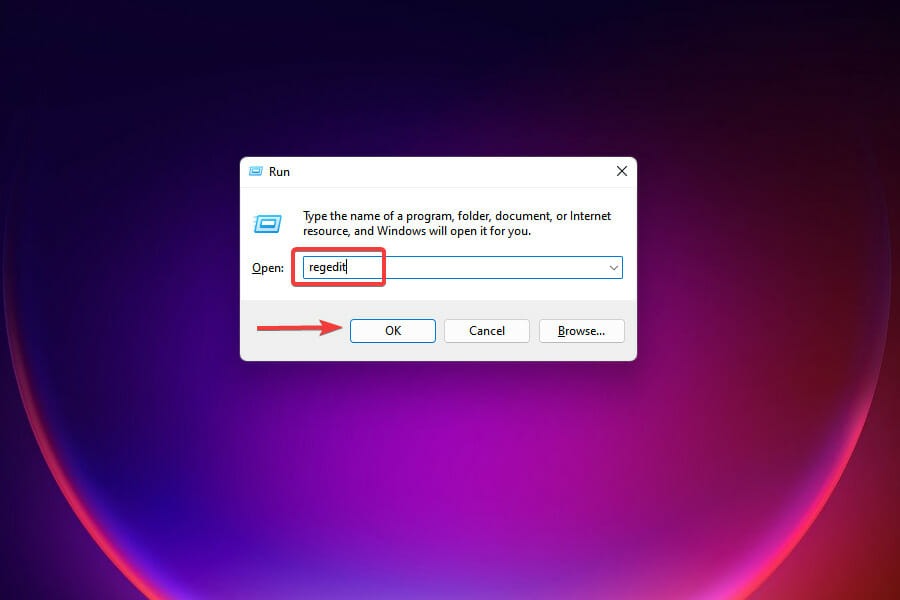
- Step 1: To open the Run command, press Windows + R.
- Step 2: Enter regedit in the text box and press OK to open the Registry Editor.
- Step 3: When the UAC prompt comes, select Yes.
- Step 4: Copy and paste the following path into the top address bar and press Enter. HKEY_LOCAL_MACHINE\Software\Microsoft\Windows NT\CurrentVersion\Image File Execution Options
- Step 5: If you see any of the three entries, select Delete by right-clicking on MSASCui.exe, MpCmdRun.exe, or MsMpEnd.exe.
If the entries are missing, proceed to the next repair.
Certain viruses are known to make Registry entries that interfere with the operation of Windows Defender. If the above entries are blocking you from accessing virus and threat protection, eliminating them will resolve the issue.
Solution 9: Using the Registry, enable Windows Defender
- Step 1: To bring up the Search menu, press Windows + S.
- Step 2: Enter Registry Editor in the top text area and click on the appropriate search result.
- Step 3: Copy and paste the following path into the top address bar and press Enter. HKEY_LOCAL_MACHINE\SOFTWARE\Policies\Microsoft\Windows Defender
- Step 4: Set the value of the DisableAntiSpyware entry to 0.
- Step 5: If the entry is missing, right-click on the empty spot, hover the mouse over New, and choose the DWORD (32-bit) value from the menu. DisableAntiSpyware is the name of the entry.
- Step 6: Double-click the entry and enter 0 in the Value data field.
- Step 7: After making changes to the Registry, verify that the problem with Windows Defender has been resolved and that you can access and modify it.
Note: It would be preferable if you performed this fix only after attempting the other ones. Furthermore, we recommend exercising extreme caution when making changes to the Registry, as a slight error on your part can destroy the PC and leave it unusable.
Conclusion
We hope this guide has assisted you in determining how to resolve the issue if your virus and threat protection on Windows 11/10 is not working.
When you encounter this issue, it is most likely due to corrupted system files. As a result, we usually recommend conducting an SFC and DISM scan to seek for and restore any system-wide corruption to resolve some issues, such as the Windows Security issue.
The solutions listed above should remedy the issue of Windows 11 virus and threat protection not working and get things back up and running.
If none of these solutions works, you can always contact Microsoft Support, who can help you resolve the issue.


