Information is wealth! This statement is true in this data-driven world and safeguarding your information is key. So, with a lot of cybercrime and data theft happening, we have to be protected and take care of our devices with utmost precision. Well, whatever we do to protect our devices needs to be authentic and straightforward and here in this article, we will explore a simple tool that is available on Windows computers that can be used to encrypt the hard drive on the computer to secure the data.

When talking about encryption, we are referring to data being locked away using a certain algorithm that can only be unlocked with a specific key or password to protect its contents. When using encryption, certain information is hidden inside a secret code that only the holder of the keys can access. In order to decrypt the message, you need to have the correct set of keys. Without them, it’s impossible to read the content. There are many encryption programs that can encrypt files and folders, available for free and at premiums but Windows OS offers you a simple and go-to encryption option, that is free to use and access.
A BitLocker (or BitLocker) is a security feature that encrypts data stored on a computer’s hard disk drive (HDD). This prevents unauthorized access to sensitive information even if the computer is lost or stolen. The term comes from the fact that the encryption system uses two keys; one is stored on the computer’s HDD and the other is held by Microsoft Corporation.
Recommended Post:- How to check the Hardware ID on Device Manager
Well, the BitLocker tool was first introduced by Microsoft in the Windows Vista OS and ever since Microsoft has kept this feature alive on all the succeeding OSes with Windows 11 being the latest version of Windows, you can find the encryption tool on this OS too. Well, over the years, the BitLocker feature has gotten stronger, so let’s hop on and explore how the tool works and how to use it to effectively secure the data stored on the hard disk.
How does BitLocker Work
The first step in BitLocker is the creation of a master key. A master key is a secret cryptographic key created by either a user or administrator of the system. When the master key is created, it is then split into two smaller keys called device keys. Each device key is then assigned to a specific physical storage device or partition. Device keys are the smallest unit of encryption and they are randomly generated each time a device is initialized.
Once the device keys have been generated, the master key is encrypted using the device keys. Next, the device keys themselves are encrypted using a symmetric algorithm. Finally, the resulting ciphertext is written to the sector where the master key was originally located. As a result, any attempt at decryption of the master key results in a failure, and no further information about the original master key can be obtained.
To decrypt the master key, the user enters their login password and the device keys are retrieved from memory. Once the device keys are retrieved, the master key is decrypted using the device keys. If successful, the user receives a success message indicating that the master key has successfully been unlocked.
Well, for the functioning of BitLocker, a trusted platform module is essential and this hardware component plays an important role in encrypting the volume.
The Trusted Computing Group (TCG) defines trusted computing technology as “a set of measures aimed at ensuring that personal computers and communications systems are trustworthy”. A TPM-enabled computer should only allow code signed by a manufacturer to run, and never execute any unsigned code. If the PC detects a malicious software, it should report it immediately to the owner. Also, if the firmware gets corrupted, the TPM should help detect the problem and alert the user. In addition, the TPM should enable encryption keys to be securely stored on the hardware instead of being held in memory. All these features make a TPM-equipped computer safer than its non-TPM counterpart. Well, the encrypted key that is generated by the BitLocker is stored in the TPM for safekeeping and this is why TPM is important for BitLocker.
So, now that we have explored a bit about BitLocker, let’s know how to enable the BitLocker on Windows 11, so you can go ahead and protect your hard disk.
Enable the BitLocker on a Volume of the Hard Drive to Keep the Data Safe
So, to get started with encrypting the hard disk, follow the simple method mentioned below.
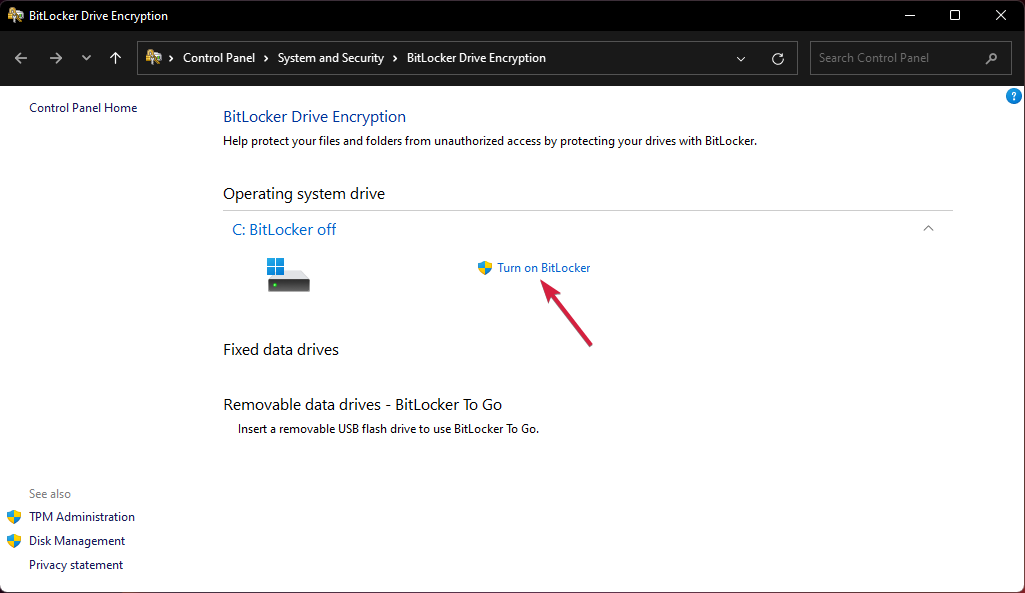
- To encrypt a volume using the BitLocker, press the Windows + S button, and here in the search bar type in BitLocker and hit enter.
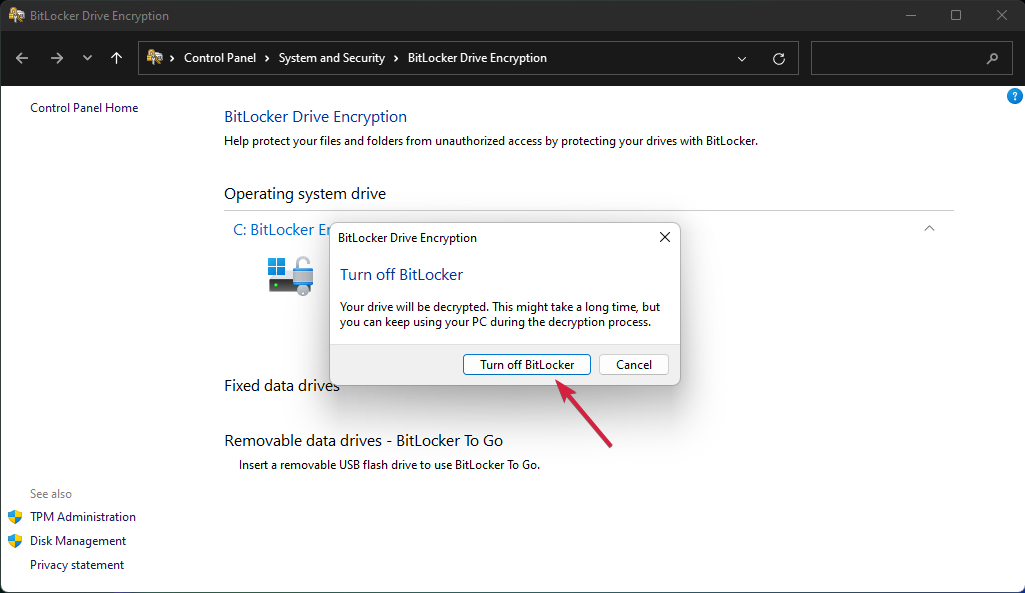
- Now, open the BitLocker app, here select the Turn on BitLocker option.
- Now, select the method that you would like to use to unlock the lock.
- Select the password method which is simple.
- Now, enter a password and then re-enter it to confirm it.
- Now, click on next and then save the key on your Microsoft account.
- Now, select which driver you want to encrypt and then select next.
- Now, select the encryption mode as the compatible mode.
- Now, run the BitLocker System Check and then press on continue.
- Now, restart the computer and during the restart, you will be prompted with a placeholder to enter the password.
Hope the information provided above was helpful and informative, with the simple method, you can easily encrypt your Windows 11 computer.


