TCP/IP (Transmission Control Protocol/Internet Protocol) must be intact and functioning properly for the Internet to function. TCP/IP is essential for Internet connectivity and Internet communication.

Unfortunately, you may occasionally experience Internet connection issues. Internet connection problems might be caused by a damaged Internet Protocol or improper IP configuration.
To resolve this, learning how to reset TCP/IP on Windows 10 is a useful tip for reconnecting your computer to the network. You can also repair no Internet connection, WiFi connection but no Internet access, and other issues on Windows 10 by resetting the TCP/IP stack.
Recommended Post:- Fixed: Windows Upgrade Error 0x800700b7- 0x2000A
Let’s see how to Reset the TCP/IP Stack on Windows 10. Let us begin our talk today.
What Exactly Is TCP/IP?
TCP/IP is also referred to as the Internet Protocol Suite. TCP and IP work together to manage how digital information is divided into packets, how those packets are routed between your computer and the destination, and how your PC ensures that all packets were correctly received.
The Internet Protocol Suite settings are saved on your local device, which means they can be corrupted by malware, an application you installed, or any number of other factors. A TCP/IP problem will frequently manifest as a generic connection fault. The simplest solution is to restore the TCP/IP stack settings to their defaults.
TCP/IP Applications
TCP/IP can be used to allow remote login over the network for interactive file transfer, email delivery, webpage delivery over the network, and remote access to a server host’s file system. In general, it is used to illustrate how information changes shape as it travels from the concrete physical layer to the abstract application layer through a network. It describes the fundamental protocols, or techniques of communication, used at each layer as information flows through.
The following are some of the benefits of adopting the TCP/IP model:
- Helps connect different types of computers; works Independently of the operating system
- Helps connect different types of computers
- Helps connect different types of computers
- Works independently of the operating system
- Supports numerous routing protocols
- Employs a client-server architecture that is highly scalable
- Can be operated independently; supports numerous routing protocols
- And is lightweight and does not place unnecessary strain on a network or computer
Why do you need to reset the TCP/IP Stack on Windows 10
All TCP/IP protocols on your PC are kept in a repository called Stack, which allows the network to run on any protocol. The TCP/IP Stack arranges connections between the device and other internet network components by processing data through layers.
Resetting TCP/IP Stack, on the other hand, will help with the following:
- Increase the interconnection of network devices: Resetting your PC’s TCP/IP Stack improves the connection between your system and network devices. It ensures that packets take the correct path if they are not performing properly.
- Reset the TCP/IP stack to resolve network difficulties: Customers may experience a variety of network issues on their PC, resulting in slow or unreliable connections. As a result, resetting TCP/IP Stack restores the network setup on your computer and resolves connection troubles.
- Uninstall faulty IP (Internet Protocol): Resetting TCP/IP Stack on your computer restores Internet Protocol to default, removing defective protocols and addressing network issues in Windows 10.
Now that we’ve covered the reasons, let’s look at how to reset TCP/IP Stack.
On Windows 10, how do you reset the TCP/IP stack?
Let’s have a look at the solutions that will reset your TCP/IP stack on Windows 10 in the following section of the article.
Solution 1: Using Windows PowerShell
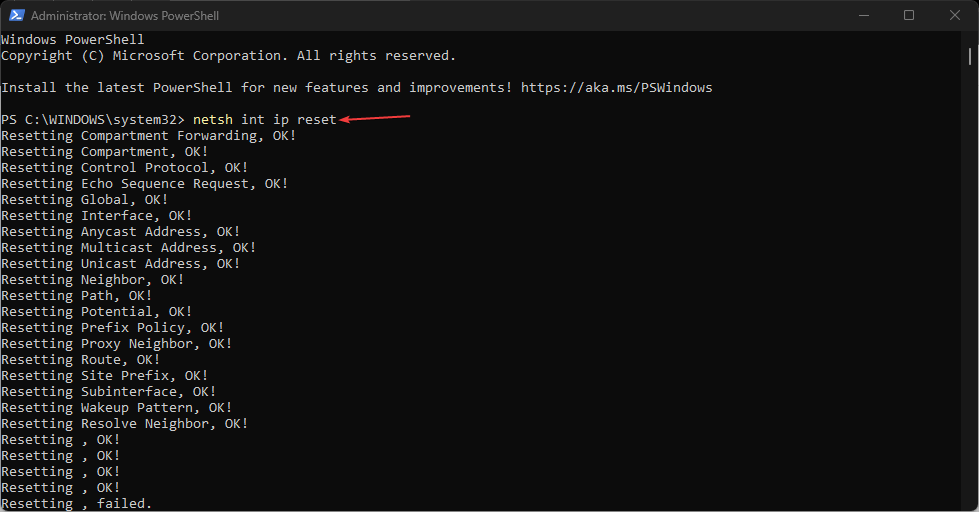
- Step 1: Click the Start button, enter PowerShell, and then select Run as administrator.
- Step 2: Accept the User Account Control (UAC) dialogue by clicking Yes.
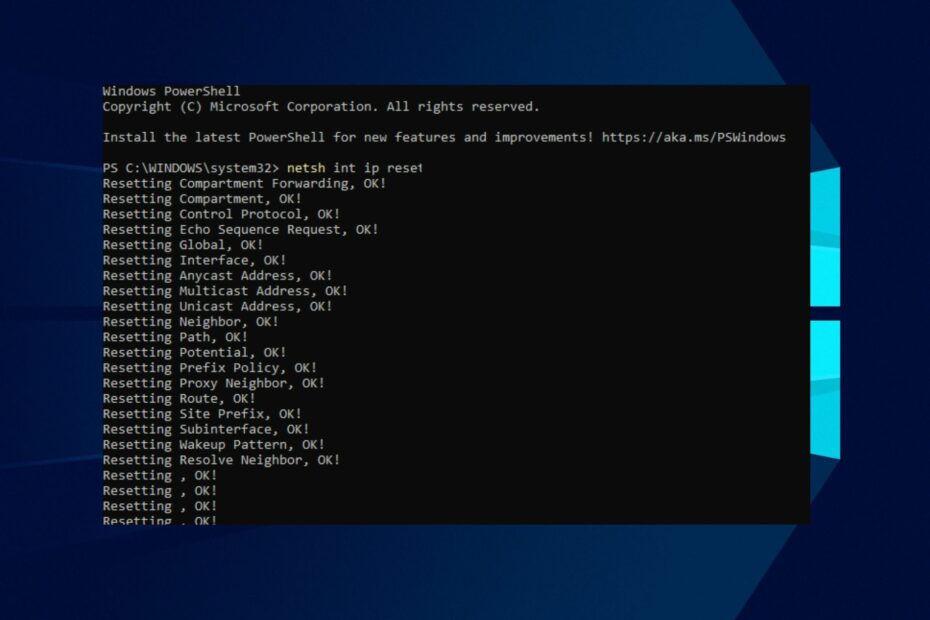
- Step 3: To begin, copy and paste the following commands and hit Enter: NETSH INT IP RESET
- Step 4: For IPv4 users, copy and paste the following command and hit Enter: NETSH INT IPV4 RESET
- Step 5: For IPv6 users, type the following command and click the Enter key: NETSH INT IPV6 RESET
- Step 6: If the command is successful, you will see a message on your screen that says Resetting, OK!.
- Step 7: Restart your computer to complete the network settings reset.
Executing the above instructions on Windows 10 resets the TCP/IP Stacks and resolves network issues.
Solution 2: Using the Command Prompt
- Step 1: Click the Start button, then type Command Prompt and press Enter.
- Step 2: Choose the Run as administrator option.
- Step 3: On the User Account Control popup, click Yes.
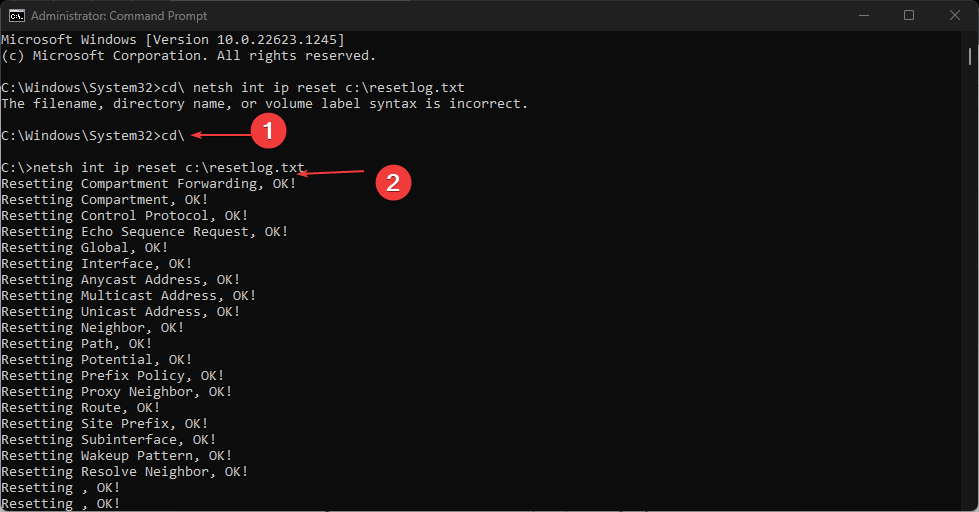
- Step 4: Next, enter the following commands. Cd\netsh int ip reset c:\resetlog.txt
- Step 5: If you’re using IPv4, type and click the Enter key in the following command: NETSH INT IPV4 RESET
- Step 6: IPv6 users, enter the following command and click Enter: NETSH INT IPV6 RESET
- Step 7: Exit the Command Prompt and restart your computer.
Conclusion
When you experience a networking problem, the first troubleshooting actions are to reset your network devices and network stack, as well as to update network device drivers. Follow the instructions below to reset your networking equipment, which will cure most network difficulties, including but not limited to Wi-Fi and Ethernet disconnects, slowdowns, and errors, even if these issues are impacting only one machine on your network.
You should be able to simply reset TCP/IP Stack on Windows 10 using this technique. But, if you have any further questions, please contact us.


