You may be wondering what a proxy server is. It is like a gateway that exists between you and the Internet. It will separate users from the websites that they browse. There are all kinds of amazing functionalities that are provided by proxy servers to those who use them. You will be able to maintain privacy and security on your system using a proxy server. In case you are using a proxy server, the traffic that is on the internet will go to the address you requested through the server. The request that you just sent will come to you again through the same proxy server. The server will then send you the data that it got from the website.
Since proxy servers are so powerful, there may be situations where you will need to disable the proxy settings so that unauthorised users do not end up misusing them. Proxy servers are quite important when it comes to maintaining the privacy that you have on your system. Thus, you have to do your best to ensure that you do not end up compromising your security unnecessarily. There are two methods that you can follow if you want to disable the proxy settings on your computer and we will be discussing both of them in the article. Are you excited to find out how to manage your proxy settings the way that you want to? Get ready to dive in and learn everything that you need to know.
Also Read:- Guide on setting up that new Windows 10 PC you received this holiday
Disabling proxy settings using Group Policy
This is the first method that we are going to discuss. The Group Policy Editor is an excellent tool that you can make use of to disable your settings. Take a look at the steps that you need to follow in order to disable your settings using this method:
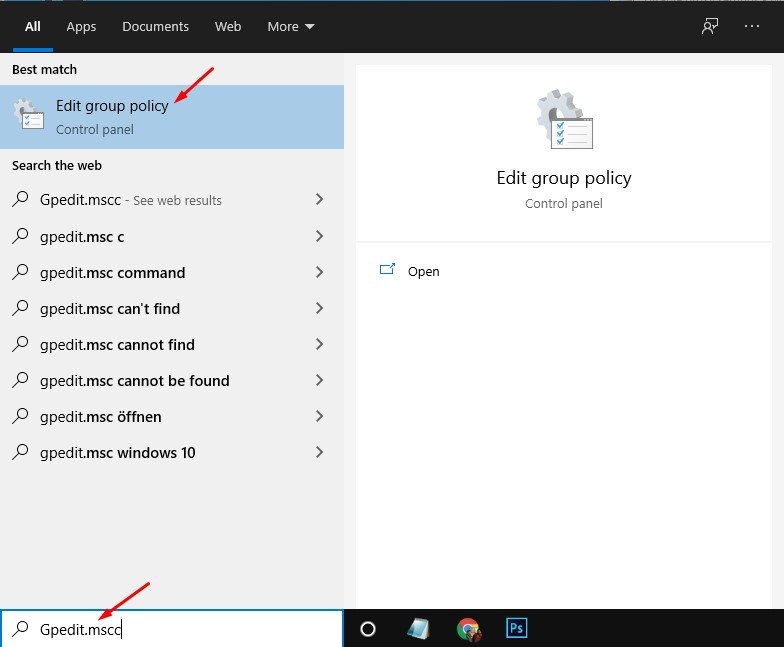
- The first thing that you will have to do is go to the Start menu. When you are there, you have to enter gpedit.msc and then select the OK option in order to open your Local Group Policy Editor.
- You will then have to go to the following options in the order that they are specified: User Configuration, Administrative Templates, Windows Components, and Internet Explorer.
- You will then have to go to the menu on the right and then select the option that tells you to stop changing the proxy settings policy. When you are done with that, you will then have to choose Enabled. After this is done, click the Apply button followed by the OK one.
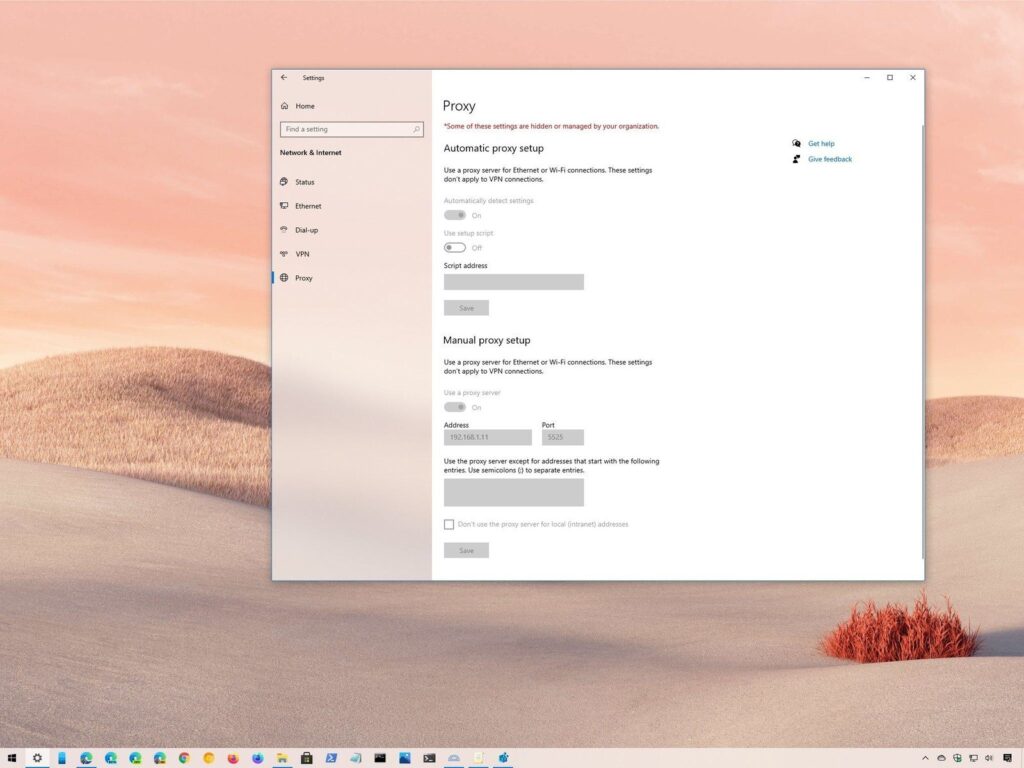
- When all of the steps have been completed, the proxy settings that were there under Settings will no longer be available to the users. Users will no longer be able to change any custom proxy configuration that you may have set up previously.
Disabling proxy settings using Registry
The other way in which you can disable settings is by using the Registry. If the edition of Windows 10 that you are using is Windows 10 Home, you will not be able to use the method that was given previously. You can use the Registry in case you want to disable the proxy settings in this case. You should keep in mind that editing the Registry may have dangerous consequences if not done properly. You will have to complete an entire backup of your system before you start to do it. If you want to disable your proxy settings by modifying the Registry, these are the steps that you will have to follow:
- You will have to first open the Start menu and then look for regedit. When you do this, click the Registry option that appears in front of you.
- You will then have to go the following in the order that is specified: HKEY_CURRENT_USER, Software, Policies, and Microsoft.
- You will then have to right-click the Microsoft key, choose New, and then Key.
- You will have to name the key that is there as Internet Explorer. Press Enter when you are done with this step.
- Now that you have created the key, right-click it, select New, and then Key.
- You will have to name the key Control Panel and press Enter when you are done.
- The Control Panel key should be right-clicked after this. Go to New and then select DWORD Value.
- The new key that has been created should be named as Proxy. You can press Enter when you are done. Select DWORD and give it any value from 0 to 1.
- After clicking the Ok button after this, restart your system.
- When all of this has been completed, the proxy settings can no longer be modified. Custom proxy settings will still be available and users will not have the ability to modify them.
Enabling proxy settings
Once you have disabled your proxy settings, you may be in a situation where you will have to enable them again. If you want to do this, you can follow the steps that are given here:
- You can follow the steps that were given before and access the Local Group Policy Editor. You will have to select the Prevent changing proxy settings policy option.
- After that is done, choose the Not configured option, click Apply, and then Ok.
- If you want to enable the settings using the Registry, you will have to follow the same steps that you did to disable the settings using Registry. When you select the DWORD value, you will have to change it from 1 to 0. After this, click Ok and then restart your system.
- The proxy settings will be available for modification again when you are done.
We hope that you found out to disable your proxy settings and enable them back again from the article. Please feel free to share the information that you got here with anyone that you think may need it. You can share the thoughts that you may have about the article in the comments section if you want to.