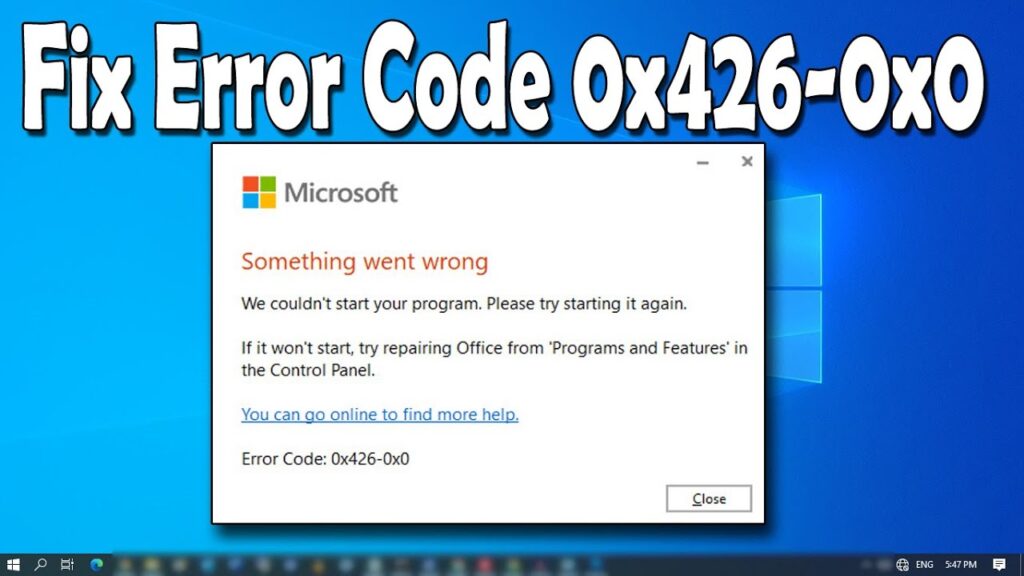
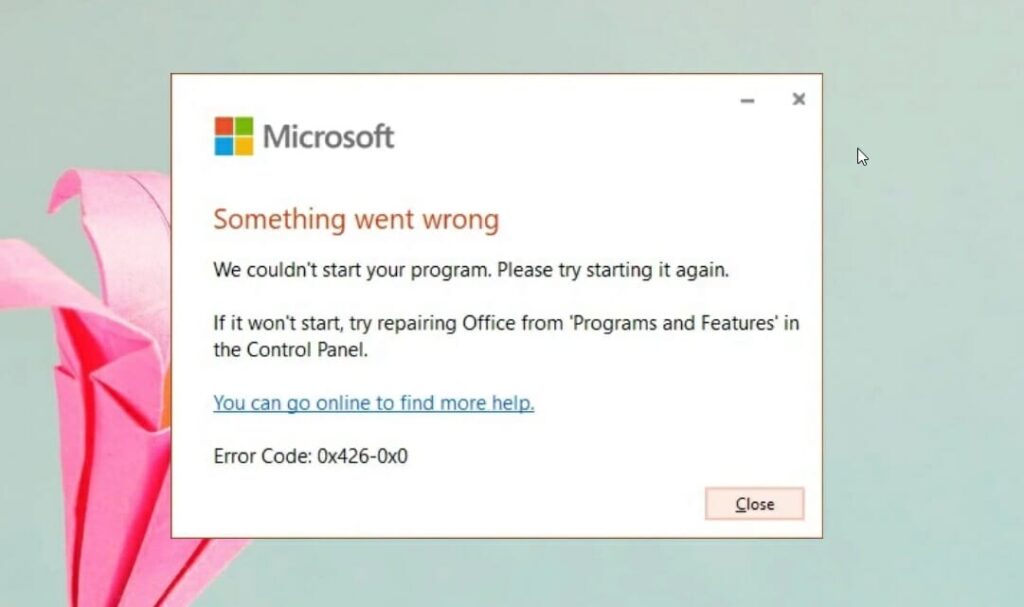
Microsoft Office error 0x426-0x0 is indeed an error code that appears when one of the Office Suite apps fails to launch. This issue is most common in Outlook, but it can also occur in other Office applications. Error 0x426-0x0 is commonly seen when users attempt to run Outlook, Excel, Word, or PowerPoint.
Troubleshooting this mistake takes time because the built-in Office repair tool frequently fails to complete the repair process.
Recommended Post:- Fixed: Windows 10 Activation Error Code 0xc004f211
Causes of Error Code 0x426-0x0
So, if you can’t always rely on the Repair feature, let’s look at what else you may try to fix issue 0x426-0x0:
Office Installation Files That Aren’t Working
It will be difficult to launch any program if installation files are missing or corrupt. In this instance, the files associated with the app you’re attempting to launch may be affected. It’s also possible that the entire Office has gone wrong. This could have occurred as a result of a failed shutdown or virus infection. Other factors could explain the problem, but the most important thing is to replace the damaged files.
Microsoft Office has been disabled. Click-to-Run Program
The Click-to-Run service is required for Microsoft updates to be streamed while the software is running. Disabling the service may result in an error.
Installation of an Old Office
A previous Microsoft Office installation may be incompatible with the most recent version. Are you one of those users that enjoys the benefits of two separate versions? If you are seeing the error, this could be the cause.
Interference from a Firewall or Antivirus
Antivirus and firewall software frequently stop lawful processes that they perceive to be dangerous.
Third-Party Applications in Conflict
Another problem to consider is software conflicts. Third-party programs or services may be interfering with the Office process, resulting in the error.
Steps to Fix Office 365 Error 0x426-0x0
To remove the error code, you must first resolve any underlying issues. The techniques in this article have helped many people permanently remove error messages.
So, proceed with the fixes one by one.
Solution 1: Repairing Office
Because defective installation files are one of the causes of the error, repairing them is one technique to eliminate it. This was the most successful option for many users.
Microsoft Office can be repaired in two ways. You can access the Control Panel or the Settings app. If your Office installation is Click-to-Run, you should use the Apps and Features section of the Settings app.
The steps below will guide you through the process of fixing Office through the Settings menu.
It is important to note that the following methods will assist you in repairing the complete Office suite, not just the software that is causing the mistake.
- Step 1: Right-click the Windows logo on your taskbar.
- Step 2: Select Apps and Features from the menu.
- Step 3: When the Apps & Features interface appears, type Microsoft Office into the search field.
- Step 4: When you see Microsoft Office, click it and then the Modify button.
- Step 5: When the User Account Control button appears, select Yes.
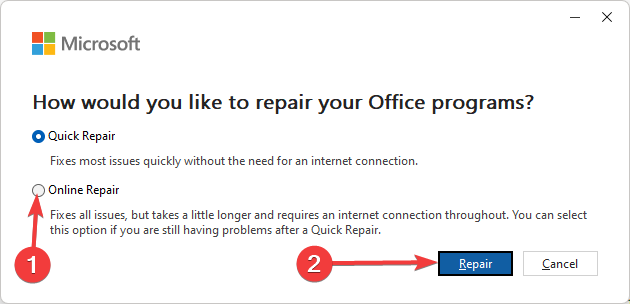
- Step 6: A dialogue box will now appear asking you how you want to fix your Office programs.
- Step 7: Choosing Quick Repair will use an offline tool that is already installed on your machine to scan for and repair common faults. If that doesn’t address the problem, run the Online Repair.
Make sure you have a good and reliable Internet connection before executing the Online Repair.
If your Microsoft Office is MSI-based, the “Change your installation” window will appear instead. If this is the case, select Repair. - Step 8: After the process is finished, restart your PC to see whether the problem still exists.
To use the Control Panel, follow these steps:
- Step 1: By pressing the Windows and R keyboard buttons together, you can open the Run dialogue window.
- Step 2: Once Run is open, put “control panel” (without quotation marks) into the text box and press the Enter key.
- Step 3: When the Control Panel window appears, select Uninstall a Program from the Programs menu. The window Apps and Features will now display.
- Step 4: The next step is to locate Microsoft Office, right-click it, and then select Change.
- Step 5: In the resulting window, select Repair and then follow the on-screen instructions to complete the process.
Solution 2: Uninstall/ Delete the Previous Office Installation
New and old Office installation files frequently clash and cause issues. It’s acceptable if you don’t want to give up some functionality from past Microsoft Office versions, thus you opted to block the new installation from overwriting the old one.
The problem is that the registry entries for these apps are frequently similar, which is a recipe for software conflicts.
Some users have already reported that uninstalling one installation removed the awful error number. If you’re in the same situation, you should give it a shot. The methods below will demonstrate how to uninstall the program:
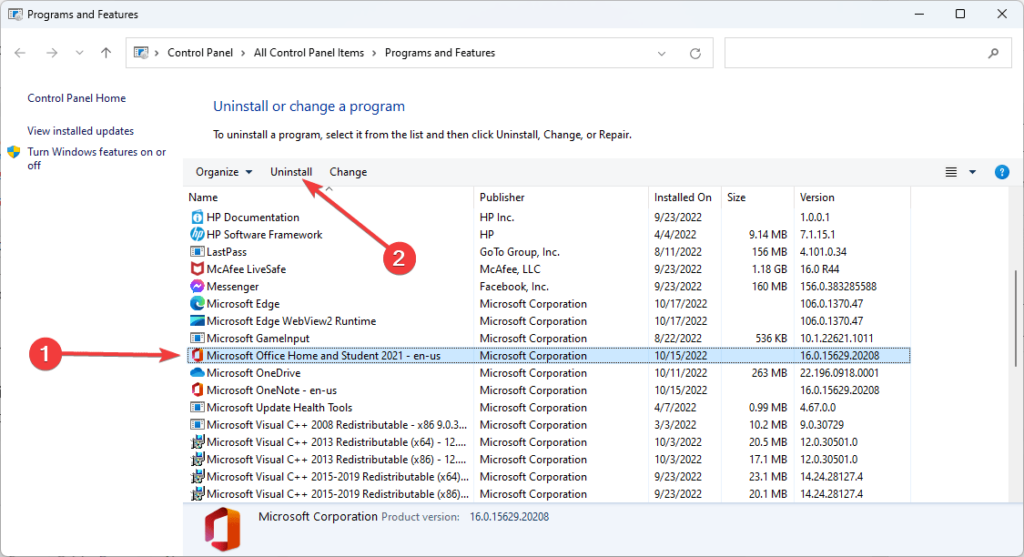
- Step 1: Launch the Control Panel.
- Step 2: Under Programs, select Uninstall a Program.
- Step 3: Locate the previous version of the Microsoft Office application in the Apps and Features box,
- Step 4: Click on it, and then click Uninstall.
- Step 5: In the User Account Control dialogue box, select Yes.
- Step 6: To finish the process, follow the directions that appear on the screen.
Solution 3: Microsoft Office should be reinstalled
If the problem persists, the next step should be to uninstall and reinstall Office. Hopefully, this will reset the software and resolve the issue. The procedure consists of uninstalling Office, erasing specific registry keys, and then reinstalling Office.
Uninstalling Office
- Step 1: Select Apps and Features by right-clicking the Windows logo in the taskbar.
- Step 2: In the Apps and Features pane, look for Microsoft Office, click on it, and then select Uninstall.
- Step 3: In the User Account Control prompt, select Yes, and then follow the on-screen directions to uninstall the app.
Solution 4: Turn on the Click-to-Run Service
The Click-to-Run service is a technology that speeds up the installation of Microsoft Office. It is mostly used to provide Office updates. The service allows you to continue using your applications while the updates are being installed. It speeds up the download and installation procedure in the background, allowing you to get back to work without interruption.
To fulfill its functions, the service must be enabled. If it is turned off and Office requires certain updates, you will be unable to operate any Office product normally. If you continue to see the Error Code 0x426-0x0, check the Click-to-Run service to ensure it is operational.
The steps below will show you what to do:
- Step 1: o access the search function, hit the Windows and S keyboard buttons at the same time, or click the magnifying glass in the taskbar.
- Step 2: When the Search box appears, type “services” (without quotation marks) into the text box.
- Step 3: In the search results, select Services.
- Step 4: After you see the Services application, navigate to where your system’s services are listed and scroll down until you find Microsoft Office. Click-to-Run service
- Step 5: When you arrive at the service, double-click it.
- Step 6: Stay on the General tab after the Properties dialogue window opens.
- Step 7: Select Automatic from the Startup Type drop-down menu. This ensures that the service begins automatically whenever it is required.
- Step 8: If the service isn’t running, click the Start button in the “Service status” section, which is located directly beneath the Startup Type drop-down menu.
- Step 9: Click the OK button to save your changes, then restart the Office program to see if the error appears again.
Solution 5: Make Microsoft Office an exception in your antivirus software
Because your antivirus program is interfering with the process, the error code may display anytime you try to run an Office application for some strange reason. Antivirus programs normally take action when they detect a threat. This is unusual because Microsoft apps are normally safe.
The problem was resolved once some users disabled their system protection measures. However, because it is not advisable to leave your computer vulnerable to attacks, we recommend that you proceed with caution.
Consider preventing your antivirus from interfering with Microsoft’s processes before turning it off. To do so, add the Microsoft Office installation folder as an exception. The exception function is also known as exclusions or exemptions in various security programs. In others, you must look for the Whitelist or Safelist. If you don’t know how to add an exception (or exclusion or whitelist as it’s known in other programs), go to your antivirus’s website for instructions. The methods below will show you how to exclude Microsoft Office from the Windows Security application:
- Step 1: Expand the system tray by clicking the “Show hidden icons” arrow on the right side of the taskbar.
- Step 2: When the hidden icons show, select the white shield that represents the Windows Security program.
- Step 3: When the software loads, select Virus & Threat Protection.
- Step 4: Scroll down to the Virus & Threat Protection Settings section and select Manage Settings.
- Step 5: Scroll down to Exclusions and select “Add or remove exclusions” after the Virus & Threat Protection Settings page opens.
- Step 6: On the Exclusions tab, click the + symbol next to “Add an exclusion,” then select Folder from the context menu.
- Step 7: Navigate to your Program Files folder and pick the Microsoft Office installation folder after the Select Folder dialogue window opens.
- Step 8: Select the Folder by clicking on it.
- Step 9: You can also exclude the Click-to-Run folder from the list. Navigate to C: >> Program Files >> Common Files >> Microsoft Shared and pick the ClickToRun folder, then click the Select Folder button.
- Step 10: You can now attempt to run the program.
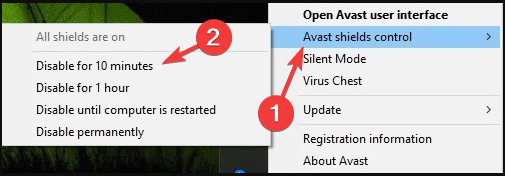
If it doesn’t work, turn off the antivirus software. Take the following steps:
- Step 1: Expand the system tray by clicking the “Show hidden icons” arrow on the right side of the taskbar.
- Step 2: When the hidden icons show, select the white shield that represents the Windows Security program.
- Step 3: When the software loads, select Virus & Threat Protection.
- Step 4: Scroll down to the Virus & Threat Protection Settings section and select Manage Settings.
- Step 5: Turn off Real-time Protection on the next screen.
- Step 6: Run the program and look for errors.
Solution 6: Enable Microsoft Office to Pass Through Your Firewall
Another security app to consider is your firewall software. As you may be aware, Microsoft Office frequently connects to the Internet while updating or retrieving files saved to OneDrive. The application may also connect to Microsoft servers to verify that your license is still valid.
If the firewall prevents it from connecting, you may have a problem. This is frequently the source of the error code.
So, the simple answer would be to disable the firewall so that it does not block the program. However, that could be a nuclear option, allowing your system to be compromised. Allowing Microsoft Office via the firewall is the safest option. You can also enable the Click-to-Run service to ensure that it is not banned.
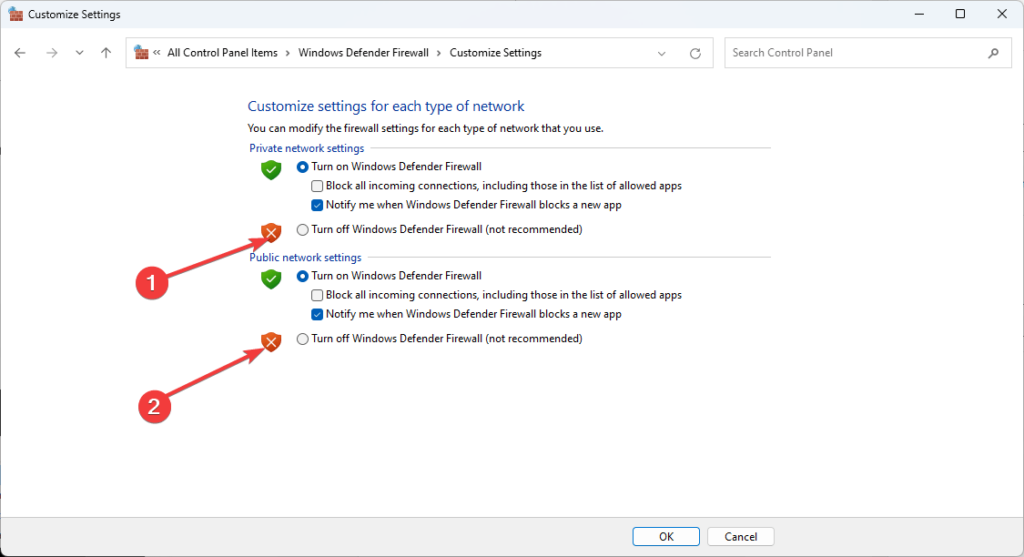
Depending on the application, there are various ways to allow software over the firewall. If you use the third-party software, you can learn how to do so by visiting the app’s developer’s website. However, if you use the Windows Defender firewall, you should do the following steps:
- Step 1: To expand the system tray, go to the right side of the taskbar and click the “Show hidden icons” arrow.
- Step 2: When the icons display, select the Windows Security emblem, which is a white shield.
- Step 3: When Windows Security appears, select “Firewall & network protection.”
- Step 4: When the Firewall & network protection page appears, click on “Allow an app via firewall.”
- Step 5: When the Allowed Apps dialogue box appears, select the “Change settings” button.
- Step 6: Locate ClickToRun in the list of “Allowed apps and features.” If it’s not on the list, click the “Allow another app” button in the bottom-right corner of the window. Navigate to the ClickToRun installation folder
- Step 7: Double-click the Click-to-Run Client file once you’ve found it. Select Add.
- Step 8: After you’ve added it, click the boxes to the right of it that say Private and Public.
- Step 9: Click OK, and then check to see if the program may now be opened normally.
Conclusion
When one of the Office Suite’s products fails to open, Microsoft Office displays the error code 0x426-0x0. Although it is most common in Word, this issue can also occur in other Office programs. When users try to launch Outlook, Excel, Word, or PowerPoint, for example, error 0x426-0x0 may appear. If you encounter various repetitions of this error, such as Office 2019 error code 0x426-0x0, Microsoft Excel error code 0x426-0x0, and MS Word error code 0x426-0x0, the fixes should work.


