The microphone being a pretty simple yet important hardware component of any computer these days, it is important to keep it in check. Well, Microphones are not the most problematic component in a computer but they sometimes cause trouble with the system and its functioning. Some users have recently faced issues with the Microphone not showing up in the device list, which is a topic of concern as users often need to use microphones to get done with work.
So, in Windows computers, every component gets to have driver software that bridges the communication gap between the OS and the hardware component, so the device is well connected and works accordingly. The driver software is needed to be downloaded from the internet and installed on the computer to run a certain hardware component smoothly and the driver software gets updates often which needs to be installed to keep the device up to date and running. Well, any issue that occurs to a hardware component is primarily related to the driver software installed to run it and fixing those drivers is pretty simple.
Recommended Post:- How to Create a Slideshow with Music on Windows 11 and 10
Most modern computers that users purchase comes with built-in drivers as a package so users don’t have to go the extra mile installing the drivers and the OS is also made smart in a way that allows the OS to automatically download and install the necessary drivers on the computer to run the components smoothly.
So, here in this article we will look into the cause of the issue of the Microphone not showing in the device list and try to resolve the issue using some simple methods. Follow along and get the issue resolved on your Windows 10/ 11 computer.
Methods to Resolve the Microphone not Showing on the Device List Issue on your Windows 10/11
The Microphone not showing on the devices list issue is not fairly common on Windows computers, but here we are trying to resolve the issue to get started with working peacefully. So, if you have an issue with the Microphone, here are some simple methods that you can use and fix the issue on your computer.
Method 1: Re-Enable the Microphone from the Control Panel
At times, the devices can get disabled by mistake or by accident and re-enabling it will do the trick, re-enabling the device is as simple as turning a switch on and to re-enable the microphone device, follow the steps mentioned below.
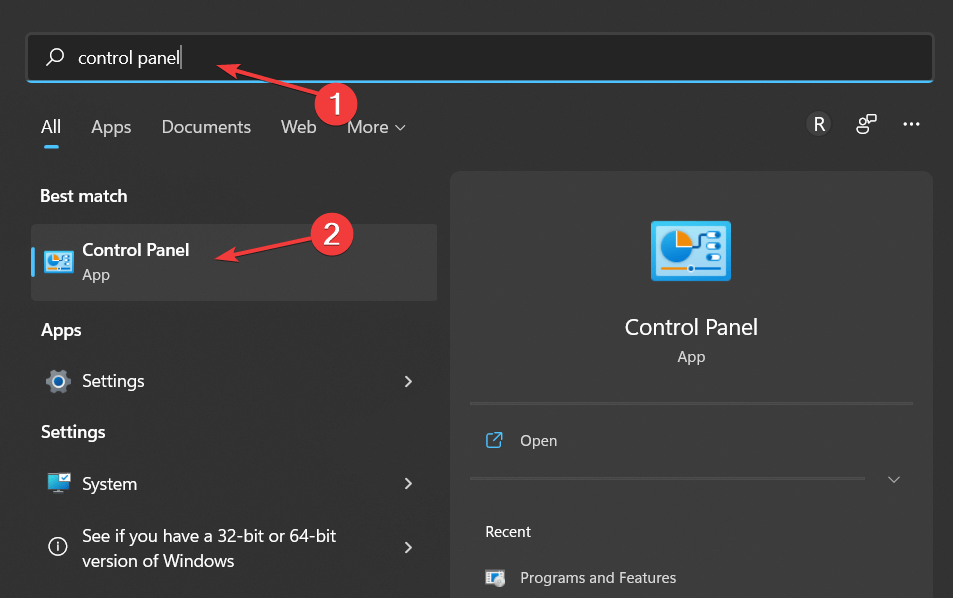
- To re-enable the Microphone from the control panel, open the control panel app by using the search function on your computer.
- Now, in the control panel, navigate to the sounds option and here go to the recording tab.
- Now, right-click on the Window and click on the show disabled devices option.
- Here, your built-in microphone should appear and you can now enable it.
Method 2: Check for Hardware Changes in the Device Manager
Sometimes what happens is your computer loads up but some components stay disabled. Happenings like these are very rare and to fix this issue, you just have to scan for hardware changes in the device manager.
- To check for the hardware in the device manager, open the device manager using the search function on your computer.
- Now, here in the device manager, find the scan for hardware changes option(the icon with a monitor and a magnifying lens) and click on it.
- The scan will run and if the microphone hardware has been identified, it will be displayed in the list.
Well, in some cases, the microphone will not show up on the list even after yo scan for hardware changes and in this case, you can assume that the hardware component might be damaged or is not connected to the system properly.
Method 3: Reinstall Microphone Drivers
Reinstalling Microphone drivers is a simple solution, you can try this method if the first two methods fail as this method is comparatively more tricky that the previously mentioned two methods. So, to reinstall the microphone driver, follow the steps mentioned below.
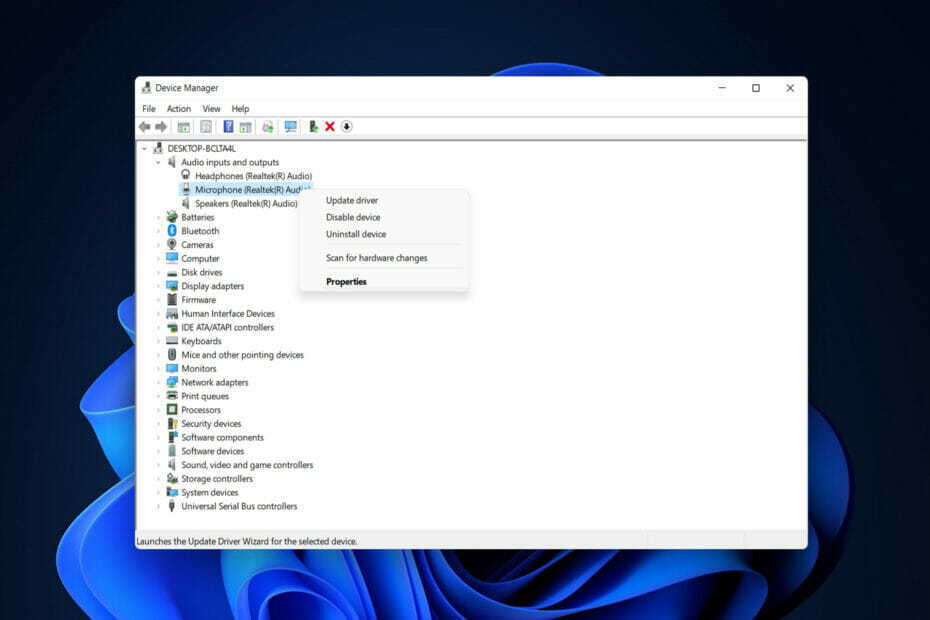
- First, right-click on the search bar and select the device manager.
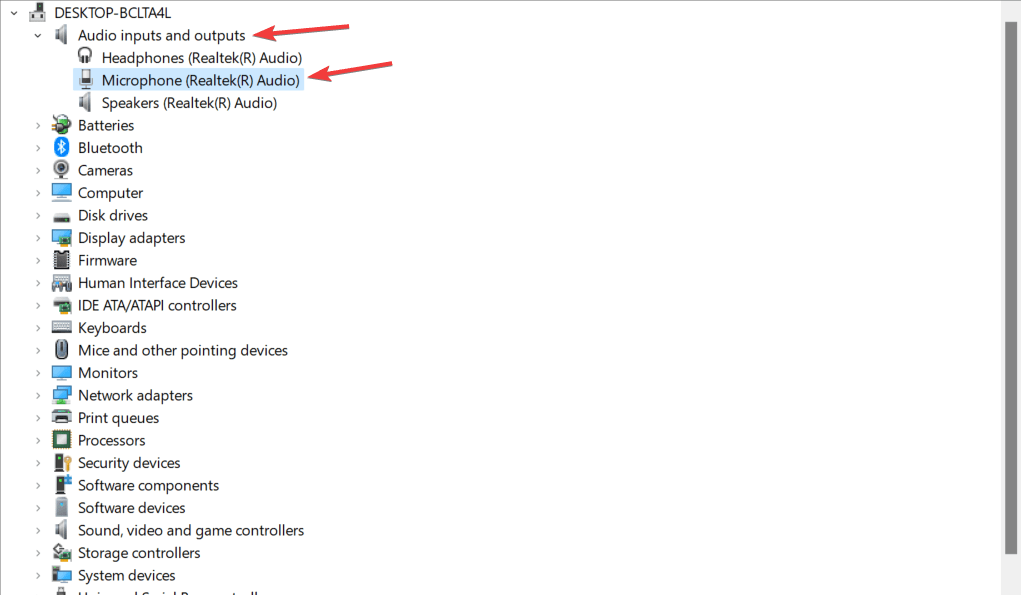
- Now, in the device manager, find the audio input and output option and click on it.
- Now, once it has expanded and you can see the list of audio devices connected on your computer, right-click on the microphone option.
- Now, click on the uninstall device option to uninstall the device from your computer.
- Now to reinstall the driver, restart your computer and the driver will automatically be installed if you are connected to the internet.
Well, these are pretty much everything you can do to fix the microphone not showing in the list of devices on your computer, well, these resolutions can be used for any device that is missing from the list of devices, but in those cases, you have to navigate to the particular components settings to fix the issue.
It is also advised that you keep the driver software updated to prevent some of these issues in the future as updating driver software can help you keep the devices in check and issues like this dont continue often.
Hope the information provided above was helpful and informative, with these simple methods, you can fix the microphone not listed in the device list issue with ease.


