Virtual memory as a concept has been very much discussed by all tech enthusiasts. The feature is promising and is used on computers. Modern OSes support virtual memory and provide the users with the capabilities to alter it. Well, the concept is a little vague but, we will make it easier to understand and will put up a method to increase the Virtual memory.
If you have been using a computer for a long, you probably know what memory is, so, for those who wonder what memory is, it is the RAM(random access memory)and not the ROM(hard disk), so, its important to understand what’s the difference between ROM and RAM well, the RAM is a volatile memory with high-speed data transferring capabilities but the ROM is a permanent data storage device with a slower transfer speed. So, to run a computer smoothly, a high speed and volatile data unit are required and that’s why RAM is used.
Well, the data processing in a computer is structured in such a way that the data that goes to the processor for processing is temporarily stored in the RAM so the CPU gets speedy access to the files that are to be processed, i.e the data from the hard disk is temporarily stored to the RAM, from where the processor takes up the data and processed them. This is a very basic functioning of the memory management unit.
With this said, some of you might wonder how a hardware component like a hard disk can become virtual. Well, there is an explanation, for all this. So, to put it in words, virtual memory is a portion of the hard drive that has been utilized by the memory management unit to run different programs at ones, the application or the process running on the Virtual memory has separate identification codes specif to their data, so the data of one program doesn’t get overlapped on to other programs. Well, this might sound a bit complicated but the system is pretty well designed to make memory management and multitasking easier. Virtual memory in a Windows computer works similar to that of the concept.
So, until now, we have only discussed what virtual memory is, now, let’s dive into its uses in the computer, and why using virtual memory is good for your computer.
Recommended Post:- How to Enable Hibernate Mode on Windows 11 – Complete Guide
Why use Virtual Memory
There are some crucial benefits to using virtual memory in Windows computers. Here are some benefits you can learn and know why using virtual memory is good.
- The RAM is not overloaded with all running programs, so you can smoothly run the program at priority.
- There will be a performance hike.
- Memory allocation becoms easier.
- Large programs can be run smoothly.
- Mapping of the data is easily managed by the MMU.
Well, the main benefit of using virtual memory is the performance boost and smooth processing.
With the benefits now, let’s dive into learning how to increase the virtual memory on Windows 11 OS.
Method to Increase the Virtual Memory on Windows 11
The method mentioned here is using a command prompt. Using the command prompt might seem to be difficult, but in actuality, it’s pretty simple, so to make things even easier, here is the step-by-step guide to increasing the virtual memory on Windows 11 using the command prompt.
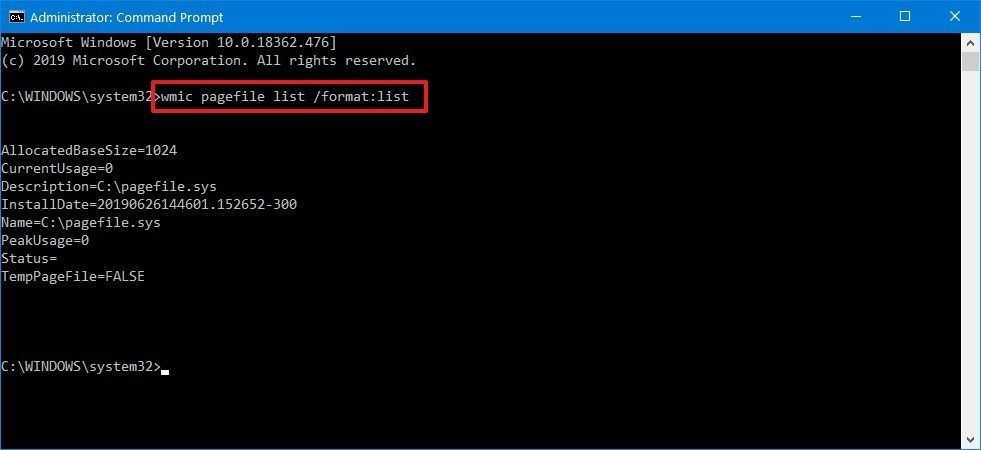
- Firstly, open the command prompt by searching for command prompt in the search bar, and then right-click on the icon and select the run as an administrator option.
- Now, once the command ptompt terminal opens, enter the command “wmic pagefile list /format:list” and hit enter.
- Once the command runs, you have to enter the command “wmic computersystem where name=”%computername%” set AutomaticManagedPagefile=false”, this will disable automatic paging of files.
- Now once the automatic paging is disabled, you can set the virtual memory value with this command “wmic pagefileset where name=”C:\pagefile.sys” set InitialSize=YOUR-INITIAL-SIZE,MaximumSize=YOUR-MAXIMUM-SIZE.
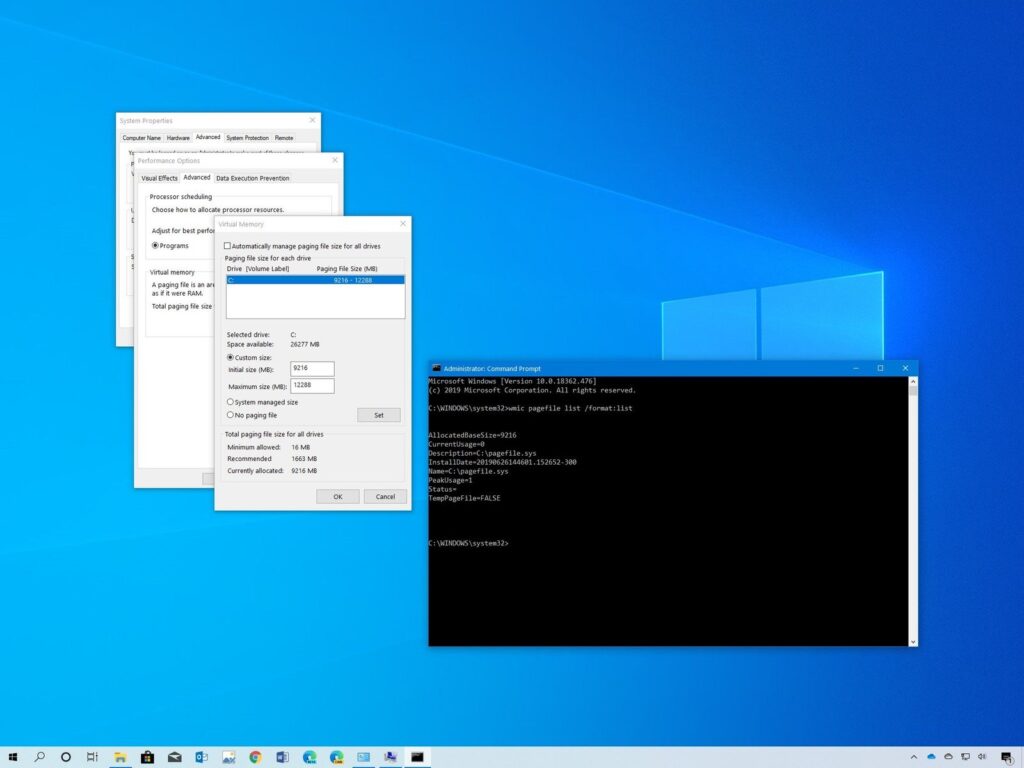
- Here enter the initial virtual memory value in the “YOUR-INITIAL-SIZE” and the maximum size in the “YOUR-MAXIMUM-SIZE” (to find the initial size of the virtual memory on your computer navigate to system properties > advanced tab > performance settings > advanced tab > virtual memory).
- Once done hit enter to run the command.
- Once the common runs, exit the command prompt and restart the computer.
- Once you have restarted the computer, open the command prompt as an administrator, using the above mentioned method.
- Once you have restarted the computer, you will find that the virtual memory would have been increased from the previous one.
So, you now know to increase the virtual memory size on your Windows 11 computer, and if you want to try the normal method go to the system properties > advanced tab > performance settings > advanced tab > virtual memory and then click on the change button, now, just remove the tick mark near the automatically manage paging files size for all drivers, and then click on custom size and enter the value you prefer. Once done click on Ok to apply the changes. You have to restart your computer to effect the changes.
Hope the information provided above was helpful and informative, you can now change the virtual memory size on your computer with ease. Make sure that you use a logical size so, the performance of the computer doesn’t degrade.


