If you’re experiencing trouble accessing certain websites or apps, one solution is to clear your computer’s DNS cache. The method you employ depends on the device you’re using, as it differs from Windows to Mac and from Chrome OS to Linux.

This article will show you how to flush DNS in Windows 11 or Windows 10 using CMD, PowerShell, Microsoft Edge, and Google Chrome.
The primary purpose is to resolve “Page Not Found” errors, but it can also be used to increase your security or privacy.
Recommended Post:- How to fix Windows 10 Login Screen doesn’t Appear
What exactly is DNS cache?
Firstly, a DNS (Domain Name System) cache is a record of all requests performed by your browser to a DNS server. When you enter a URL into your browser, it sends a request to the DNS server for the IP address of the URL. After receiving the IP address, your browser can load the relevant page in your window.
But what happens if you try to access the website again? Is the browser required to send a new request to the DNS server?
No. Most operating systems will cache IP addresses and other Domain Name System entries by default to respond to future requests more rapidly. This is the location of your DNS cache. The DNS cache saves browsers from having to make a fresh request, allowing them to load the website using previously saved information. This minimizes server response times, allowing the site to load faster.
What is the purpose of flush DNS?
Flushing DNS will remove your cache of any IP addresses or other DNS entries. This can aid in the resolution of security, internet connectivity, and other concerns.
For example, the first time we type https://lonezscents.com/ into my browser’s address bar, the browser must query DNS servers where to find the site. Once the information is obtained, the browser can store it in its local cache. The next time I type in that website address, the browser will seek its DNS information in the local cache first, allowing it to find the site faster.
The issue is that harmful IP addresses or corrupted results may be cached and must be erased. The DNS cache can potentially interfere with your ability to connect to the internet and cause other problems. Whatever the cause, you can force the process of emptying this cache — or “flushing DNS” — on all major operating systems.
It’s critical to note that your DNS cache will periodically clear itself without your assistance. That’s because, in addition to collecting all information necessary to identify and find a website, the DNS cache also saves a component known as TTL or time to live.
TTL determines the amount of time (in seconds) that a DNS record for a site remains valid. During this time, any inquiries to the website are answered from the local cache rather than the DNS server. The entry will be removed from the cache after the TTL expires.
However, there are times when you may need to force a DNS flush rather than wait for all of the entries’ TTLs to expire. Let’s look at why in more detail below.
Why Should You Clean DNS?
There are several reasons why you might need to cleanse your DNS cache. These reasons could be related to security, technical issues, or data privacy. Let’s go over each one briefly below.
You want to keep DNS spoofing at bay
DNS spoofing, also known as DNS cache poisoning, is an attack in which bad actors gain access to your DNS cache and modify the information to send you to malicious websites. In certain situations, they will redirect you to a phony website that looks identical to the intended destination for you to provide sensitive information, such as your online banking login information.
You are encountering a 404 error
Assume you cached the DNS information for a site that has since been relocated to a new domain name or host. In that instance, the DNS information on your computer may not be updated immediately, and you may encounter a 404 error or an older version of a site while attempting to view it. Although the information in your DNS cache will ultimately be updated, you do not have to wait. The DNS cache can be cleared at any time.
You are having difficulty visiting a website
If you’re experiencing difficulties loading a page, consider clearing your browser’s temporary files and cookies and modifying your browser settings to disable pop-up blockers and allow sites to save and read cookies first. If all other alternatives have been tried, you can cleanse your DNS records and send a new request to the server.
You prefer to keep your search history secret
You typically think of cookies when you think of tracking user behavior on the internet, but the DNS cache can also reveal your search history. This is because the DNS cache is intended to function as a virtual address book, keeping information about the websites you frequently visit. It’s a good idea to flush your DNS cache regularly to keep this information away from data collectors or unscrupulous actors on the internet.
Now that we know what flushing your DNS cache implies and why you’d want to do that, let’s go through how to do it.
Methods to Flush & Reset DNS on Windows 11
After getting to know everything about DNS and flushing it now let us have a look at how to flush and reset DNS on Windows 11. They are as follows:
Method 1: Make Use of Command Prompt
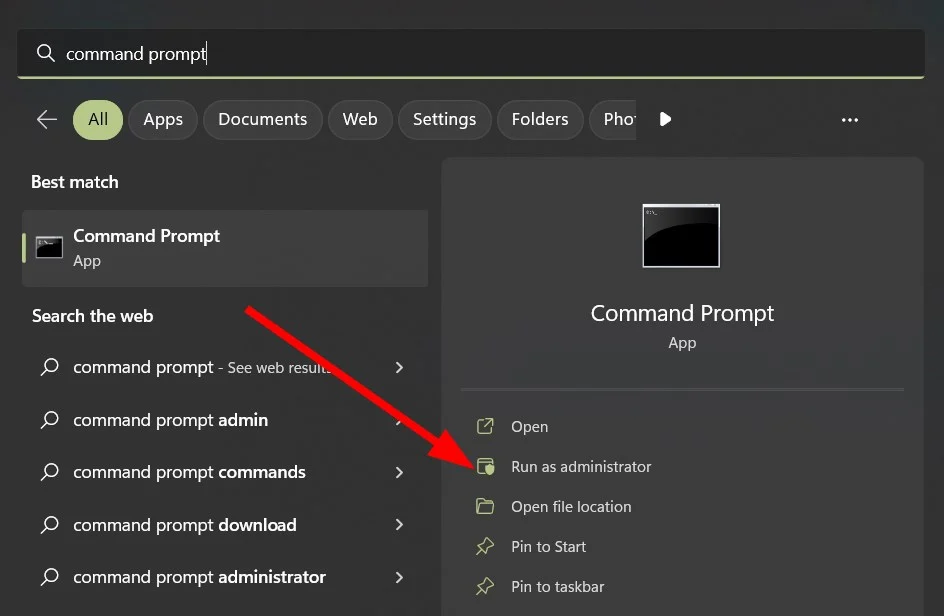
- Step 1: Launch a Command Prompt window in Administrator mode. To do so, type “cmd” (without the quotations) into the Windows search box and choose Run as Administrator.
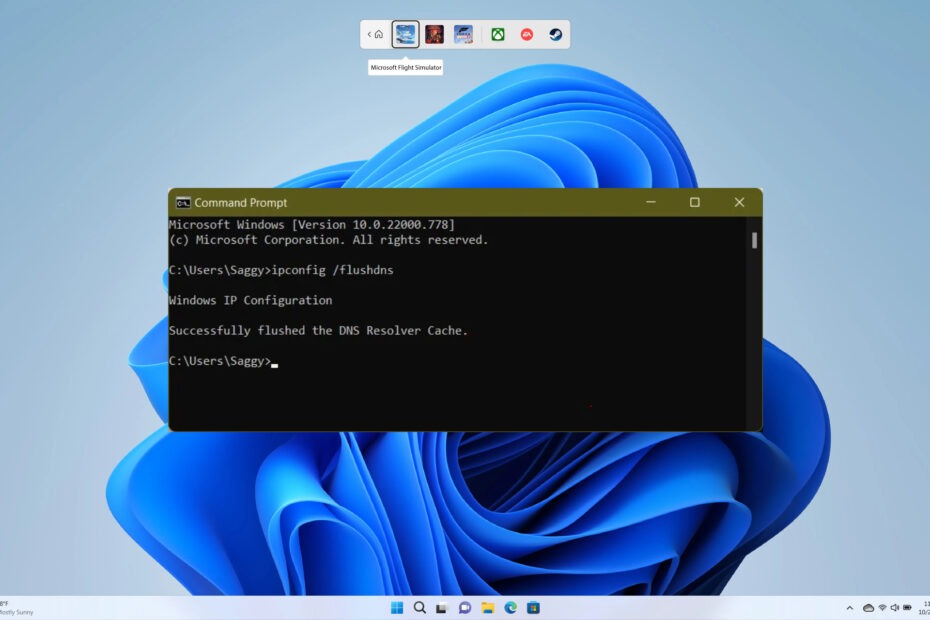
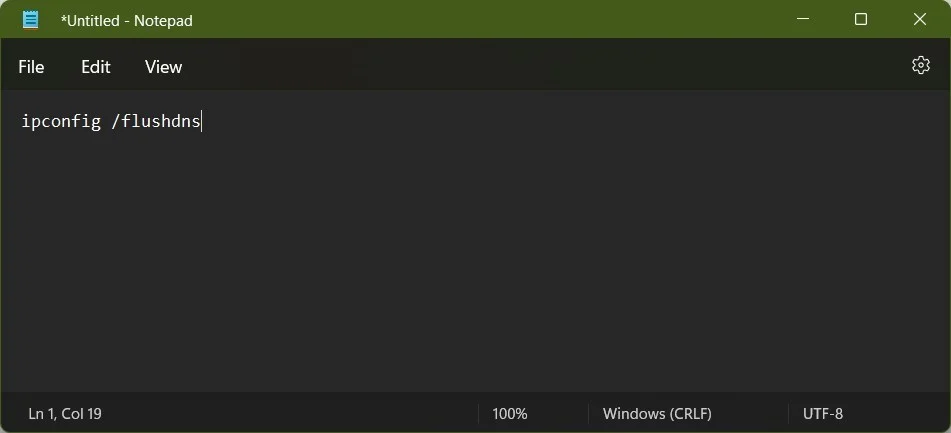
- Step 2: To flush the DNS cache on your Windows 11 computer, copy and paste the following command: ipconfig/flushdns and click Enter. You will receive a notification that the operation was successful.
Method 2: Make use of Windows PowerShell
PowerShell can also be used to flush the DNS cache on Windows 11 PCs. This is how you do it:
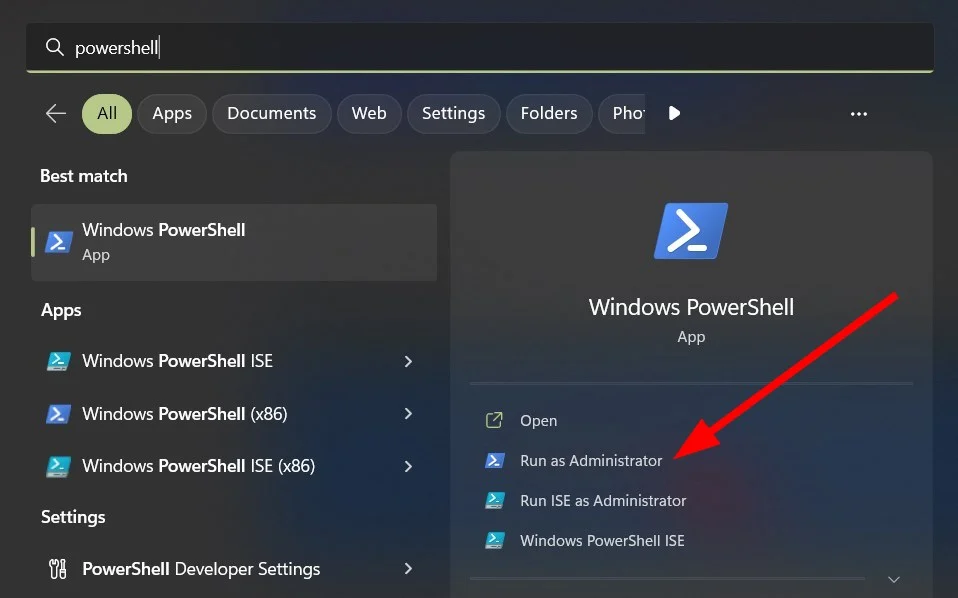
- Step 1: On your Windows PC, launch Windows PowerShell in administrative mode. To do so, type “PowerShell” into the Windows search box and select Run as administrator.
- Step 2: Paste the following command into the PowerShell window and hit Enter: Clear-DnsClientCache. This will immediately delete your Windows 11 computer’s DNS cache.
Method 3: Making Use of a Run Command
You can also remove the DNS cache directly from the Run dialogue box, bypassing the Command Prompt and PowerShell. This is probably the simplest technique to clear the DNS cache on a Windows PC, and it works as follows:
Using the Windows 11 keyboard shortcut Windows key + R, open the Run box. Now, enter the following command: ipconfig /flushdns. This will clear your Windows 11 computer’s DNS cache.
Method 4: Making Use of a Batch File
Finally, if you’d prefer to automate the process of flushing the DNS cache on your Windows PC, you can do so by creating and running a batch file. So, download and run this batch file to remove the DNS cache on Windows 11.
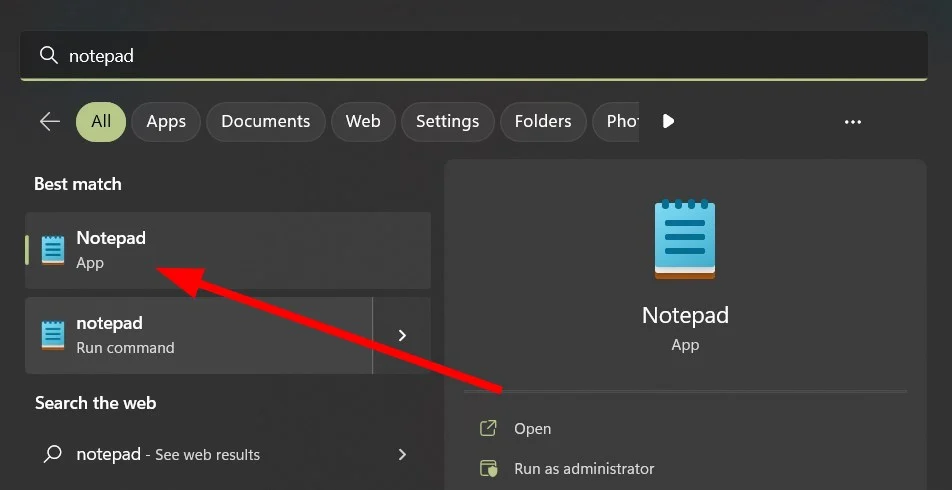
In case you’re not familiar, a batch file contains a series of commands that can be executed at regular intervals or on demand. For more information, read our in-depth article on batch files and how to use them to automate operations on Windows.
Chrome DNS Cache Delete
Some Windows programs, including Google Chrome, have their DNS caches. It is distinct from the DNS cache kept by your operating system. In these circumstances, you must also clear the DNS Cache of these applications. This is how you do it with Google Chrome:
To begin, launch Google Chrome on your PC. Now, in the browser’s address bar, copy and paste the following URL: chrome:/net-internals/#dns, and press Enter. It will open Chrome’s “net internals” page’s DNS tab. To clear Chrome’s DNS resolver cache, click the “Clear host cache” button.
Conclusion
Apart from the obvious advantages of having a relevant website cache and faster internet navigation, there are two additional essential reasons why you should empty your DNS cache regularly. The first is personal privacy.
True, DNS does not retain information in the same manner that browser cookies do. It does, however, contain information on the websites you’ve just visited as well as those you frequent regularly. This means that your privacy could be jeopardized if someone gains access to your DNS cache.
Another factor is basic safety. If fraudsters gain access to your DNS cache, they can alter or replace the IP addresses of websites stored inside. This, sometimes known as DNS poisoning, can be a serious security issue. If hackers successfully redirect you to another page, they can collect critical information such as account passwords and credit card details.
Clearing the DNS cache ensures that all useless and obsolete information about websites is erased, keeping your internet browsing secure.
Thus, these are the methods for flushing the DNS cache on Windows 11. This is a small step that can save you a lot of headaches, protect your privacy, and, of course, speed up your website navigation.


