You may have noticed the varying folder layout settings for different folders in Windows File Explorer. Some folders have smaller icons, while others have a large icon display layout. In Windows 11/10/8/7, you can choose from a variety of folder layouts for any folder.

Windows OS detects the contents of a folder using Automatic Folder Type Discovery and then automatically adapts the folder view to its template – for example, Pictures, Video, etc. However, if a folder has a mix of file types, the General items template will be used.
While Windows has chosen these options based on the type of files in the folder, you can change the default Folder View for all folders if you choose. In this post, we’ll show you how to make the current folder’s view settings the default for all other folders on your PC.
Recommended Post:- Windows XP Sounds for Windows 11: How to Download and Set Up
What exactly are Folder Templates?
Let’s have a look at how folder templates function before we adjust the folder’s view settings. You may have noticed that folders containing images have a different display layout than folders containing movies or documents. This is the folder optimization technique in use, which selects one of the five templates for any folder based on the content contained within it. These are the templates:
- General Items – This term refers to any folder that contains a mix of files and other sub-folders.
- Documents – This term refers to folders that hold documents (Word files, text files, etc.)
- Pictures – This term refers to image file folders (.jpg, .png files, etc.)
- Music – This applies to all folders that contain music files (.mp3, .wav, etc.)
- Videos – This applies to any folder that only contains video content (.mp4, .avi, etc.)
In a nutshell, a Folder Template is nothing more than a folder layout or view.
When you create a new folder and add files to it, Windows tries to determine the folder template depending on the content. When you store mixed-type files in any folder, Windows assigns General Items as the folder template by default. To inspect the template of any folder, right-click on its icon and select Properties. Navigate to the Customize tab to view the appropriate template optimized for the folder in question.
In Windows, Configure a default Folder View for all Folders
Now that we’ve covered the fundamentals, let’s move on to the work at hand. Only folders that are optimized for the same folder template type can have their view settings applied. Once the view layout has been generalized for a folder template type (say, Music), any changes to the layout of file icons (from tile icons to big icons) will be reflected in all other folders that are optimized for the Music template. To apply the folder view settings across a folder template type, follow the steps below:
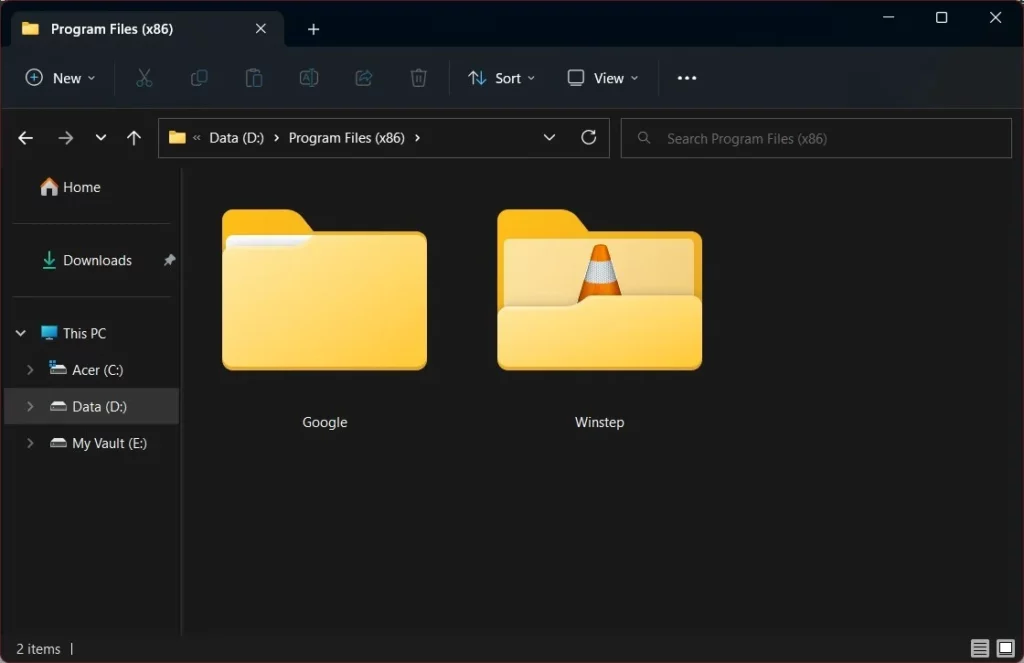
- Step 1: Launch File Explorer by using the Windows Key + E key combination and navigate to the folder you wish to utilize as a source for view layout settings.
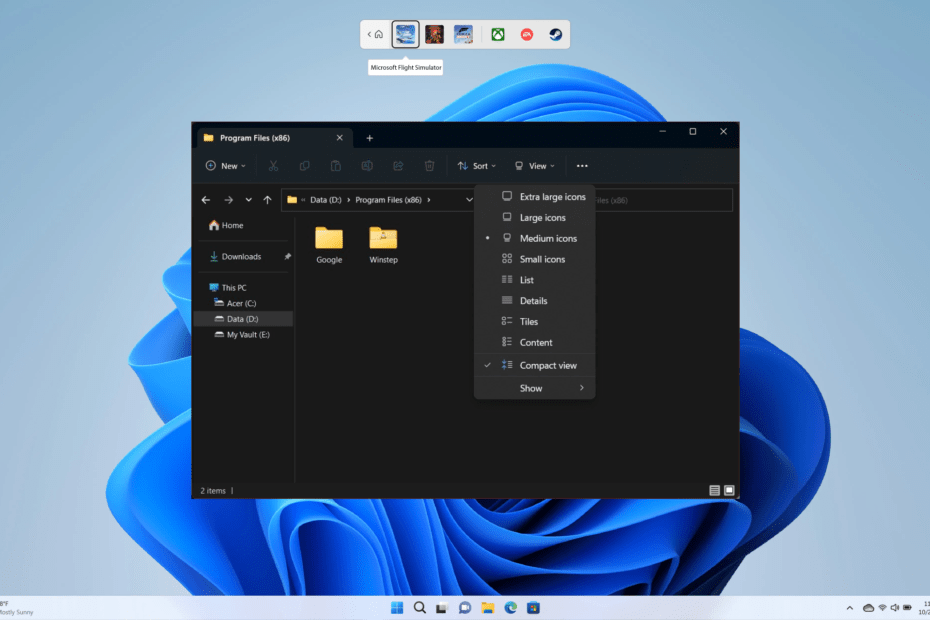
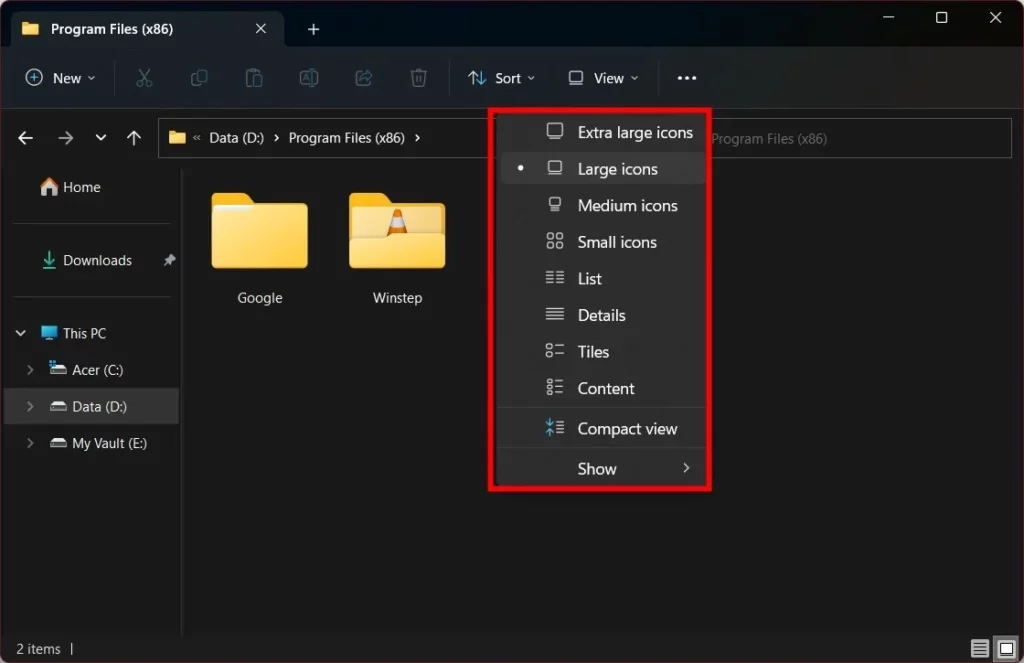
- Step 2: Because Windows 11 has a new UI in File Explorer, the View tab is no longer available. Instead, under File Explorer, click the View button and select a configuration that meets your needs.
- Step 3: Windows 11 users should then click on the three-dotted icon and pick Options from the list.
- Step 4: If you are using Windows 10, navigate to the View tab in the ribbon bar at the top and alter the settings as desired. You can customize the layout and select which folder details to display, as well as add new panes and set column width.
- Step 5: When you’re through making adjustments, click Options to access the File Explorer Options, formerly known as Folder Options. window.
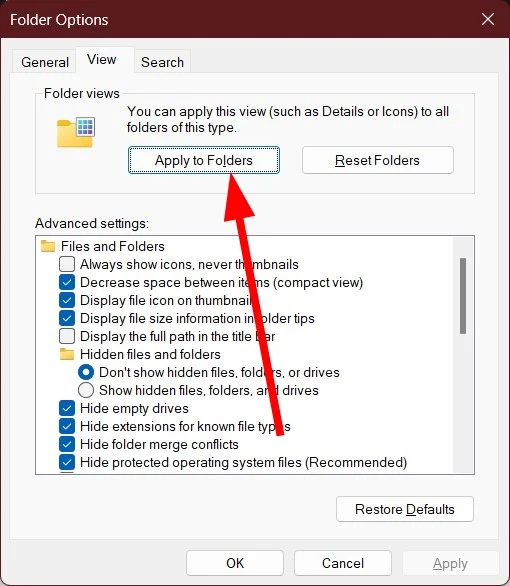
- Step 6: Finally, in the Folder Options box, navigate to the View tab.
- Step 7: Tap or click the Apply to Folders icon.
- Step 8: In the confirmation window that appears, click/tap Yes.
- Step 9: In Windows 10, how do you apply a folder’s view settings to all folders?
- Step 10: On the Folder Options window, click/tap OK to save the settings.
That’s all there is to it. You’ve just made the view settings for a specific folder template type system-wide. We hope this helps you.
What is the best way to modify the default view for all folders?
To change the default view for all folders, follow the instructions above. There are primarily two approaches. To begin, right-click after opening a folder and select Properties. Navigate to the Customize tab and select a template from the drop-down menu. Check the option that says “Apply this template to all subfolders” and then click the OK button. You can also accomplish the same thing by selecting View.
In Windows 11, how do you get a folder view to show all subfolders?
To gain folder view to all subfolders in Windows 11/10, open a folder and right-click in space to open the context menu, and select the Properties option. Then, go to the Customize tab and select Pictures from the drop-down menu. Tick the box next to Apply this template to all subfolders. Finally, press the OK button.
Conclusion
Folders in your File Explorer take on a whole different appearance over time than when you initially signed in to the computer. There are various reasons why you might have altered the default look of your File Explorer.
Whatever the reason, you may restore your File Explorer to its default state by following the instructions in this guide.
That’s all! We hope this article helped you keep the same folder view settings for comparable types of folders. Thank you very much, and happy reading!!!


Unfortunately, this doesn’t work under Windows 11, other than for the initial folder selected.