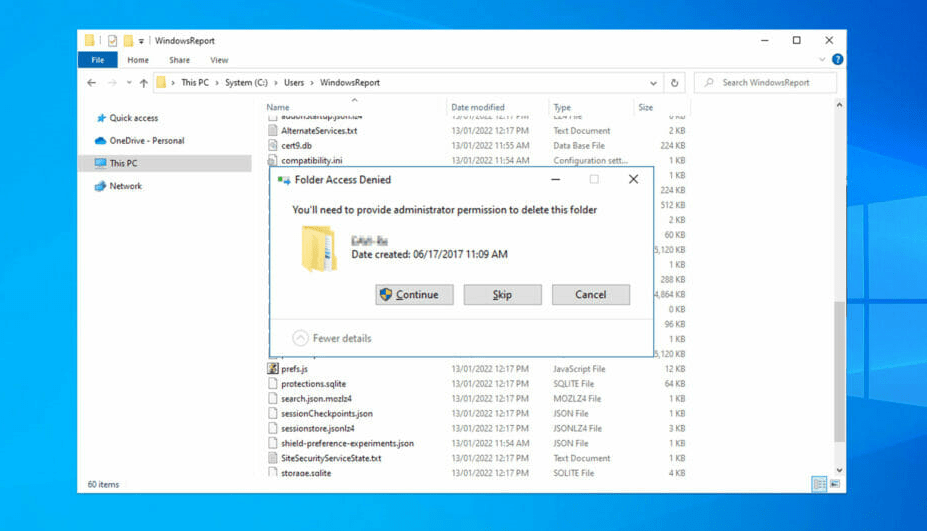
Administrator privileges in Windows OS is a very basic security feature that is in place to prevent malicious files and unauthorized users from accessing important data on the computer. Well, for a good functioning of applications running it as an administrator is one of the best fixes but you have to be careful about which application you trust and provide the admin privileges. Well, some users have reported that they have been seeing a popup window with the message you need administrator permission to delete this folder. So, here in this article, we have put forth a few files to resolve the error on your Windows 10/11 computer.
So, as said previously, admin permission is basic and if you are performing any action on the C drive of the computer( where all the system files are stored), you have to provide administrator permission to the folders and files you intend to modify. So, with this being the case, you need to provide the necessary permission to modify them. Well, this system is also in place because, you might accidentally modify a folder or file, which will cause serious problems to the computer.
Recommended Post:- How do I get my Cursor Back in Windows 10 and 11
Simple methods to fix you need Administrator Permission to Delete Folders on Windows 10/11
Well, to resolve the issue, here are some simple and working methodologies, you can try and perform and then go on with modifying the folder on the computer.
Method 1: Take Ownership of the Folder
- To take ownership of the folder you intend to modify, open the place where the folder is located.
- Here right-click on the folder and then select the Properties option.
- Here in the properties, go to the security tab and then select the advanced option.
- In the advanced option select the option change with a shield sign near it.
- Now, click on the advanced button.
- Now, enter the object name to select box, enter your user name, then click on check names and then select Ok to save changes.
- Now, in the advanced security settings for (your user name), check the checkbox near replace owner on sub containers and objects, and click on the Ok button.
- Now, click on the advanced button again.
- Here, go to the auditing option and click on the add button.
- Click on the select a principal option so you can add your account.
- Enter your username in the enter the object to select field and then click Ok.
- Check on full control option and then save the changes.

Method 2: Disable User Account Control
Disabling the user account control is not an advisable option but if you feel it is right, you can go with disabling the user account control on your computer.
- To disable the user account control, search for UAC in the search bar.
- Now, select the option change user account control settings.
- Now, at the bottom of the settings move the slider to the bottom i.e. near never notify.
- Now, restart your computer.
Method 3: Run SFC Scan
Running an SFC scan will fix issues with the system files, so you can try running the scan on your computer.
- To run the SFC scan, open the command prompt with administrator permission.
- Here in the command prompt, type is SFC/ scannow and hit enter.
- The scan will take place and once it is complete, you have to restart your computer to fix issues.
Method 4: Activate the Built-in Administrator Account
- To activist the built-in admin account, open the PowerShell with admin privileges.
- Here run the command “net user administrator /active: yes”.
- Log out of your account and switch to the admin account and check for the issue.
Method 5: Try Using the Safe Mode
- To get to the safe mode, go to the recovery option in the settings.
- Here, select the restart no option under the advanced startup.
- Now in the advanced startup, select the troubleshoot option.
- Here select the advanced option.
- Now, select the startup settings and then click on restart.
- Press F5 to enable the safe mode with networking.
- Now, in safe mode, try deleting the folder you want to delete and the restart your computer in normal mode.

Simple Method to Get Admin Permission to Delete Folders on Windows 11
- To create a new admin account, search for add, edit or remove other users, in the search bar.
- Now, from the search results, select the add, edit or remove other users option.
- Now, select the add account button.
- Then select, I don’t have this person’s sign in information.
- Now add an account without Microsoft account.
- Enter a user name of your choice.
- Now, log out and switch to the new account and try to delete the file or the folder you want removed from the computer.
Well, these are some simple methods to resolve them you need an administrator privilege to delete folders from Windows 10/11 computer. Well, meddling with files and folders that require admin permission is generally not recommended, but if you are sure of what you are doing, you can proceed with modifying the files or folder.
Hope the information provided above was helpful and informative, with these simple methods, you can easily modify folders and files that require admin permission.


