Shared folders make it extremely simple to exchange files or folders while on the road. You only need to enable network sharing on your computer to get started.
However, you may occasionally find issues when accessing a shared folder. After clicking on a shared folder, for example, you may encounter a permissions problem or an extended wait time.
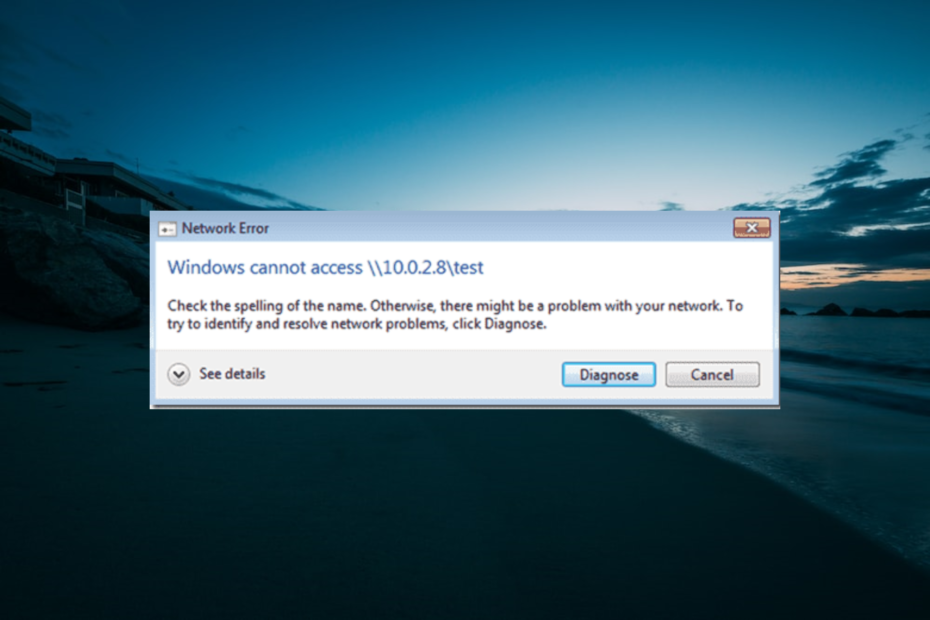
Many Windows 10 users reported being unable to access the shared folder. This can be a serious problem since it stops critical information from being shared.
While numerous circumstances can contribute to this problem, if you are encountering such sharing troubles, don’t quit. Continue reading to learn about a few fixes you may try to get your shared folder back up and running. Let us begin.
Recommended Post:- How to Run 32-Bit Programs on 64-Bit on Windows 11 – Quick Guide
How to fix Cannot Access Shared Folder in Windows 10
To fix the “Cannot Access Shared Folder” error in Windows 10, try the following steps:
Solution 1: Examine Your Internet Connection
The first step is to ensure that your internet connection is operational. You may be unable to open the shared folder if your internet connection is too slow.
You can test your internet connection by visiting any website or attempting to access other websites or online services. If you are unable to connect to the internet, you must first troubleshoot your internet connection before considering alternative options.
It is important to note that shared folders may only be used on a network, which means that all computers must be linked to the same Local Area Network, such as Wi-Fi or an Ethernet connection. Shared folders will not operate if you are connected to a separate network.
If all of your devices are connected to the same network, check to see if your Wi-Fi router is working properly or if it is having problems.
Solution 2: Request that the Owner Change the Permissions
When creating a shared folder in Windows, you can provide specific rights such as granting or refusing full control, read and write access, and so on.
If you can’t access a shared folder owned by someone else, likely, you don’t have the authorization to access the folder. So, request that the owner change the folder’s permissions to allow you read/write access.
To update the permissions of a shared folder on Windows, if you are the owner, perform these steps:
- Step 1: To open Windows File Explorer, press Win + E.
- Step 2: From the context menu, right-click on the shared folder or drive that you want to share and select Properties.
- Step 3: Select Sharing > Advanced Sharing from the Properties window.
- Step 4: Select Permissions to change all sharing permissions. If you have not granted Everyone access to the files, be sure to select Add… and manually add the user.
- Step 5: Make any necessary adjustments to the permissions, then click OK to save the changes.
Giving your buddy or teammate the appropriate access permissions should allow them to readily view the files. If the problem persists, go to more sophisticated troubleshooting methods.
Solution 3: Restart the Networking Services
A misconfigured networking service on your PC is another explanation for shared folder issues.
All network connections and communication on your computer are managed by networking services. To regain access to the shared folder, restart the networking services.
To resume networking services, follow these steps:
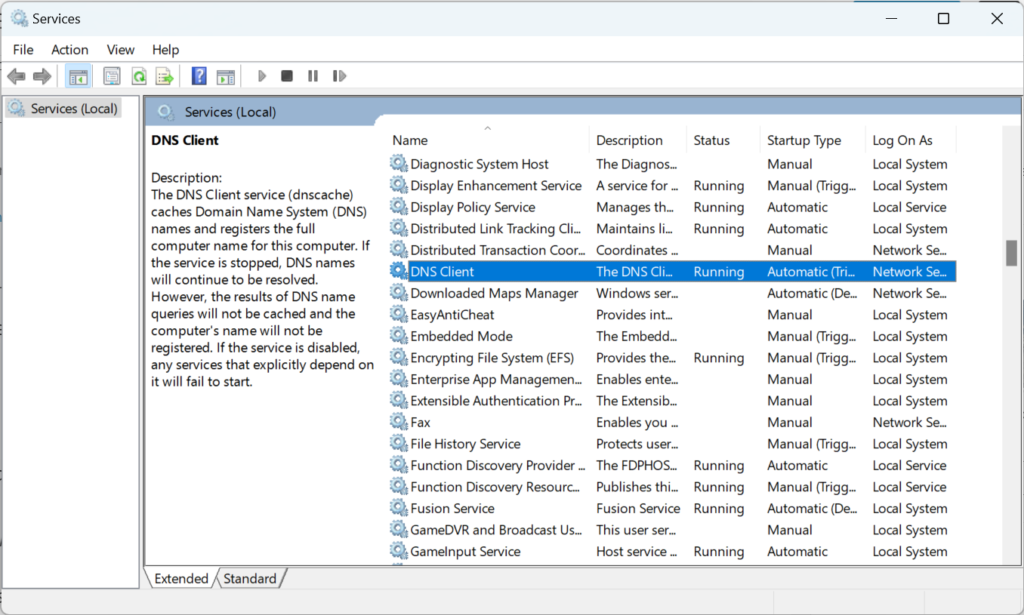
- Step 1: Press Win + Q, then enter Services. There are numerous alternative ways to launch the Services app on Windows.
- Step 2: Select Open to open the Services app.
- Step 3: Locate and right-click on the Function Discovery Provider Host service.
- Step 4: From the context menu that opens, select Restart.
- Step 5: Perform the same approach (right-click and select Restart) with each of the following services, one at a time: Connections to the Internet SSDP Identification TCP/IP NetBIOS Assistant UPnP Device Host
On Windows, these services are in charge of numerous networking functions. Restarting them can help resolve issues that are preventing you from accessing shared folders.
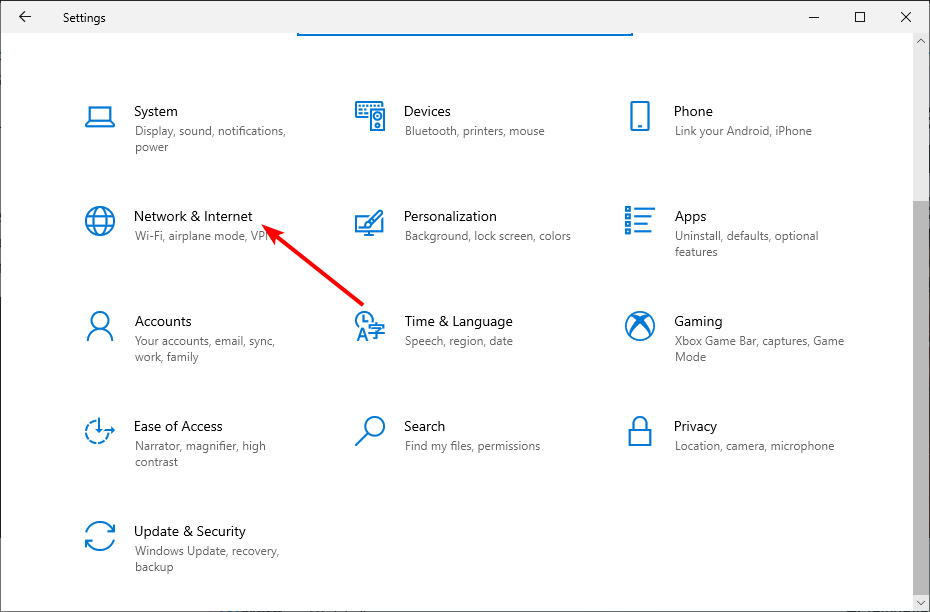
Solution 4: In Windows Settings, Enable Network Discovery
Other devices on the connected network can discover your PC using network discovery in Windows. If you accidentally disable this option, you will be unable to access any shared folders hosted on another computer.
To enable Network discovery, perform the following steps:
- Step 1: In the Windows search bar, type Control Panel and select the best match.
- Step 2: Select View network status and tasks from the menu.
- Step 3: Click Change advanced sharing settings on the left-hand window.
- Step 4: Enable Network discovery under Private networks.
- Step 5: Enable the File and Printer Sharing option.
After you make these changes, you should have no trouble accessing shared folders.
Solution 5: Examine the Windows Firewall Configuration
If you still can’t access the shared folder, you should double-check your firewall settings. A firewall is a barrier that stands between your computer and the internet or other networks, preventing illegal access to your system.
A firewall may occasionally prevent access to the shared folder. For example, if the firewall is configured to block all incoming traffic, other computers on the network or the internet will be unable to access your shared folders.
Here’s how to resolve all firewall issues on your computer:
- Step 1: Go to the Start menu and search for Firewall & network security.
- Step 2: Choose the best match and hit Enter.
- Step 3: Select the Public network option.
- Step 4: Now, uncheck or deactivate the option that says Block all inbound connections.
- Step 5: Repeat the process with the Domain and Private networks.
- Step 6: Restart your computer to ensure that the firewall is no longer preventing Internet connections.
This will allow all incoming connections, resolving your Windows sharing folder issue.
Solution 6: Reset the Network Configuration
If none of the methods listed above work, you may need to reset your network settings. Resetting your network settings will return all network-related settings to their factory defaults, allowing you to reconnect to your network.
To be on the safe side, we recommend making a restore point on Windows before proceeding. A restore point will allow you to undo any modifications you’ve made to your computer.
Here’s how to reset Windows network settings:
- Step 1: Press Win + Q and type Command Prompt into the Windows search field.
- Step 2: Choose the best match, then select Run as administrator from the right-side option.
- Step 3: In the Command Prompt window, type netsh int IP reset without the double quotation marks.
- Step 4: Enter the command to run it. This will clear the network settings.
This command is useful for resolving a variety of typical networking issues, such as when your computer fails to connect to a network or when your internet connection is unstable. So, the next time you encounter a network-related error, you’ll have a handy command to help you troubleshoot it.
Conclusion
A local area network allows you to share files and folders across multiple devices in your home or workplace. While it may appear simple in theory, getting everything to work properly can be a pain.
You should be able to see and access your shared folders from any PC on your network after implementing the recommendations in this article.
Hopefully, you’ve resolved the shared folder access issues by now. If not, there could be a more serious problem with your network or server configuration. It is best to obtain assistance from a technical support professional in such instances.


