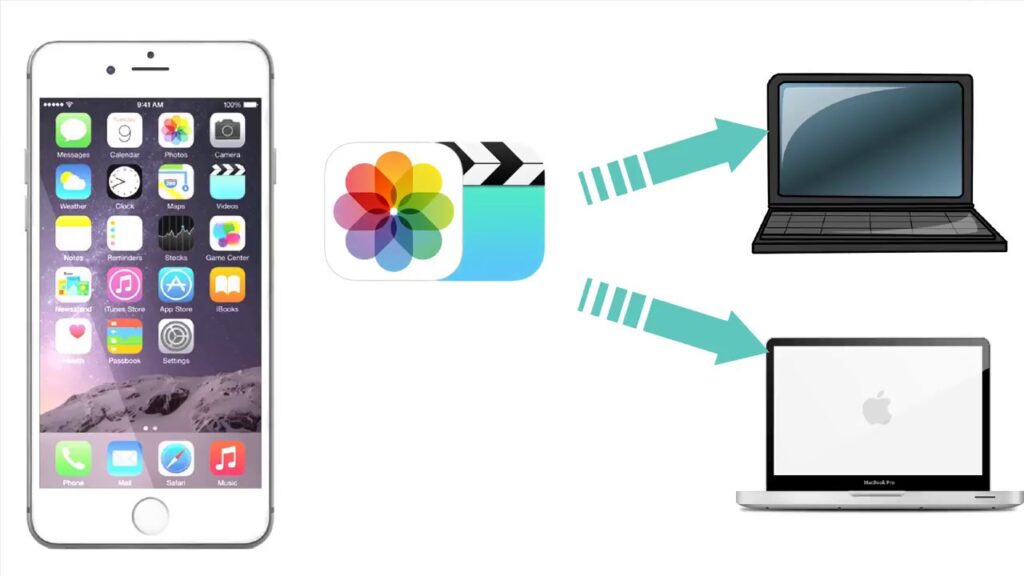
Photographs have become very common these days with smartphones flooding the market and making it easier for anyone to get one, smartphones of this generation are very powerful and pack powerful camera features, allowing people to capture every moment with ease. iPhones have by far the best camera capabilities and provide their users with advanced capturing technologies. People shoot pictures and make a lot out of them, they either use it on social media such as Instagram and Snapchat, use it a wallpaper on their mobile phones and desktops, print them out and create albums, and much more.
All these activities require at least some kind of editing and there is multiple photo editing software available for both mobiles and desktops. High-level editing requires the use of the desktop version of the editing software to provide users with the best tools and capabilities. Transferring photos from a phone to the desktop depends on what brand the devices are and some brands have very poor transferring features making it difficult for people to transfer photos across devices. This article will focus on photos transferring from an iPhone/ iPad to Windows 10 OS. you will learn all the possible methods to transfer the photos.

Apple and Microsoft have been a rival for such a long time, and apple is usually self-centric and provides just a few to nill transferring and connectivity features when it comes to devices from other brands. Microsoft had played a trick back when apple had been struggling with its stock and with this masterstroke, Apple started providing Microsoft some compatibility support and is currently maintaining the support feature. But still, Apple products are not as compatible as the Android counterparts and provide minimal file transfer support to Windows OS. This can be a major problem for many iPhone and iPad users who also use Windows OS to run their PCs.
There are some specific ways which you can use to transfer your photos from your iPhone or an iPad to your computer and it needs the download of some software from the Microsoft store. You can be a bit frustrated with what Apple had done to your transferring capabilities, but Apple justifies this move to provide you with better security.
Recommended Post:- Fixed: Image Preview Option Is Missing From Context Menu In Windows 10
Way to Transfer Photos from iPhone and iPad to your Windows 10 PC
Here we go, you will know everything about transferring Photos from iPhone and iPad to your Windows 10 PC.
Follow these steps and decide the best way that suits you better in transferring Photos to your Windows 10 PC from iPhone or iPad.
iPhone and iPad dosent provide you the transferring feature unless you install the iTunes app on your Windows computer. This is something you have to go through if you own an iPhone. The app is free and can easily be downloaded from Microsoft stores.
- Open up your Microsoft stores, by clicking on the start button and then choosing the Microsoft Stores option from the menu.
- Once Microsoft stores open up, search for iTunes in the search bar.
- You can download iTunes on your Windows and it’s completely free.
- As previously mentioned, without installing the iTunes app on your Windows, you cannot transfer photos from your iPhone or iPad to your computer.
Now comes the real procedure for transferring photos from iPhone to Windows:
Using Windows Explorer to Transfer Photos from iPhone/ iPad to Windows 10
- Connect your iPhone or iPad to your computer with a suitable USB cable. Check the connections.
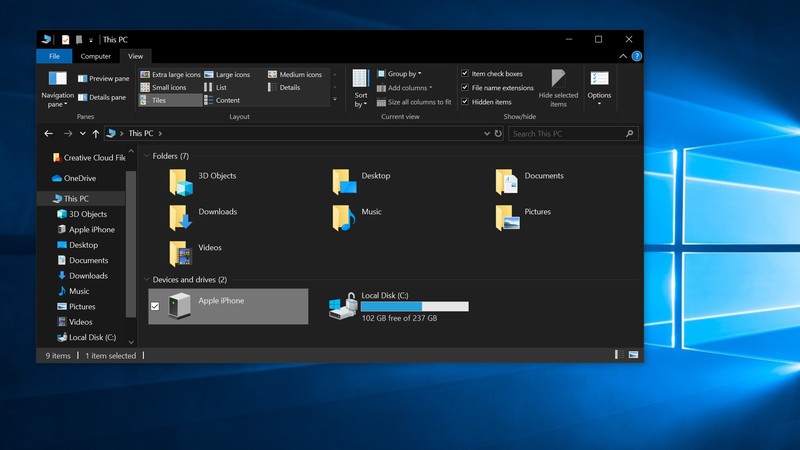
- Once you have connected the devices, open up “This PC”(Windows Explorer) by pressing Windows + E on the keyboard.
- Find the iPhone device and open it in Windows Explorer.
- In the iPhone, you will find the DCIM folder, open it up, copy all the files by pressing Control + A and control + C.
- Once copied the files, paste them on your computer in any preferred location by pressing Control + V.
- Do not unplug your iPhone/ iPad from the computer until the copying process completes.
- Once the process is over, you can view all the photographs from the saved location, use them for any purpose.
This is one method of transferring photos from iPhone to Windows 10. Follow along to find the other method, so you can decide on the best way that suits you and use the methods accordingly.

Using Photos Software to Transfer Photos from iPhone/ iPad to Windows 10
- Connect your iPhone/ iPad to the Windows 10 PC using an appropriate USB cable.
- Once the connection is established, open up the photos software from the start menu.
- From the software, look for the option “Import”.
- Click on the import option and choose the “ from a connected device option”.
- This will open up the images in the software from where you can choose the images you want to import to your computer.
- Do not unplug your iPhone/ iPad from the computer until the transfer process completes.
Using iCloud to Transfer Photos from iPhone/ iPad to Windows 10
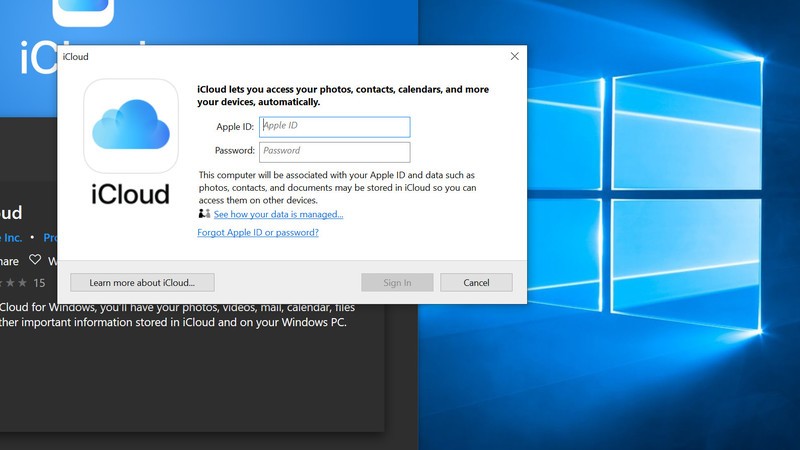
- Download and install the iCloud app from the Microsoft Store.
- Once you have installed the application, you can log-in to the iCloud app with your Apple Login-iD and Password.
- You can now download any file from your iCloud account to your Windows 10 PC.

Hope you understood all the three methods to transfer photos from iPhone/ iPad to Windows 10. All are simple to follow methods. You can choose the best method, that suits your preferences. All these are working methods, and you just need to take care of the connectivity of the devices while transferring the files.


