Errors in Windows OS is pretty common and there is nothing to panic about. Windows OSes are highly capable of handling difficult tasks but at times, they run into problems that need our interventions. Even with the OS being one of the best and most used computer OS, errors can be annoying but handling them is pretty simple.

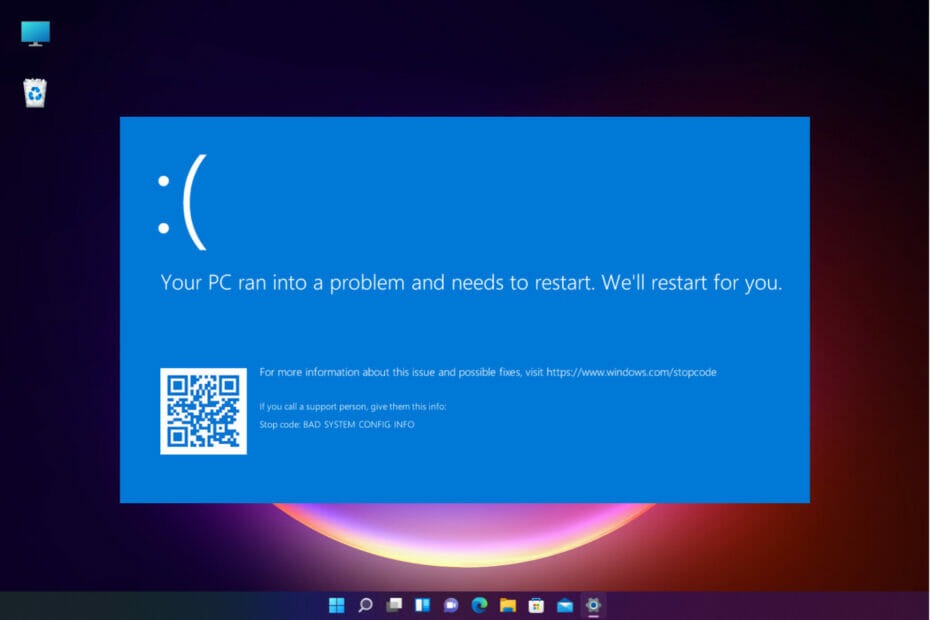
Most common errors don’t need technicians to handle them but anyone with basic computer knowledge can do it. With thousands of articles, blogs and tutorials, every simple error on Windows con be resolved. Well, here in this article, we will discuss an existing error on Windows that causes the OS to shut down suddenly and displays an error message, your PC ran into a problem and needs to restart. Follow along and see what causes this error and how to resolve it with simple methods.
Well, your PC ran into a problem and needs restart error on Windows is a rare error but any Windows user can come across this error anytime. The error has got some specific causes and they are:
- Higher RAM usage on your PC.
- Accidental deletion of a registry file from the System 32 folder by you or an application on your computer.
- Faulty system files.
Well, these are some known causes that can lead to your PC running into an error and needs restarting issues on your computer. So, the error is caused by different criteria, there is no one solution for this error to be fixed. There are different methods that will act on the different components like high RAM, deleted registry file from System 32 and other minor causes of the error. So, follow along and learn all the methods and try them to find out, which method works and fix the issue on your computer.
Recommended Post:- Run Windows 11 on your Android 13
Resolve Your PC Ran Into a Problem and needs Restart Error on a Windows PC
So, that we know, what causes this error on a Windows computer, we can now focus on fixing the issue. Here we have put up some simple methods that you can try and fix the Your PC Ran Into a Problem and needs Restart Error on your computer.

Method 1: Use the Startup Repair Feature
- Open the Settings application on your computer.
- Here, go to the update and security section.
- Here, select the recovery tab.
- Now, select the advanced restart option.
- Now select the restart now button.
- Now, when the computer restarts, select the troubleshoot option.
- Here, click on the advanced option and then select the startup repair.
- Now follow the steps on the screen to fix the error.
Method 2: Boot to Safe Mode
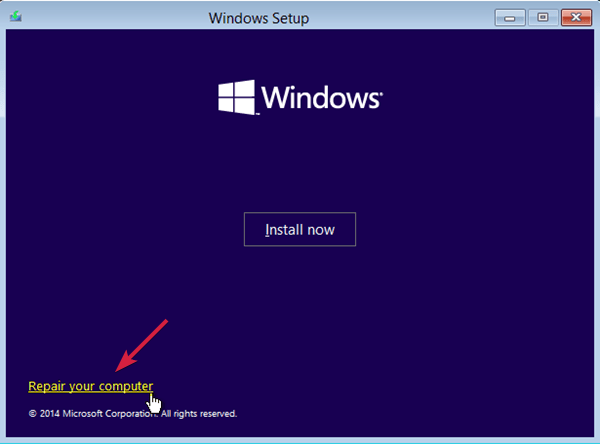
- Use a bootable Windows media and then boot into the startup repair by restarting your computer for three times in a row.
- Here, select the troubleshoot option.
- Now, click on the advanced option.
- Now, select startup settings.
- Click on the restart button.
- Now press F4 to get into the safe mode.
- Once in the safe mode, check whether the problem still persists.
Method 3: Use the SFC/Scannow Command
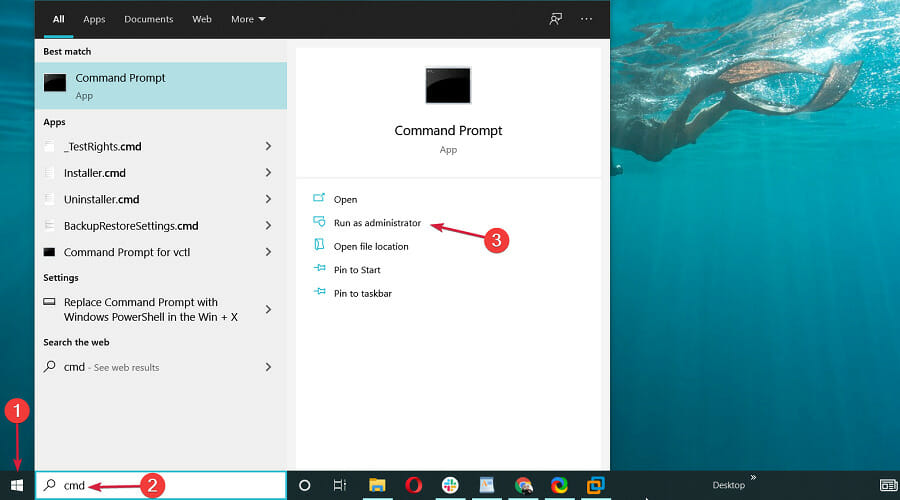
- Run the command prompt as an administrator.
- Here in the command prompt terminal, type in the command sfc/scannow and hit enter.
- The scan will run and fix any corrupt Windows system files.

Method 4: Run a DSIM Scan
- Run the command prompt as an administrator.
- Here in the terminal type in DISM /Online /Cleanup-Image /RestoreHealth and hit enter.
- Any corrupt system file will get replaced with a good one once the scan is complete.
Method 5: Change Memory Dump Settings
- Press the Windows key and the S key on the keyboard.
- Now, here, type advanced system and click on the first option “ view advanced system settings”.
- Now, go to the advanced tab.
- Here, click on the settings option under the startup and recovery option.
- Now, uncheck the automatically restart option.
- Undet the write debugging information, click on the dropdown menu, select the complete memory dump option.
- Save the changes and then restart your computer.
Method 6: Restore your Computer
- Open the search function and then search for system restore option.
- Here, select the create restore point option.
- From the system, properties click on the system restore button.
- Now, click on the next button.
- Now, click on the show more restore points and then select a restore point to restore your computer to that point.
- Now, follow the process mentioned on your computer screen to complete the restoration process.
Method 7: Update Drivers on Windows
- To update drivers, open the device manager and then right-click on the device you want the driver to be updated.
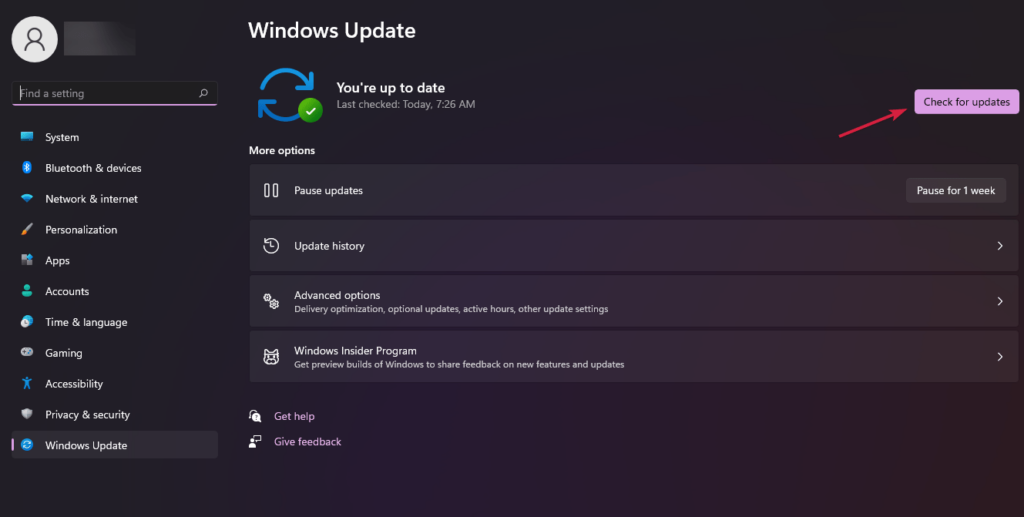
- Now, select the update driver option and then in the update wizard, select the automatically search for updates option to update the drivers.
- If the device has an update, your computer will install the update from the internet.

You can also use third-party driver updater software to do the task with ease. The third-party application will update all the necessary drivers with just a few clicks.
Well, these are some simple methods that you can employ to fix your computer that ran into a problem and needs to restart.
Hope the information provided above was helpful and informative, with these simple methods, you can effectively fix the issue and run your computer with ease.


