In Microsoft Excel when you open numerous they do not open in separate windows. Instead, users can navigate between them by clicking their thumbnail previews on the taskbar in Windows 10.
Some users, however, may need to open two MS Excel files in different windows to examine their contents side by side.
The methods below will show you how to open two or more Excel files in different windows. Let us discuss it.
Recommended Post:- Fixed: Excel not Opening on Windows 10 and 11
How to Run Multiple Excel Sessions / Open Two Excel Files Side by Side on Separate Windows
When you open several files with Excel 2013 or later, each workbook appears in its window.
By default, they all open in the same Excel instance. In most circumstances, this is sufficient.
However, if you run a long VBA script or recalculate complex calculations in one workbook, other workbooks in the same instance may become inactive.
Opening each document in a new instance fixes the problem because, while Excel is doing a resource-intensive action in one instance, you can work in a different workbook in another.
Here are some examples of when it makes sense to open each workbook in a new instance:
- You’re dealing with really huge files including numerous complex formulas.
- You intend to carry out resource-intensive chores.
- You only want to undo operations in the active worksheet.
Steps to Open Two Excel Files Side by Side in Separate Windows
There are some steps to open two excel files side by side for users to open Excel spreadsheets in separate windows:
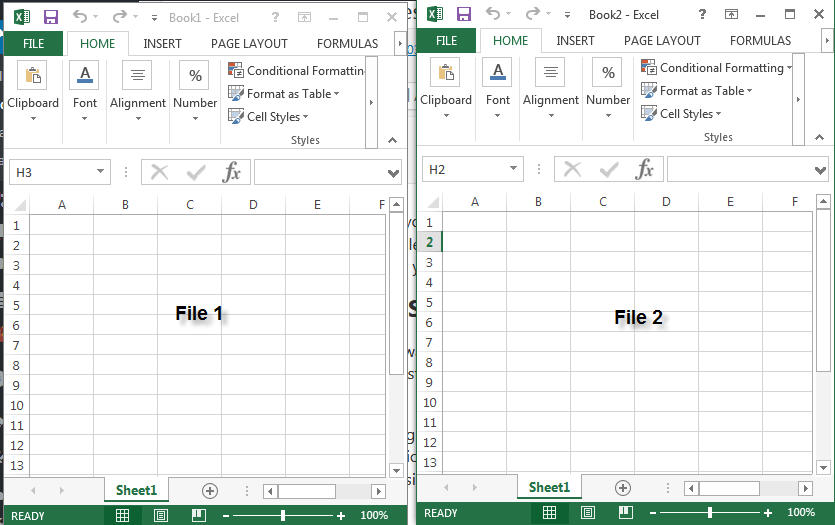
Launch two Excel windows and arrange them next to each other
You can open the Excel application several times to have several Excel windows on your desktop.
- Step 1: To do so, launch Excel by clicking the Excel icon.
- Step 2: Then, click the Excel icon a second time to launch the app.
- Following that, you’ll see two Excel windows on your desktop.
- Step 3: On the windows, click the Restore Down buttons.
- Step 4: Now, to fill the left side of the desktop, drag one window to the left.
- Step 5: Then, in both windows, go to File
- Step 6: Here, open to open spreadsheets.
- Step 7: In the last step drag the other window to the right side of the desktop to occupy the space displayed directly below.
To open multiple Excel files simultaneously, hold down the Shift key
Alternatively, if you wish you can open multiple Excel windows by pressing and holding the Shift key.
- Step 1: First, launch Excel
- Step 2: In the second step while holding the Shift key, click the Excel taskbar icon.
This will open another window for the application, which users can drag to both desktop sides as described above.
Adding Office Tab in Microsoft Excel
The Office Tab extension for Excel allows users to open spreadsheets in different windows. This is a $29 Excel add-on that adds spreadsheet tabs to Excel, and users can try it out for free for one month.
Excel will feature alternate tabs for individual spreadsheets after you install the add-on. Then, users can right-click a spreadsheet tab and select the Open in New Window context menu option from the context menu.
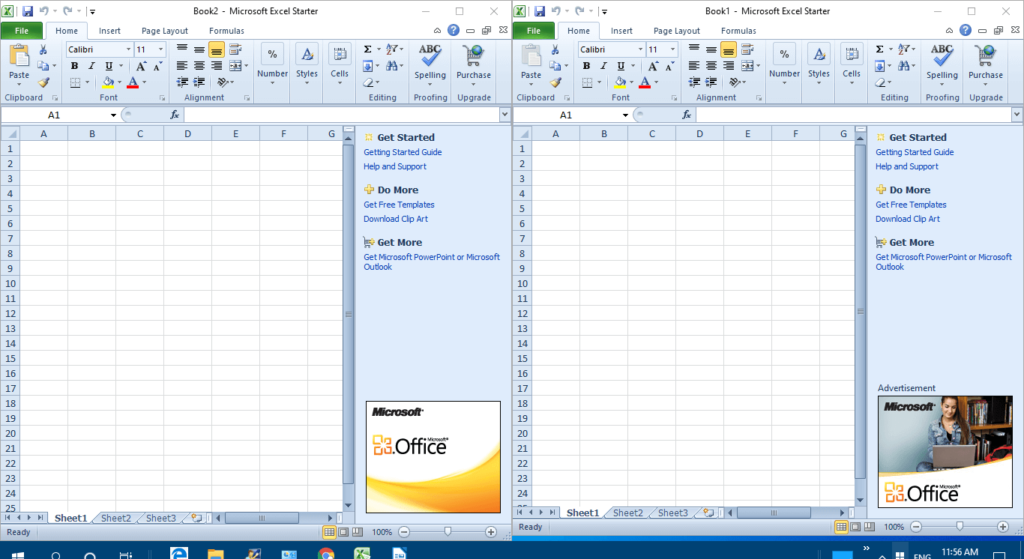
Use the View Side-by-Side feature
- Step 1: Open Excel.
- Step 2: Select File > Open to open a few spreadsheets.
- Step 3: Select the View tab.
- Step 4: In the Window group, select View Side by Side.
- Step 5: Alternatively, users can choose New Window to open another spreadsheet in a new window.
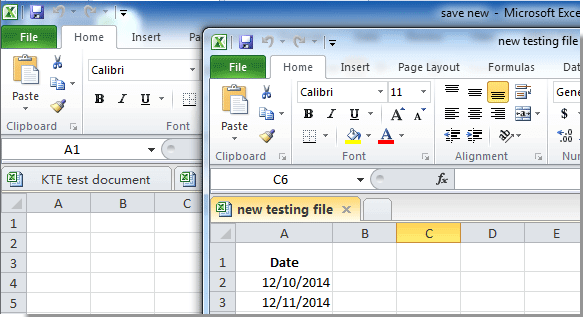
Open the Excel file in a new tab in Windows Explorer
It is more convenient to open a specific workbook using File Explorer (aka Windows Explorer). The Alt key, as with the prior way, performs the trick:
- Step 1: Navigate to the destination file in File Explorer.
- Step 2: Double-click the file (as you would ordinarily open it)
- Step 3: And then press and hold the Alt key.
- Step 4: Hold down Alt until the new instance dialogue box appears.
- Step 5: To confirm that you wish to create a new instance, click Yes. Done!
Make your own Excel shortcut
If you need to launch fresh instances frequently, a custom Excel shortcut will make your life easier. To build a shortcut for starting a new instance, follow these steps:
- Step 1: Get the shortcut’s target.
- Step 2: Right-click the Excel icon in the taskbar
- Step 3: Then right-click the Excel menu item
- Step 4: Select the Properties option.
- Step 5: Copy the path from the Target field into the Excel Properties window’s Shortcut tab (including the quotation marks). In the instance of Excel 365, it is as follows:
- For Example – “C:\Program Files (x86)\Microsoft Office\root\Office16\EXCEL1.EXE”
- Step 6: Now, Right-click on your desktop and select New
- Step 7: Click on the Shortcut option.
- Step 8: Paste the target you just copied into the item’s location box
- Step 9: Then press the Space bar and write /x. The final string should be something like this:
- For Example – “C:Program Files (x86)Microsoft OfficerootOffice16EXCEL.EXE” /x “C:Program Files (x86)Microsoft OfficerootOffice16EXCEL1.EXE”
- Step 10: When you’re finished, click Next.
- Step 11: Give your shortcut a name
- Step 12: Lastly, press the Finish button and complete.
It now only needs one mouse click to launch a new instance of Excel.
Using the taskbar, launch a new Excel instance
The quickest approach to launch a fresh instance of Excel is as follows:
- Step 1: Right-click the Excel icon in the taskbar
- Step 2: Click on the Properties option.
- Step 3: While holding down the Alt key, select Excel from the menu.
- Step 4: Keep the Alt key pressed until the confirmation dialogue box opens.
- Step 5: Click Yes to launch a new Excel instance.
This can also be accomplished by using the mouse wheel: while holding down the Alt key, click the Excel icon in the taskbar, followed by a click on the scroll wheel. Hold Alt until the pop-up window appears, as shown above.
How can a User figure out which Excel files belong to which instance
To see how many Excel instances are running, launch Task Manager (the quickest approach is to press Ctrl + Shift + Esc together). Expand each instance to discover which files are nested there for more information.
Conclusion
Users with full versions of Excel 2019-2007 can compare two spreadsheets by selecting the View Side by Side option. The option is incorporated inside the app and is simple to enable.
There are several ways for users to open Excel spreadsheets in separate windows. Users can then drag windows to the left and right edges of the Windows desktop to view the contents of both spreadsheets.
However, Windows XP and Vista do not offer the Windows Snap feature, which allows you to arrange windows on the left and right edges of the desktop.


