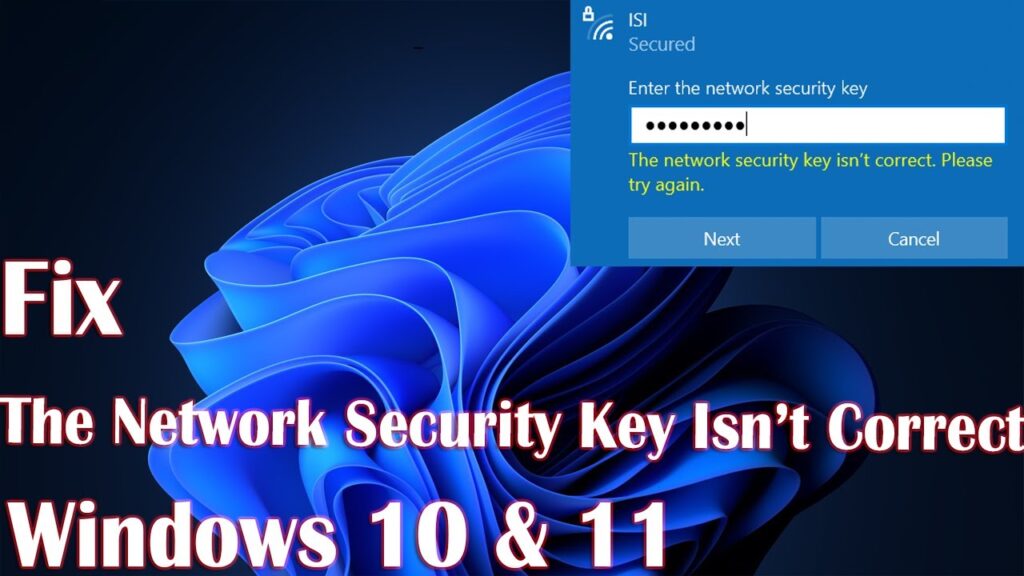
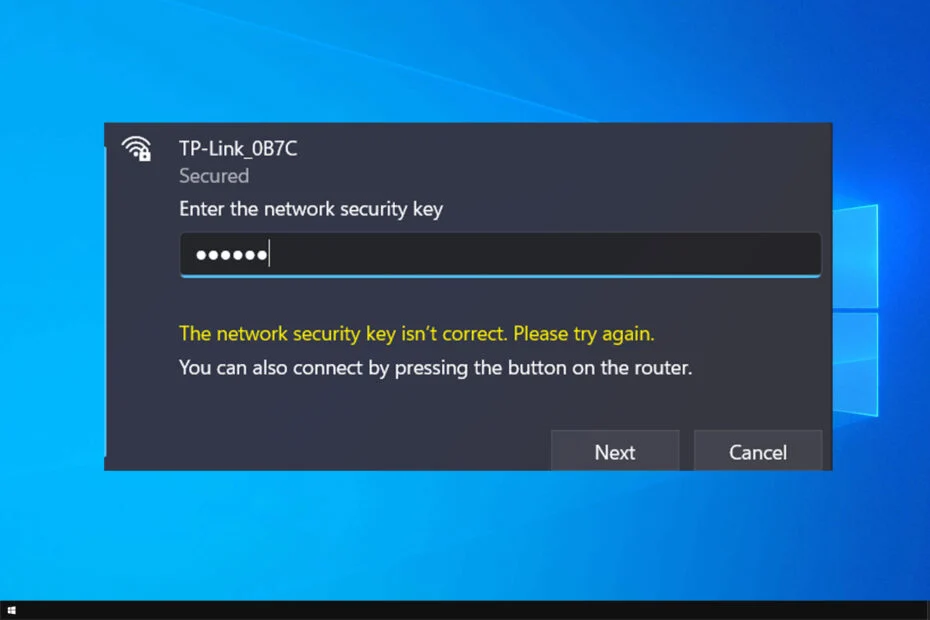
Many of us have access to the Internet via Wi-Fi networks, however, many have reported that their network security key is not working.

If this occurs, you should check your Wi-Fi password to ensure it is correct. That doesn’t always work, and if it does, you must go ahead and solve the problem yourself.
Recommended Post:- Fixed: Program is Running but not Showing on the Screen
This problem will prohibit you from connecting to your Wi-Fi network, but it is fixable.
What is the problem with the security key?
There are various causes for this problem, the most prevalent of which are as follows:
- Driver Problems: Driver issues can sometimes cause problems with your network adapter. If this occurs, you should update your drivers.
- Network device problems: Glitches are fairly common, and if they occur, you must restart your network adapter.
- Connection settings: It’s easy to misconfigure your connection, but you can rectify it by navigating to the router’s settings.

Users reported the following wireless network issues:
- The network security key does not work in Windows 10: There are a variety of issues that might damage your wireless network; if you face any of them, make sure to try one of our remedies.
- Netgear security key does not function: Change your network settings and test to see if that works.
How to Fix Network Security Key Not Working on Windows
There are a few things you should do before we start addressing the problem:
Examine your password: Check to see if your Wi-Fi password is correct. It is recommended that you use the same password for the repeater and the router if you are using one.
Use the default router password: In some cases, using the default router password can be beneficial. But, this only works after you have reset your router.
Solution 1: First, reinstall your driver
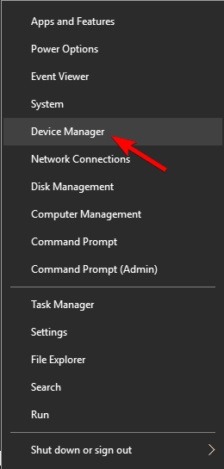
- Step 1: Hit the Windows key + X and select Device Management from the list that appears.
- Step 2: Find your network adapter and right-click it to select Remove device.
- Step 3: When prompted, select Delete driver software for this device and click Uninstall.
- Step 4: After removing the driver, click the Scan for hardware changes icon. Hardware modifications The network security key isn’t working.

Following this, Windows will attempt to install the default driver. If the default driver does not function, you may need to upgrade it and see if it solves the problem. Error: The network key is incorrect.
Solution 2: Ensure that your network drivers are current
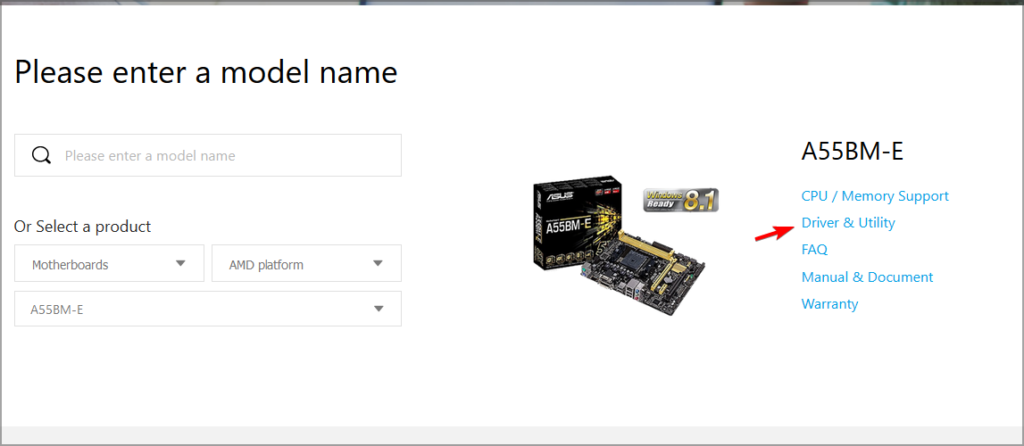
- Step 1: Go to the drivers part of your motherboard’s manufacturer’s website.
- Step 2: Find your motherboard and click on Drivers & Utilities.
- Step 3: Find and download the most recent network or LAN driver.
- Step 4: To install it, run the setup file.

Alternatively, you may use third-party programs like DriverFix to automatically update all of your drivers with only a few clicks. This software has a simple interface and is quite simple to use.
When the system scan is finished, DriverFix will compare the discovered drivers to those in its built-in database, and any damaged or broken drivers will be repaired and fixed.
Solution 3: Make a new password
- Step 1: Go to the router’s settings. Read the router’s manual for the proper steps for your specific model.
- Step 2: Go to Wireless Security and create a new password.
Save the changes.
You can also experiment with switching the security type from WPA2-PSK[AES] to WPA-Auto. Remember that WPA-Auto is less secure, so proceed with caution.
After that, check to see whether The network security key isn’t accurate, please try again and the error has been resolved.
Solution 4: Turn off your network device
- Step 1: First, launch Device Manager.
- Step 2: Find your wireless adapter and right-click it to select Disable device.
- Step 3: You will now see a confirmation message. To proceed, click Yes.
- Step 4: Wait a few seconds before turning on your wifi adaptor.
You should now be able to connect to your wireless network. If it doesn’t work, try turning off your wireless connection and see if that helps. To accomplish this, take these steps:
- Step 1: Launch the Settings application. You may accomplish this quickly by pressing the Windows key + I.
- Step 2: Go to the Network & Internet area.
- Step 3: Scroll down and click on the Change adapter options in the right pane.
- Step 4: Right-click your Wireless connection and select Disable from the menu.
- Step 5: After a few moments, enable your wifi connection.
The WiFi Network security key is an incorrect problem that will be resolved as a result.
Note: Keep in mind that this is merely a workaround, so you may have to repeat it anytime the problem arises.
Solution 5: Establish a new network connection
- Step 1: Open the Network and Sharing Center. You may do this in the Settings app by going to the Network & Internet section.
- Step 2: Choose the option to Set up a new connection or network.
- Step 3: Click Next after selecting Manually connect to a wireless network, connect to a secret network, or establish a new wireless profile.
- Step 4: Give the new wireless network a name. Make sure you use the same name as your current wireless network.
- Step 5: Set WPA2-personal as the security type and AES as the encryption type.
- Step 6: Now input the wireless network password you’ve set up.
- Step 7: Choose the Automatically start this connection checkbox and click Next.
- Step 8: Now, connect to the wireless network in step eight.

Numerous customers claimed that this method worked well for them, so give it a shot.
How to Reset the Network Security Key?
- Step 1: Launch your web browser.
- Step 2: In the address bar, type in the IP address of your router. Typically, it is 192.168.0.1.
- Step 3: Enter the credentials for your router.
- Step 4: After logging in, go to Wireless security.
- Step 5: You should be able to modify or reset your network security key from there.
Conclusion
Lastly, keep in mind that these are only broad guidelines. The procedure varies depending on the model of your router, so consult your manual.
If you’re having trouble with a network security key, the fault is likely with your drivers or settings. But, you should be able to resolve this issue by utilizing one of our solutions.


