The mouse is a pretty important hardware component of the computer and without a mouse using the computer will be very difficult. Many applications and games need the use of a mouse, So it is pretty important that you make sure the mouse is working correctly.
Ever since the mouse was invented in the early 1960s it has been used to operate computers. It plays an important role in controlling the input in the computer and does a great job. The mouse uses a positioning system using the x and y coordinates allowing it to pinpoint the location. When the mouse is moved over a flat surface, it scans for changes in the surface and relatively the arrow mark on the screen moves. There are three main operable buttons on the mouse one is the left mouse button, the other is the right mouse button and then the scroll button. With all these controls, you can easily use the computer.

Well, issues with a mouse are not very common on Windows computers, but still, there might be instances where your mouse can cause trouble and not respond. Well, times like these can be difficult, and fixing the issue is necessary. So, here in this article, we will discuss the methods to fix the mouse not working issue on Windows 10 and 11. Even though you have a keyboard, you need the mouse to do some operation on your computer. So, it is essential that you learn some fixes to fix any issue with your mouse to work efficiently.
Recommended Post:- Windows 11 still Supported 5.25-inch Floppy Disk Drives – Complete Guide
Simple FIxes to Restore Mouse Function on Windows 10/11
Here are some simple methods that will help you with fixing the mouse not working issue on Windows 10 and 11. Follow the methods and get your mouse fixed.
Method 1: Run the Hardware and Device Troubleshooter
Running the troubleshooter will help you fix the issue on your computer with ease. Most common issues can be fixed with this method.
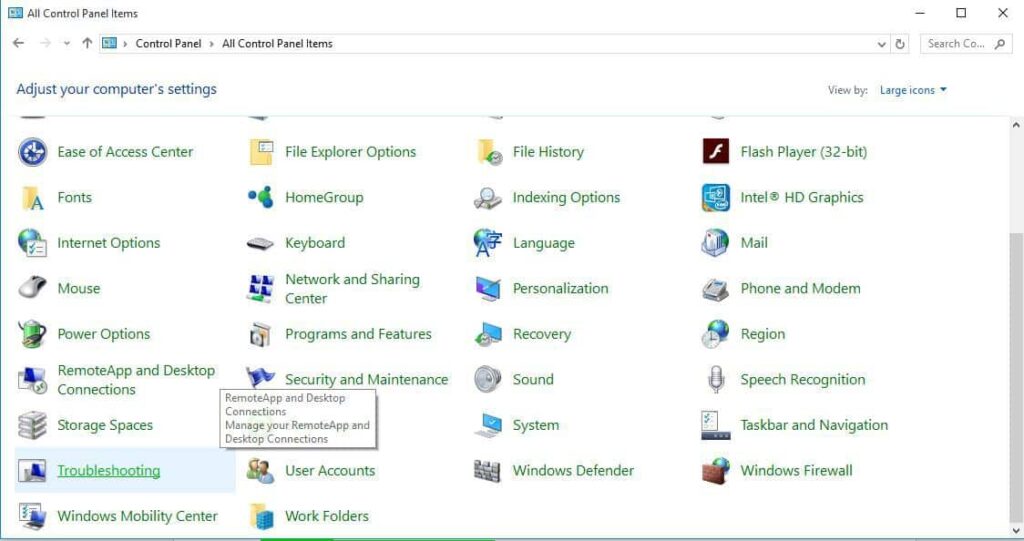
- So to use the troubleshooter, open the control panel.
- Here, go to the view by option and select the view as large icons
- Now, click on troubleshooting.
- Now click on the view option.
- Now, click on the hardware and devices.
- And then select next.

Any minor issue with the mouse will be fixed with this troubleshooting.
Method 2: Try Booting in Safe Mode
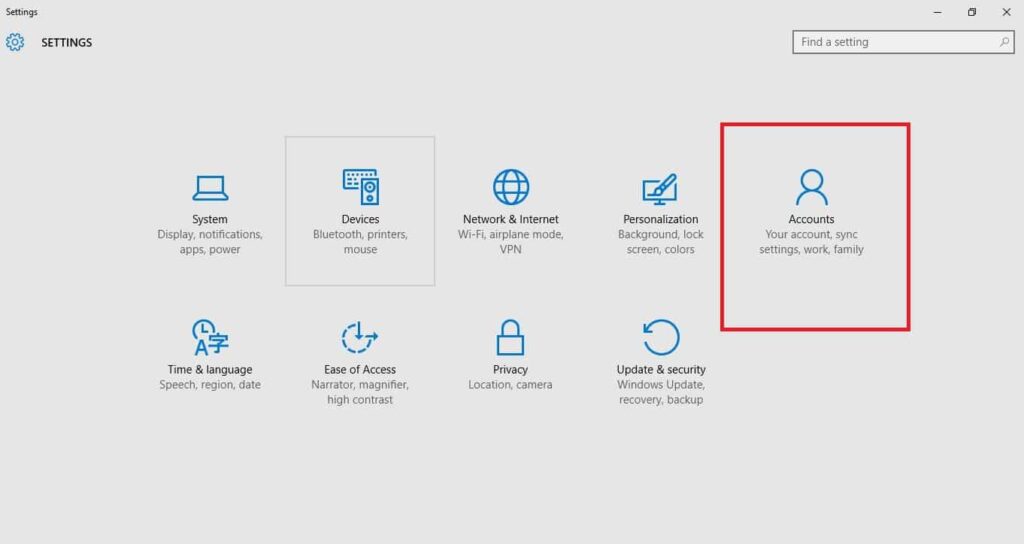
- To boot the computer in safe mode, open the settings application.
- Here go the update and security option.
- Now, select the recovery option.
- Now, go to the advanced startup option.
- Now, restart the computer by selecting restart now.
- Select troubleshoot on the screen then click on advanced options.
- Nw, go to startup settings and then click restart.
- Now, once your computer starts, choose F4 to boot into safe mode.
Exit Safe Mode
- To exit safe mode, open the run command by pressing the Windows key and the R key on the keyboard.
- Now, type msconfig and then hit enter.
- Here go to the boot tab.
- And deselect the safe boot option.
- Now, restart the computer.
Method 3: Uninstall and Reinstall Mouse Drivers
- To uninstall the mouse drivers open the device manager by using the search tool in the taskbar.
- Now, in the device manager, locate the mouse driver.
- Now, uninstall the driver from the computer by right-clicking on the mouse driver and then selecting the uninstall option.
- Now, once uninstalled, select the check for hardware changes option to check for any hardware changes on the computer. Windows will automatically find the mouse and then install the relevant drivers.
Method 4: Run the SFC Scan on your Computer
SFC Scan is a very effective tool for fixing common system issues. It rectifies any corrupted system files and restores the corrupt file with a good one.
- To run the SFC scan function open the command prompt as an administrator on your computer.
- Now, type in sfc/scannow and then hit enter.
- The scan will be done and any corrupt file will be fixed.
Method 5: Turn Off the Touchpad and Reboot the Computer
- Open the control panel on your computer.
- Here, click on the mouse.
- Click on device settings on the properties tab.
- Now, click on disable button to turn off the touchpad.
- Now, restart the computer.
- Now, enable the button.
Allow Mouse to Wake from Computer
- Open the device manager tool by searching it on the search bar.
- Right-click on the mouse.
- Click on properties.
- Click on power management.
- Check the Allow this device to wake the computer box.
- Now, apply the selected options and then hit Ok to save.

Method 6: Run the Power Troubleshooter
- To run the power troubleshooter, open the control panel.
- Here, go to the troubleshooting option.
- Now, click on the view all option on the left window pane.
- Now, click on the power option.
- Click on the advanced option in the power troubleshooter tab.
- Now, click on next.
- Select run an administrator option and then click Next.
Well, these are some simple methods to fix the mouse not working issue on your computer. You can try any method mentioned here and if one doesn’t work try another. The issue with the mouse is unknown and any one of the fixes wil work.
Hope the information provided above was helpful and informative. With these simple methods, you can easily fix the issue with your mouse.


