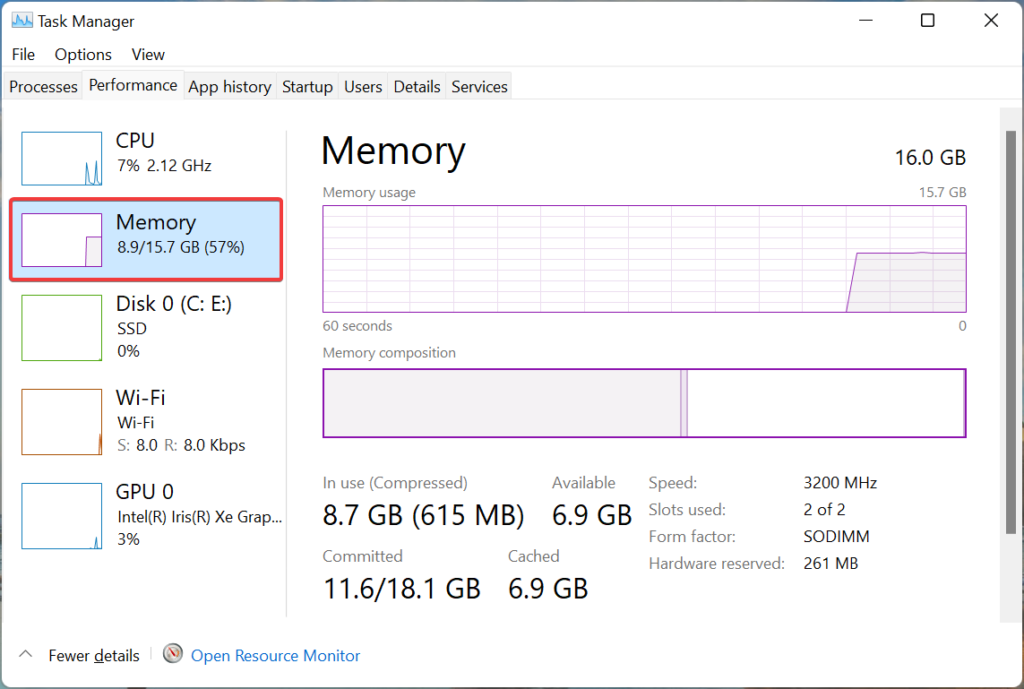
Memory Management is a term that refers to how efficiently your computer uses its memory. As we all know, memory is the storage space where programs and data reside while you run the program. Memory is often referred to as RAM (Random Access Memory) because it is randomly accessible, meaning you can randomly go back and forth between different parts of memory. When we use computers today, they have become so advanced that they can actually run hundreds of thousands of processes simultaneously.

However, if these processes need to store information about their progress, then the computer’s memory is the place to do this. If the computer’s RAM runs out of space to store all of these temporary files, then the operating system will start using some other type of memory called “swap file”.
Recommended Post:- Easily Export Firefox Bookmarks and Data to Chrome
Swap files are like virtual memory disks that are located on hard drives. One thing to keep in mind is that swap files cannot be directly accessed like regular hard drive files. You can only read them through the operating system. So, here in the article, we will check out what virtual memory is and how to increase it, to improve the performance of the computer on Windows 11. So, to begin with, let us get started with what virtual memory is and how it functions.
What is Virtual Memory
Virtual memory is a system feature of modern operating systems that enables programs to be “mapped” into memory locations where they do not physically exist. When a program attempts to access data that does not physically reside in memory, the operating system loads the necessary information from the disk into memory and then executes the instructions associated with the accessed data. If the operating system detects that the requested data no longer resides in physical memory, it may load or move some data back onto the disk. Alternatively, the operating system may simply return an error message and abort the execution of the offending program.
Well, when it comes to memory management of Windows operating systems, the OS knows exactly where each piece of memory exists on your computer. At times when the RAM runs out of space, virtual memory is employed. While the operating system is working, it keeps track of whether or not it needs to swap in virtual memory. When it does, it copies the contents of the current page of virtual memory to the correct location in physical memory. Once it has finished swapping in virtual memory, it checks again to make sure no pages have been swapped out. If there are still unused pieces of physical memory, it moves those pages to the end of the list of memory locations. When the last bit of physical memory is filled, the operating system deletes the least recently used page until it is completely empty.
With this bit of clear idea of what physical memory is and how virtual memory is used on Windows computers, we can dive into learning how to manage or increase the virtual memory space.
Well, as we have discussed how virtual memory works, we can say that virtual memory is a temporary memory unit and it is created by the OS to manage memory on the computer, so, manually setting the virtual memory can have some negative effect on some components, but it is not lethal and you can obviously do it to increase the performance of the system. So, by now, you should have known that the virtual memory is built on the hard disk and if you are using a hard disk drive, the effectiveness of the virtual memory will be slow but if you are using a solid-state drive, the performance will be boosted.
So, now that we have a good idea about virtual memory, we can get started with increasing it or managing it on a Windows 11 computer. So, the basics of manipulating the virtual memory in Windows is that you should make sure that the virtual memory size should not be less than 1.5 times the size of the RAM and not more than 3 times the size of RAM. so, anything in between will work fine. And also the virtual memory file will be saved as the pagefile.sys on the C drive of your computer.
How to Manage the Virtual Memory on Windows 11
So, here is how you can easily increase or decrease the virtual memory pool on a Windows 11 system.
- To change the virtual memory on your Windows 11 computer, press the Windows S key, and here in the search bar option, type in View advanced system settings.
- Now, the View advanced system settings window will open.
- Here, go to the advanced tab, and select the performance option.
- Here, select the settings option.
- Now, select the advanced option.
- Here, you will find the virtual memory option.
- Now, click on the change option.
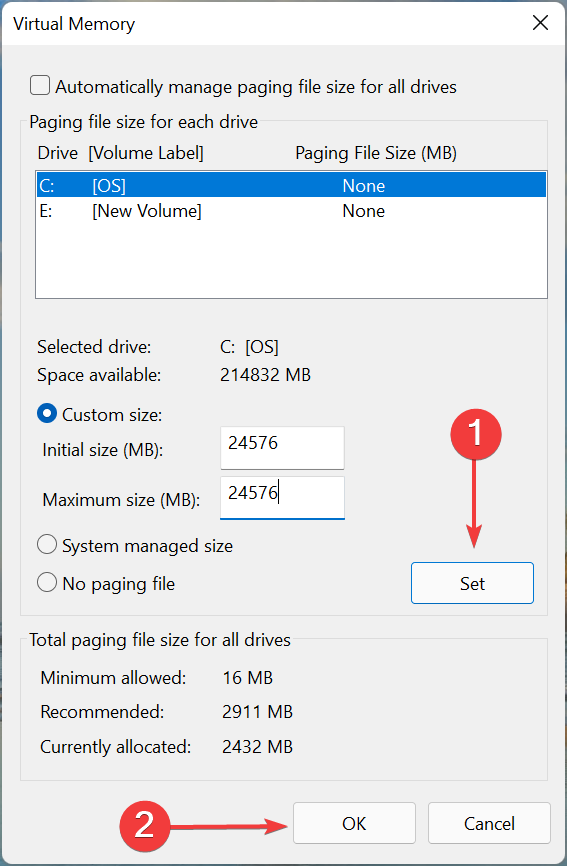
- Now, uncheck the Automatically manage paging file size for all drives.
- Now, select the custom size option and set the values between 1.5 to 3 times your RAM size as the virtual memory size.
- Now, press the settings option and then click on Ok to save the changes.
Hope the information provided above was helpful and informative, with the simple method, you can easily increase or decrease the virtual memory on your Windows 1 computer.


