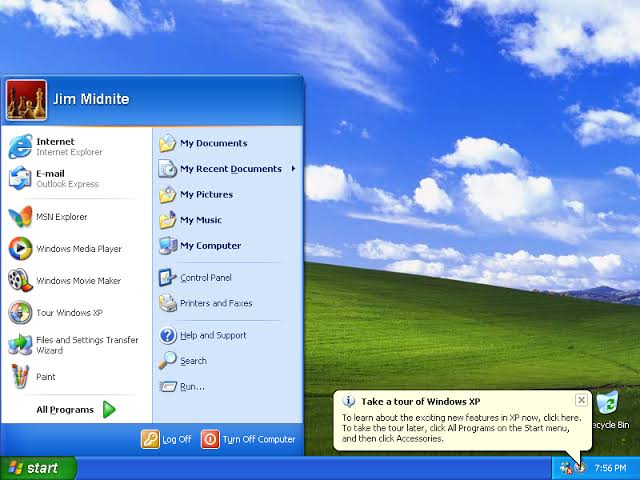
Windows XP is one of the most popular Microsoft’s Operating System during its days. Still, many people with old and low configuration computers are using it. In this post, I will show you step by step procedure, How you can Download and Install Windows XP operating system on your computer as a fresh clean installation.
Before we start, firstly make sure you have a USB drive or CD-RW where you can make a bootable Image for Windows XP. Secondly, you should have a computer with the following Minimum System Requirements:
- Pentium 233-megahertz (MHz) processor or faster (300 MHz is recommended)
- At least 64 megabytes (MB) of RAM (128 MB is recommended)
- At least 1.5 gigabytes (GB) of available space on the hard disk
- Video adapter and monitor with Super VGA (800 x 600) or higher resolution
Step 1: Creating a Bootable Windows XP USB Image
- To create a bootable Windows XP USB or CD, Firstly you have to download a Windows XP ISO file. You can download it from ISORIVER via this link.
- Next, you have to download a Bootable USB/CD creation tool link PowerISO or Rufus. Both these tools you can download it for free at ISORIVER.
- After that, you have to Burn the Windows XP ISO using the above tools on your USB drive or CD-RW.
Watch the Video Tutorial
Step 2: Installing Windows XP using Bootable USB drive
- After you have successfully created your bootable Windows XP USB or CD, now it’s the time to boot your system from that.
- For that, you have to go into your System BIOS and Change the Boot Disk Preference to USB or CD depending upon your choice.
- After that, your system will run Windows XP Installation Setup.
- Now in the Partition Manager, you can Format your Hard Disk or create new partitions.
- After choosing your desired partition the installation will start, It will take around 30 to 50 Mins depending upon your system. Your computer may restart several times.
- Please Note: During Restarts, you should not boot again from your USB drive.
Watch the Video Tutorial
Step 3: Installing Drivers
Unlike today’s Windows, Windows XP doesn’t include most of the drivers. You have to manually download drivers from your manufacturer’s website and Install it.
You can also software like Driver Booster, which will scan your system automatically and Install the required drivers.

Features of Windows XP
Remote Desktop: The professional Windows XP operating system allows the user to use the Remote Desktop Connection feature to sit on a computer and gain remote access to another computer.
Device Driver Recovery: This new feature in Windows XP allows users to uninstall an installed device driver. If users install device drivers that cause system instability, they can easily revert to the previous driver.
Built-in CD burner: When Windows XP came along, it released the built-in CD burner. Now you no longer need to install CD burning software, the user can burn files directly through Windows Explorer.
Compatibility with the encrypted file system for multiple users: this function is designed for Windows XP Professional, the encrypted file system allows you to access files and folders encrypted by multiple users.
Enhanced device support: Windows XP supports USB 2.0, Intel high-definition audio, FireWire, and Windows-based image scanners, etc.
Conclusion
Windows XP is a great operating system and will always remain. I hope this tutorial had helped you Install Windows XP on to your computer. You can also download other Windows versions from our website. Also, If you need any support during installation, you can contact us via email or submit a query on our forums.


It’s showed windows xp cannot be installed on your harddisk and when I tried windows 7 sp1 in same way it showed windows was not successfully installed at final stage after installing drivers process in my PC previously windows 7 ultimate installed and worked for more than five years now what can I do now
Looks simple enough to me. I tried that xp pro mode on a netbook with win 7 start on it, and its lost somewhere. I ran the install again, it stopped saying it was already installed. Where are the start icons supposed to be installed? I get the feeling good ol microsoft has created another ‘vista’ style program, works when it wants to. any kind of help would be appreciated. Thanx, Ken
Adop Photoshop cc 2018 link