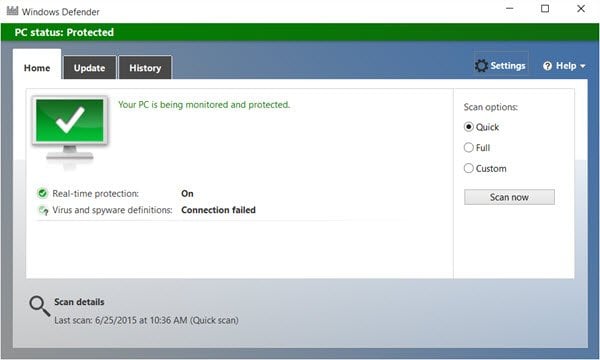
The windows defender is a kind of anti-virus protection that comes pre-installed with windows. It runs a lot of background programs that will actually protect your system from any potential malware. Windows defender also enables firewall protection. For those of you who aren’t aware of the windows firewall, it will protect the system from potential viruses that could probably enter your system and corrupt your precious files when you are browsing the internet. The updates with the windows defender come pre-installed with the Windows OS update.
You might bother why you might want to disable something that actually protects you. There are some trusted programs that you can install but will be jumped off by the windows defender due to its questionable source. Now that we are sure with why we are enabling and disabling the windows defender. Let’s proceed with how we can actually do it.
There are quick ways in which you can actually enable/disable the windows defender on windows 10 by various methods. It is up to you to choose the correct method to execute the same.
The Command Prompt
The command prompt method is one of the techniques preferred by avid users. The windows command prompt is easier when compared to that of the other methods.
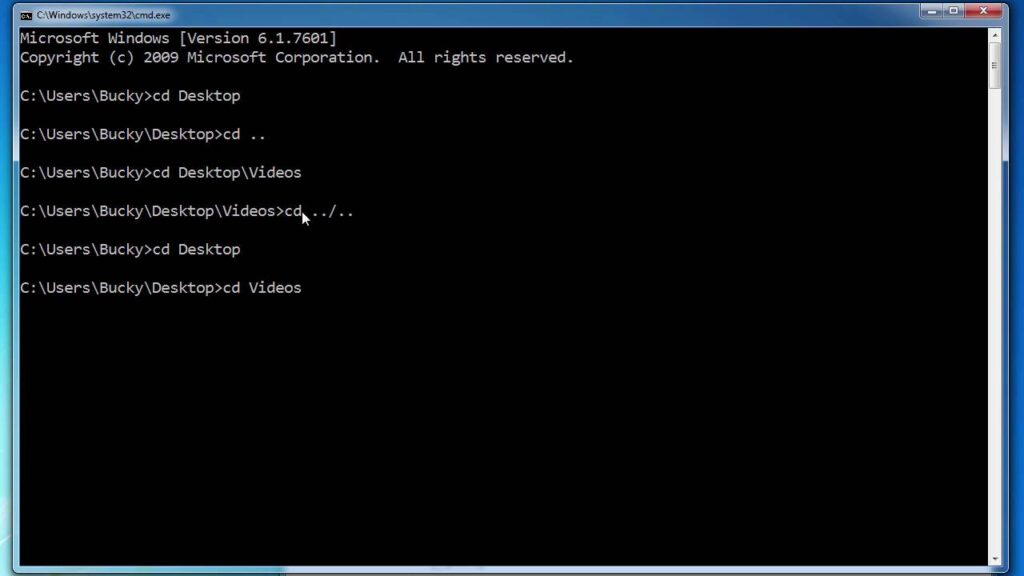
- Open the command prompt under the administrator privileges.
- Type in the command sc stop WinDefend and run the command.
- The above command will disable the windows defender.
- To re-enable the windows defender type sc start WinDefend.
The above method is a temporary way to actually enable/disable the windows defender mode in the system, the settings will automatically revert back to the default systems. It is better to enable the settings to a permanent order or you will have difficulties in doing the whole thing over and over again with frequent toggling between enabling and disabling the actual content.
To do the changes permanently all you need to do is to type in the following command. To disable the windows defender permanently all you need to do is to type in
sc config WinDefend start=disabled
sc stop WinDefend
To enable the windows defender permanently all you need to do is type in
sc config WinDefend start=auto
sc stop WinDefend
Now after you are done typing with the actual commands you might have a doubt whether you have typed in the right command. For that, just type -in
sc query WinDefend
once the dialog box opens look for the STATE variable. It should be RUNNING if It is enabled.
Using PowerShell
With the recent replacements with command prompt in the Windows operating system, the replacement operation is the windows power shell. The Windows PowerShell is much more powerful than the Windows command prompt in many ways. You can do the same thing you did with command prompt but on multiple computers that are connected in the network. Follow the following steps so that they will enable/disable the windows defender using PowerShell.
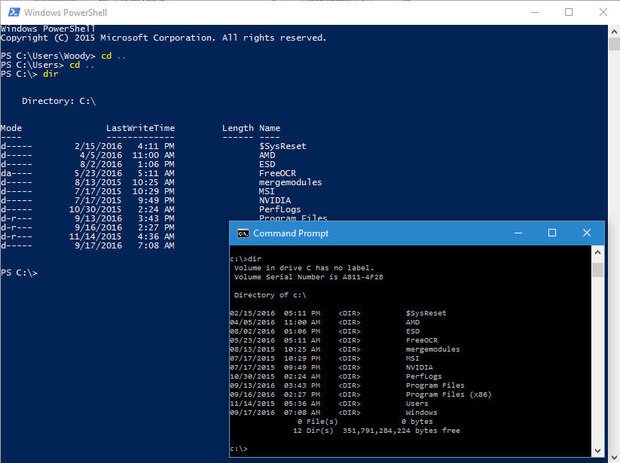
- Run PowerShell with administrative privileges. Press Windows+ X + A.
- If you want to disable the windows defender, then all you need to do is run the following command:
Set-MPPreference-DisableRealtimeMonitoring $true - if you want to enable the windows defender, then run the following command
Set-MPPreference-DisableRealtimeMonitoring $false
If you feel that the windows defender is annoying and disturbing your day to day works, then it is high time that you uninstall windows defender. But remember you are at serious risk if you dint have a backup defender. Run the following command.
Uninstall-WindowsFeature -Name Windows-Defender
Using Settings
- open the settings option from the start.
- Go to Update & security and in that select windows security.
- Go to the virus and protection option and toggle off the real-time protection.
This will toggle off the windows defender and will not enable unless you do so.
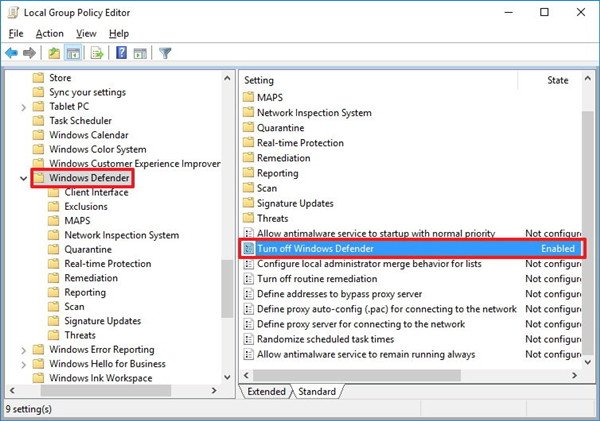
Using Group Policy
This method is highly recommended for the system admins as it would be the most ergonomic way of disabling/enabling the windows defender. You can use the group policy editor to do the same.
- Open Group Policy Editor.
- After that go under the computer configuration and follow the path mentioned below Administrative Templates –> windows components –> windows defender antivirus.
- In the right-hand pane, under the option turn off the windows defender option click on the radio button to enable. This will, in turn, disable the windows defender.
This is applicable to both the local user policy as well as the domain group policyholders.
Altering the Windows Registry
Altering the registry keys or tampering with it is another efficient way off disabling the windows defender permanently.
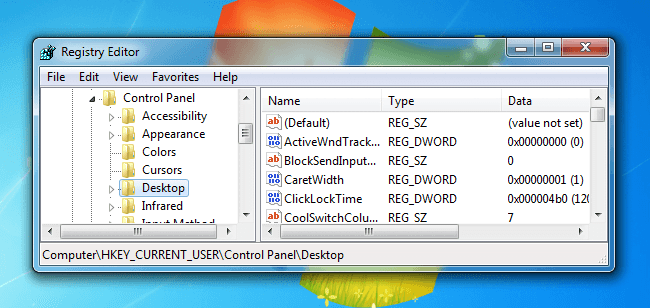
- Go Run –> Regedit.
- Now all you have to do is to navigate to the following key: HKEY_LOCAL_MACHINE\SOFTWARE\Policies\Microsoft\Windows Defender
- In the right-hand windows, pane right-click where there is an empty space and type in DWORD or any 32-bit value you know.
- Rename the whole thing to DisableAntiSpyware.
- Double click on the item and change the value to 1.
The process we have done is nothing but hampering with the registry key so that the windows defender would not load the second time we try rebooting the system.
Such a fair warning, that disabling the windows defender firewall will lead to more and more virus intervention into your system and damage the files. Its best advised to browse the net and find a suitable anti-virus software program that wouldn’t disturb you unwantedly.


change the “- Disable…” to “-Disable…” to eliminate syntax error when copying the PS cmdlet examples.
Set-MPPreference- DisableRealtimeMonitoring
Thanks for your feedback. We have made the necessary changes.