It is great to have updates as they make your system sharper and work better than before. These updates can make things much easier for you and also encourage you to learn more about what your system can offer you. Automatic updates have become more common now than ever before with the kind of high-quality OSes that are coming in Windows 10 is one of them.
There are many automatic updates that take place on the system. These updates were created by designers who thought that the people who would use their software may not dedicate the time needed to make these updates themselves.
Have you ever had an update and thought “Well, I don’t really need that”? If you have, you are not in the minority as there are many people out there who may not be completely interested in the kind of updates that their system is presenting to them.
These updates can also take a really long time and you may even have to leave your system on overnight in order for the update to take place. Certain updates can also end up causing other pieces of software on your system to stop working properly. Thus, users want to be able to figure out what they have to do in order to ensure that these updates do not take place anymore without their knowledge.
If you want to learn how to stop automatic updates on Windows 10, you have come to the right place. Dive into our guide in order to find out more about how you can do so.
Also Read:- Fixed: Search Problems in Windows 10
Steps that should be followed to stop automatic updates on Windows 10
These are the steps that you should follow if you are interested in stopping automatic updates on Windows 10:
- If you are interested in disabling Windows 10 permanently, you can do so by following the given steps.
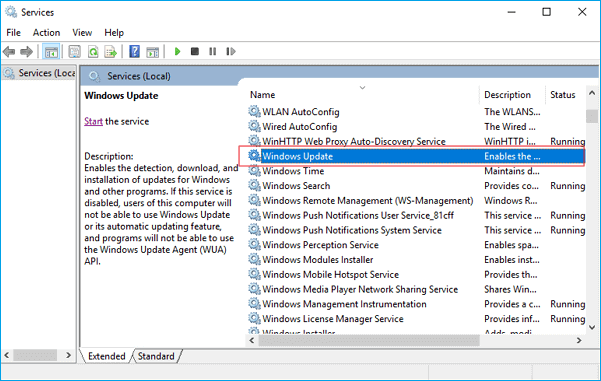
- You will have to use your keyboard shortcut in order to get to the service settings on your system.
- In order to get to the general settings, select Windows update service.
- Then, locate Disabled under Startup and click it.
- You will then have to click OK and restart your computer. Once you do this, all future Windows 10 automatic updates will be permanently disabled. In case you want to get the automatic updates again, all you will have to do is proceed with the same set of steps and choose the Automatic option when you get to it.
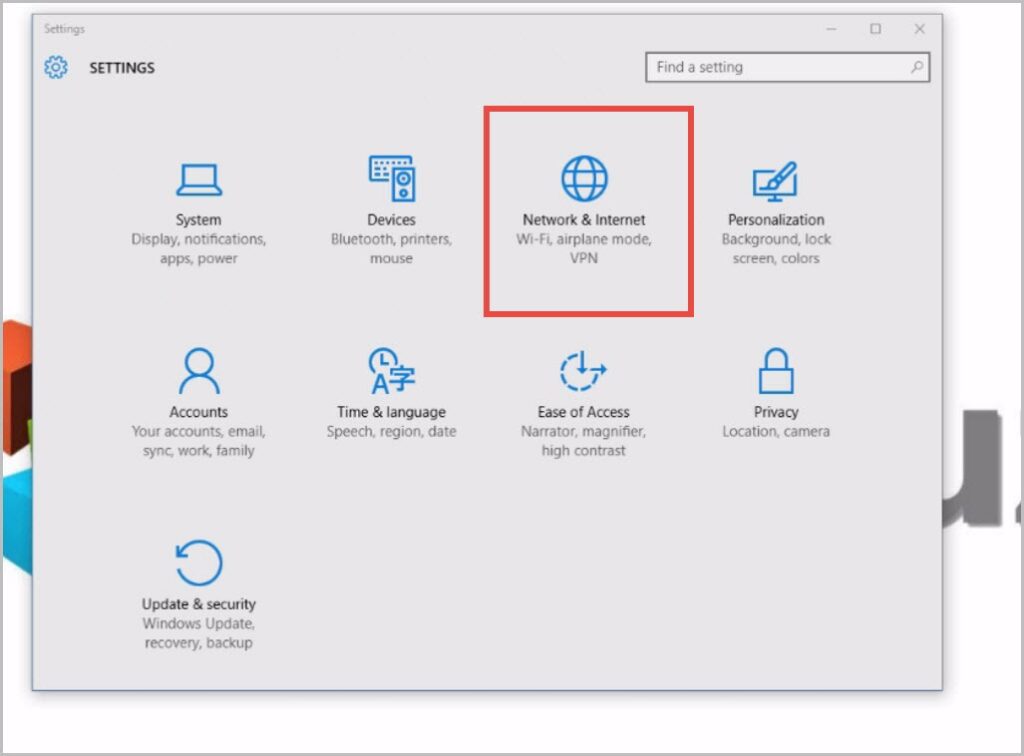
- In case you want to disable the updates through the settings on your computer, you can do so. You would have to first go to the Start menu and then click Settings. Once you do so, you will find Updates & Security at the bottom of the page. Click that.
- You must then select the Advanced Options tab. You will now be able to select the date from which you would want to pause your automatic updates temporarily.
- Since this solution is a temporary one, the updates will happen again after a certain point of time when they are absolutely required.
- If you are interested in stopping your updates through the help of the Registry, please read on.
- You would have to go to your Start menu like before and then type the word regedit. You would then have to click the option Registry Editor that pops up. You could also access the Run window by pressing a combination of the Windows key as well as R.
- In your open Registry Editor, there will be a key that when checked will prevent any unnecessary updates from being performed in the future. There will be options on the left-hand side of the screen that you will have to click in the following order: HKEY_LOCAL_MACHINE, SOFTWARE, Microsoft, Windows, Current Version, Windows Update, and OS upgrade.
- You will then have to enter the appropriate value that you need to in order to stop the system from performing any more updates. You will have to right-click on the key and select New. Then, select DWORD Value. If you do this, a new value will be created and you will have to rename it as Allow OS Upgrade.
- You will then have to double-click this new file and ensure that the value that is present there is O. Check whether the hexadecimal box has been checked or not. After this, refresh the page and close the Registry Editor.
- If you are in a situation where you have already installed a particular update and you want to know how to uninstall it, this is what you will have to do. First, go to the Settings option on your computer. After doing this, click Update & Security.
- Then, select Delivery Optimization which will be available to you on the right-hand side of the menu. You can then click View Update History. You will then have to select Uninstall Updates.
- You will now have the option of uninstalling all of the updates that you want to.
We hope that you enjoyed reading everything that was there in the article. If we think about it, automatic updates are great as they allow our OS to get all of the updates that it needs in order to continue functioning smoothly. At the same time, there may be disadvantages to this as well as we have already outlined before. Being able to get rid of these updates that are already on your system or preventing further ones from happening is definitely a skill that will help you.
You will no longer have to wake up one day and be angry when a particular piece of software on your system is not working because of an unexpected automatic update. We would really appreciate it if you could share the information that you read in this article with others who may want or need to know how to prevent automatic updates from happening on Windows 10, just like you. If you do this, it will definitely benefit more people. If you have anything that you want to discuss with or ask us regarding the article, please feel free to do so in the comments section below.