Android applications are very widespread and are versatile. There are millions of Android applications and that’s more than what Windows or Mac has. Windows 11 is bringing in new features and functionalities. The first version of the OS has been released with some new features and the other features are lined up as cumulative updates. So, one new feature announced for Windows 11 is the Windows Subsystem for Android. Well, this feature will enable Windows users to use Android applications with the support of the Amazon App Store.
Google Play Stores is the leading Android app downloading the application as most android devices have this application and it has over million android applications for users to download. As Android is Google’s OS, Google Play Store is obviously be the best place to download android applications. Well, recently many other app stores have been developed and released by different tech companies. Some of the best alternatives for Google Play Stores will be Aptoide, APKMirror, Amazon Appstore, F-Droid, GetJar, GetAPK, and much more. Even with such diverse app stores, people usually go with the google play store as they come built-in the Android OS.
Well, if we think of App Store for Android, we all pretty well know that Google Play Store is the best place for applications but still Microsoft has partnered with Amazon App Store to provide the WSA feature. With Amazon App Store, the applications are limited and this will restrict your efficiency, for some reason Microsoft went with the Amazon App Store instead of the Google Play Store. So, with the limitations taken into considerations, users have been on the lookout for alternatives for Amazon App Store. So one of the tech enthusiasts has come up with a way to use Google Play Store for downloading applications. Well, the method for enabling Google Play Store on Windows 11 is a bit of a drag and it’s not beginner’s friendly. But still, if you wish to try it out do extensive research and proceed with the process. Here, this article will give you a step-by-step guide to running Google Play Store on Windows 11.
Recommended Post:- Windows 11 Update (Build 22000.X): Biggest Features Explained!
Start Using Google Play Stores on your Windows 11 System
Here is The Step-by-step Guide for Getting Google Play Store on Windows 11. Well, the method mentioned here is a bit complex and will involve commands, if you are a beginner, it’s better that you be careful while trying out the method.
- So, to begin with, you need to download the Windows Subsystem for Android. You can download the WSA from Microsoft Stores. Before downloading check the system requirements.
- Once you have downloaded the WSA on your Windows 11 computer, you have to install the Windows Subsystem for Linux. To install the WSL, go to the PowerShell and then type in: wsl –install and hit enter in the terminal. Now download ubuntu from the Microsoft Stores.
- Now open the Ubuntu terminal and then enter sudo apt-get update and hit enter.
- Now, type in: sudo apt install unzip lzip and hit enter.
- Now, you can head to the OpenGApps and create a package with; platform: x86_64, OS: Android 11, and Varian: Pico on OpenGApps.
- Once done, download the 7zip and extract the .msixbundle of the WSA and locate the Msixbundle suitable for your computer architecture.
- Now in the Ubuntu terminal enter: the following command:
- git clone https://github.com/ADeltaX/WSAGAScript
- cd WSAGAScript/\#IMAGES
- mv /mnt/path-to-extracted-msix/*.img .
- cd ../\#GAPPS
- cp /mnt/path-to-downloaded-gapps/*.zip .
- The command will download the necessary filee to run the WSAGA script.
- Once done, you can run some of the executable commands:
- cd..
- sudo chmod +x extract_gapps_pico.sh
- sudo chmod +x extend_and_mount_images.sh
- sudo chmod +x apply.sh
- sudo chmod +x unmount_images.sh
- Now change the root directory of the variables.sh using the command: pwd.
- Now enter the command: nano VARIABLES.sh ad hit enter.
- once done, type in:
- sudo ./extract_gapps_pico.sh
- sudo ./extend_and_mount_images.sh
- sudo ./apply.sh
- sudo ./unmount_images.sh
- Now you should run the command, this will copy the modified WSA image:
- cd \#IMAGES
- cp *.img /mnt/path-to-extracted-msix/
- Now, register and to do that, enable the developer mode in WSA and run add-appxPackage-Register path-tp\o-extracted-msix\AppxManifest.xml.
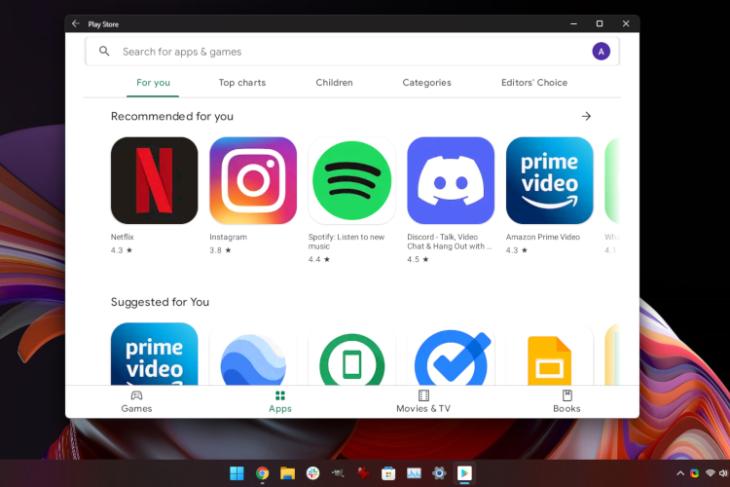
- Now the WSA will install the apps and files for play store.
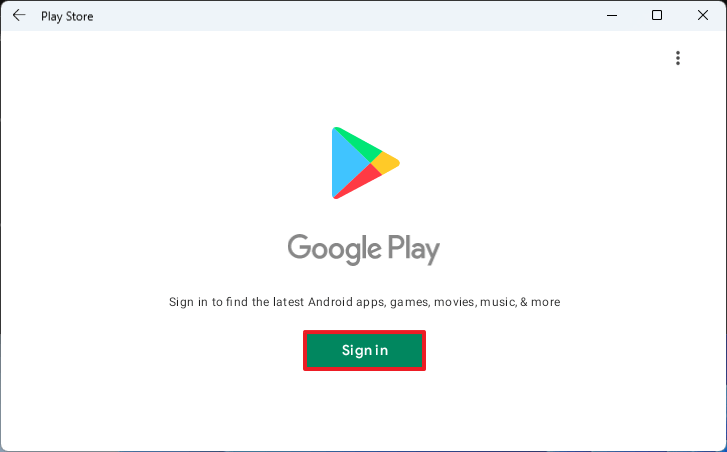
- Well, with all this done, you can now sign in to Google Play Store and to do that, copy the kernel file from Gothub and then paste it in the tools folder, replacing the kernel file in the extracted msix.
- Once done with replacing the kernel, you need to enter the ADb shell and run this command:
- Su
- Setenforce 0
Well, this is how you can install Google Play Store on your Windows 11 computer. Well, the process may seem a bit easy but it is very difficult to get things right, for beginners, it’s better that you don’t try the method, or if you do so, be cautious and do it on your own risk. So, if you are done with installing the Google Play Store, you can download and use any supported application on your Windows 11 computer with the help of WSA.
Hope the information provided above was helpful and informative. Try to install the Google Play store on your Windows 11 computer and enjoy downloading all sorts of supported Android applications on your computer.