Have you ever tried to interact with a particular setting and been unable to? Has it ever really surprised you and made you scratch your head? If you don’t know what has happened, you have basically come across a grayed out setting. When this situation comes along, you will not be able to enable or disable the features that you want.
This may occur when you have configured some Group Policy Object or ended up changing certain settings automatically. If this has happened to you, you can easily get rid of this issue by making use of the Group Policy Editor. You can undo all of the important changes that you have made so that all of your settings are available to you again the way that you want them to be.
In case this does not work out for you immediately the way that you want it to, you can check out the guide that we have for you. You can follow the steps that are given so you can get an idea of what has to be done to restore your settings back to normal.
Also Read:- How to Make a Complete Backup of your Windows 10 PC – Complete Steps
Steps to follow in order to fix Greyed-out settings on Windows 10
These are the steps that you can follow if you want to fix the settings that have been grayed out on your system:
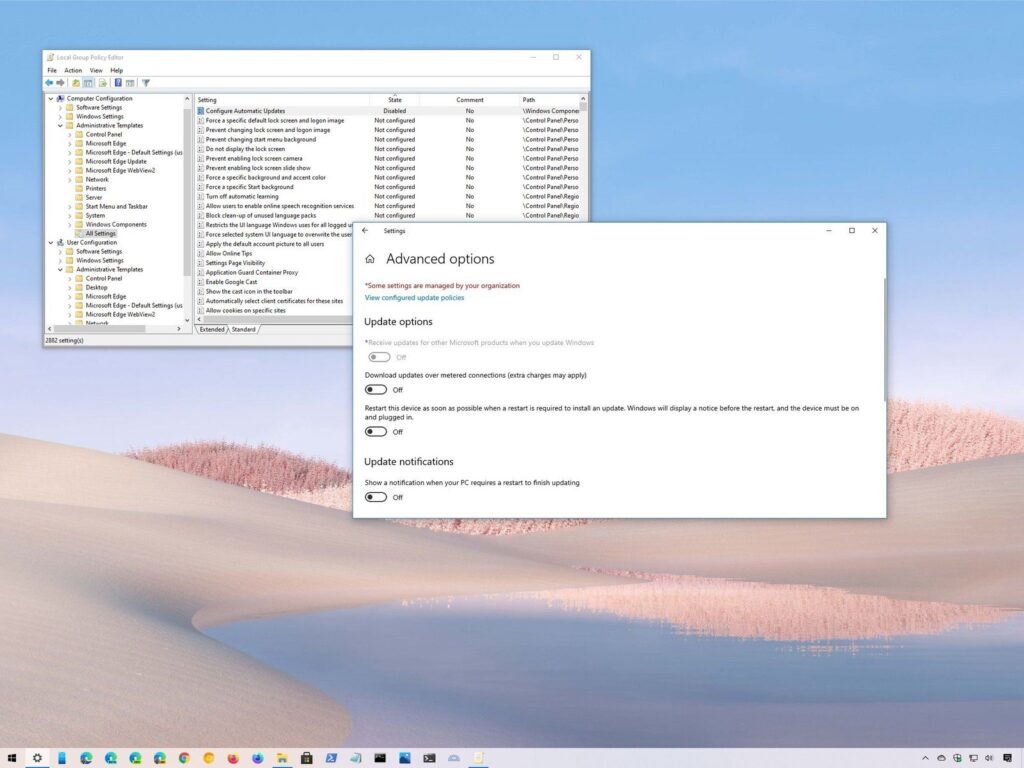
- You will have to first go to the Start menu on your computer. When you do that, you will have to type out gpedit,msc, and then hit the Ok button. If you do this, you can access the Local Group Policy Editor console.
- You will then have to visit the following in the order in which they are specified: Computer Configuration, Administrative Templates, and All Settings.
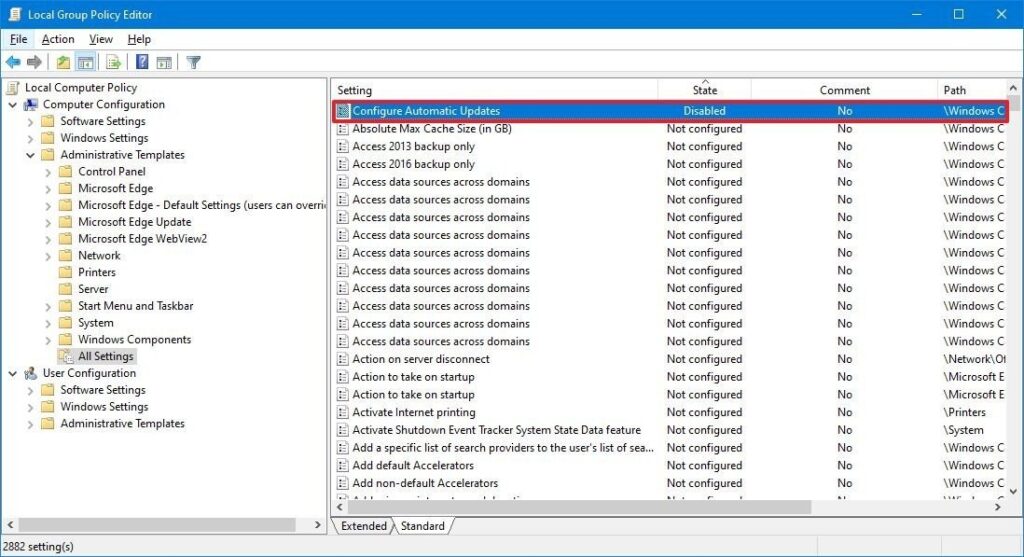
- You will then have to select the State column header so that you can determine which of the policies on your system have been enabled or disabled.
- You will then have to select the policy that is creating the grayed out setting problem for you. You will then have to click the option that says Not Configured.
- If you adjust your settings inside of your policy instead of using your Settings app, you will be able to enable or disable the policy that you want. You will have to click the Apply button so that you can proceed. The Ok button is what you have to click after this.
- You should then visit the given settings in the order that is specified: User Configuration, Administrative Templates, and All Settings.
- After you have done this, you will have to select the State column header so that you can organise the list that is there to find out which policies have been enabled or disabled.
- You will then have to select the policy that is creating all of the problems for your setting.
- Then, choose the Not Configured option and click the Apply button. Hit the Ok button after you are done with this.
- You will have to restart your Settings app when you are done with all of the steps that have been mentioned. If you do this, the setting that you were trying to access before will now probably no longer be grayed out.
- In case the policy that is related to the setting has been greyed out, you will have to attempt to enable and disable the policy and find out whether that fixes the problem.
- In case this solution does not work, it could be because there is some sort of problem with some feature that is there in the Registry. You may have to look for some other solution in case you have this problem to deal with.
- There may be a situation where your system is connected to some sort of corporate network. In that case, you will have to get in touch with your system administrator so that the policy can be disabled or the feature can get the needed adjustments.
- In case all of your personalisation settings turn out to be grayed out, that merely means that you have not activated Windows 10 yet. If this is what you are dealing with, you have to select the Activate Windows now option. You should then choose the Change product key option so that the installation option gets activated. In case the installation has already been activated, you should take the necessary steps to troubleshoot and resolve the issue.
- The first thing that you will have to do after this hardware change is open Settings and then click on Update & Security. You should then click on the Activation option.
- There will be an option called Troubleshoot that can be found beneath Windows. You will have to click I changed hardware on this device.
- Then, you need to confirm all of the account security details that you have for your Microsoft account. Go hit the sign-in button after you are done. If the installation that you are reactivating already exists, you will not receive any prompts to enter in again.
- You will now have to choose the device that you want to reactivate.
- In case the device that you are using is not present on the list given, go to the other option available and choose your device from there.
- After you do that, you will have to select the option that allows you to indicate that you are using the particular device. You will then have to click the Activate button so that you can proceed with using Windows 10.
It can be incredibly frustrating to have to deal with something like Grayed-out settings. You may be wondering why such a thing has happened and have trouble dealing with it. We hope that you now have a much better idea of what you have to do to cope in case something like this happens to you. If you have anything that you would like to share about your experience with Grayed-out settings that you could not access your Windows 10 system, please feel free to do so in the comments section.