Print and cut software will allow you to design something on your computer and then have it printed out on whatever material you want. You will need an industry approved printer to use with the software. The software that we are going to discuss, FlexiSign Pro 8.1, is a type of print and cut software.
The software offers many impressive design tools that will allow you to enter, edit, and modify whatever you want on the screen. After you are satisfied with it, you can select the printer button after placing the material of your choice under the printer. The design that was just created will be printed on it. You can then use a laser to cut out whatever you want neatly.
You may have been searching for some kind of print and cut software for printing your designs and did not know how to proceed. You can proceed to the guide below to learn more about what can be done with the software and how to get it on your system. Learn more about SAi FlexiSign Pro 2020, drop down to ISO River page for the detailed insights.
Features of FlexiSign Pro 8.1
If you are interested in getting to know more about the stuff that the software can do, take a glance at the features of FlexiSign Pro 8.1 are listed here:
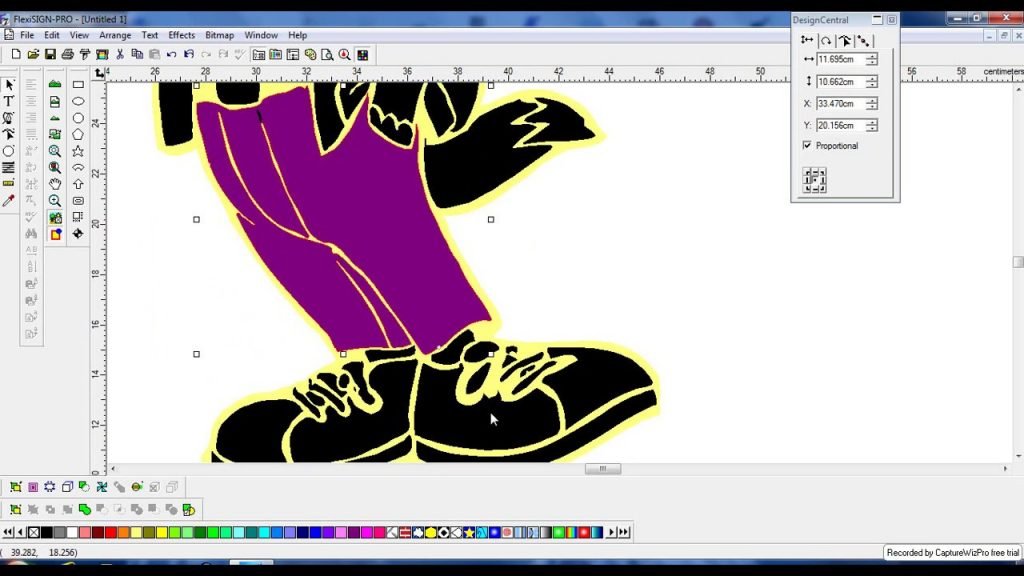
Vectorizing an image
You may have certain images that you want to convert into a vector format. Vector images are special images that are completely composed of lines and other mathematical shapes. If you have a normal pixel image, it can be easily conveyed into a vector image by the process of vectorization.
The user will have to use the Vectorize option that is available on the software once they have found the image that they want to vectorize and have selected it. Once this option has been made use of, you will be able to see the vectorized image and compare the differences between it as well as the original image.
Cutting a picture
If the user is interested in cutting a particular image, they can do so with the Crop tool that is available on the software. They have to follow a few steps in order to cut the picture. The first thing that they have to do is select the bitmap that they are interested in editing. They must go to the toolbar that is there specifically for the bitmap and then select the Crop tool. The user will have to drag their cursor over the bitmap so that they can make a marquee that has a rectangular shape. After they have done this, they should be able to create a marquee in the form of a square by shifting and dragging.
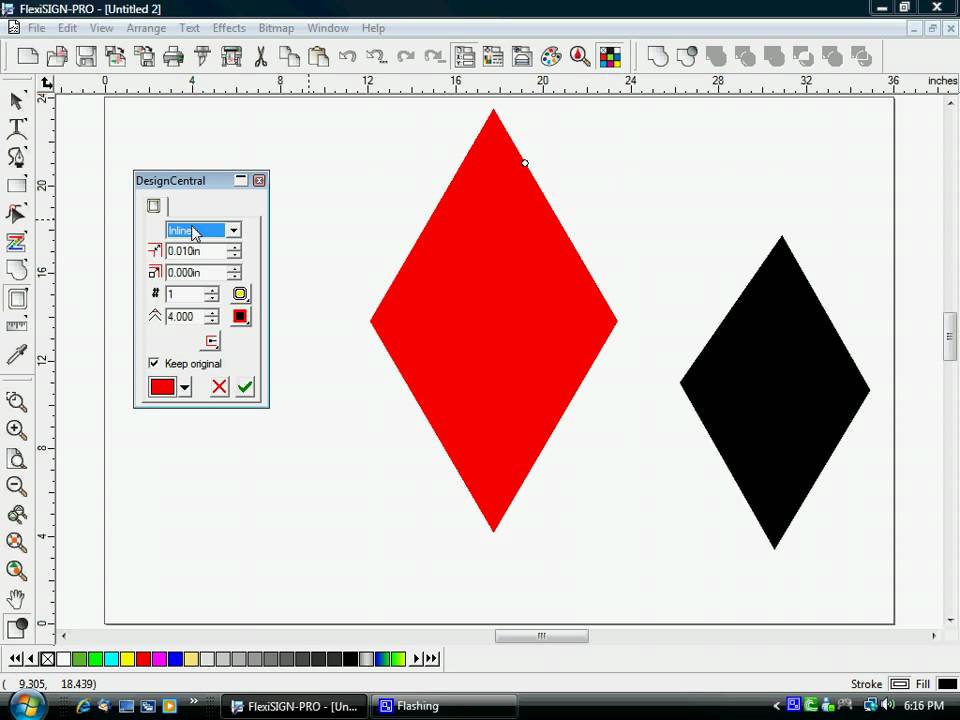
Contour cutting
This is the process that can help the user cut around the outer edge of a particular image in a certain way and shape. This can also be done by following the contour of the design. In order to do this on the software, the user will have to select the design and click on Design Central. The user can either choose the Contour, Rectangle or Square option depending on the kind of look that they want to achieve.
They will be able to enter the kind of measurements they want for the contour manually if they want to(selecting the right offset value). The user will then have to confirm that these are the measurements that they want by clicking on the checkmark that is present in the Design Central box. The user can cut both the inside and outside of the contour if they wish to do so. The options that are available are round, mitre, and sharp.
Downloading and installing FlexiSign Pro 8.1
If you have gotten interested in this software and want to learn how to download it so you can use it yourself, look at the steps below here to learn how:
- The user should search for a website that has a download of FlexiSign Pro 8.1 available. Once they have done so, they should then enter the website.
- A free download link for the software should be searched for on the website. Once the link has been located, the user can proceed by clicking on it.
- Clicking on the link will cause the executable file to be downloaded which means that you are on your way to using the software! The user will now have to wait patiently for the executable file to be downloaded.
- The user can now move their cursor over to the executable file and click on it. When they click on it, the system will ask them if they are ok with the applications making changes to the system. They have to agree to this in order to proceed with the installation process. Once they have done so, the installer will get triggered, opening up the dialog box before the user.
- The user will have to first select Next when they see the first part of the box. They will then be directed to the next part of it where they have to choose the location on their system where they want the software to be installed. Once this is done, they can click on the Next button.
- The user will then have the option of creating their own special shortcut for the software on their system so that they will be able to access it with more ease. They must choose a location for this if they are interested. They can click on Next after doing this.
- In the next part of the box, the user can perform any additional tasks that they may want to. They must select Next after this.
- Finally, the user will have to select the Install button to let the installation process take place and can review the choices that they have made so far using the Back button.
Are you excited thinking about all the cool tools you get to use after you download this software? We can’t blame you and hope you have a great time using this software. If there is anything else you want to ask us, please feel free to do so in the comments section below.


app downlod
sir need flexisign pro 8.1 windows 10 64bit
muje flexi 8.1 chayie