All computers in recent times have been developed and equipped with networking features to allow users to access networks efficiently. With the onset of the internet and its popularization, networking has become widely used and embraced. Several tech firms and corporations develop powerful networking abilities to provide users with great functionalities with their devices. The internet has become a very vast and ever-growing platform. Around 4 billion people use it every day. This obligates tech companies to provide their users with the best networking features, so users can access uninterrupted internet.
Microsoft, being one of the largest tech providers, has made sure that their Windows OSes are equipped with powerful networking features, letting users access uninterrupted networking features. Windows OSes has always been providing great networking features. And have done the same with their latest OS release the Windows 10 with some significant improvements.

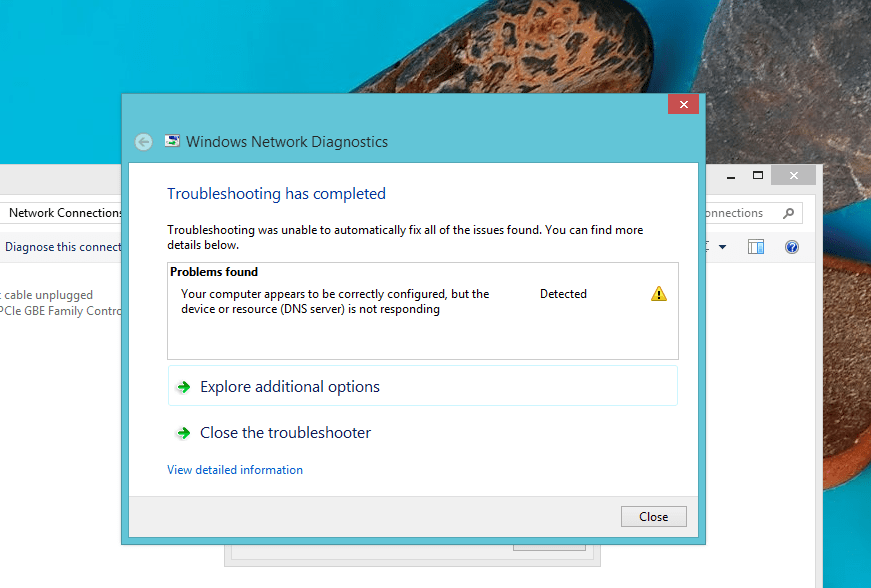
DNS is one of the networking features built into the OS, which comprises important network protocols like IP and TCP. It functions as a phonebook for websites and helps users reach the correct website. DNS does a very important job of corresponding the web address to the IP address, so the user gets to the correct website. This is necessary because computers address websites with IP addresses but humans use domain names to address the website, and there needs to be a bridge that aligns both. Without a DNS, surfing the internet will be very difficult and we users need to remember the IP address of thousands of websites. Which is practically very difficult.
With the DNS being faulty, surfing the internet becomes difficult and sometimes you cannot use the internet anymore. To start using the internet on the device, you need to fix the DNS. Recently many Windows 10 users have come across the DNS issue on their computer. So, we have compiled some solutions to fix the issue, which you can use and resolve the issue and use the internet effectively. Some of these methods will require you to access some of the unfamiliar features of the OS, so you need to follow these methods precisely, so you don’t wreck anything else in the computer. Even though the methods are complex, you can follow them easily with the guide mentioned below.
Recommended Post:- How to Fix ERROR_WRITE_FAULT 0x0000001D on Windows 10
Here are some of the Methods to fix the DNS Issue in Windows 10
Fixing the DNS issue takes priority, so, here are some of the methods that you could use to fix the issue on your computer. The methods are explained neatly, so you can use them effectively.
Method 1: Use Command Prompt to fix the Issue
Command prompt is a pretty neat tool provided in the Windows OS. it can be used to run commands to do different things, which can not be normally be done using the interface.
- Open the command prompt as an administrator by searching for the command prompt in the search bar and right-click on the icon and choose run as an administrator.
- Now in the command prompt terminal, run some commands in the prompt.
- Here are some commands that you need to run:
- ipconfig /flushdns.
- ipconfig /registerdns.
- ipconfig /release.
- ipconfig /renew.
- NETSH winsock reset catalog.
- NETSH int ipv4 reset reset.log.
- NETSH int ipv6 reset reset.log.
- Run all these commands individually by entering each command and hitting the enter button after each command.
- Once done running these commands exit the command prompt.
- This probably would have fixed the issue with the DNS on your computer. If you still face any issue, try some of the other methods mentioned below.
Method 2: Reinstall the Network Drivers
DNS can fail at times because of faulty drivers. You can fix the DNS by reinstalling the networking drivers.
- To reinstall the network drivers on your computer, open the device manager by searching for device manager in the search bar.
- In the device manager, look for drivers related to networking.
- You will find many drivers installed under the network drivers. Just right click on each driver and uninstall them.
- Once you have uninstalled the drivers, click on the scan for hardware changes option from the top of the device manager screen.
- Once the hardwares is scanned the uninstalled drivers will be reinstalled on the computer.
- You can also update the drivers instead of reinstalling them, you just have to click on update drivers in the menu bar.
Method 3: Reinstall Winsock keys on your Computer
- Open the registry editor by opening the Run command and then running the command regedit.msc.
- Now, in the registry editor, navigate to this location “ComputerHKEY_LOCAL_MACHINE”.
- Now, go to “SYSTEMCurrentControlSetServices”.
- Here select the Winsock and Winsock 2 keys and export them separately by right-clicking on the keys and selecting export.
- Once you have exported both the keys, restart your computer.
- Once the computer restarts, open the registry editor and then import the keys from the location you previously exported it to.
- Click on the file option and select import from the menu.
- Once dne restart the computer.

Method 4: Clean Boot your Computer
Clean booting your computer will probably solve simple issues on your computer.
- To clean boot the computer. Open the Run command by pressing the Windows key and the R key.
- Now in the run command window, enter msconfig and hit enter.
- Here go to the service tab and click on the hide all Microsoft services.
- Once done, click on disable all. This will disable all the third-party services in the computer.
- Once done, open the task manager by pressing the control key and then the shift key and then the escape key all at the same time.
- Here go to the startups tab and then disable all the applications.
- Now, restart the computer.
Hope the information provided above was helpful and informative, make sure you fix the issue with DNS, so you can surf the internet efficiently and work on the web.