The performance of a Windows computer depends on several factors and some of the major components involved in deciding the performance of the computer are the central processing unit(CPU), Graphics processing unit(GPU) and Random Access Memory(RAM). Well, these three components play a major role in deciding how fast the computer can process information. Well, in this article we will explore how to natively display CPU, GPU and RAM usage on Windows 11.
If you are unaware of the proper functioning of the CPU, RAM and GPU, here is a glim of what they do and why they are necessary for the computer. Well, the CPU, GPU and RAM are the power components in the computer where the CPU processes all the information in the computer and the RAM carries the information from the hard disk to the CPU for processing. So, the higher the RAM, the faster the processing. This is because a high-end RAM will be able to carry a large amount of information compared to a low end one. Now, the function of the GPU is to process graphical components and this is pretty important for gamers and other graphic intensive users.
So, with these three components being very important, their efficient functioning is very much important. Windows OS is efficient in optimizing its utilization and provides better performance. Well, Windows 11 is a recently released one, the specification is a bit higher than Windows 10.
Well, these three components are not so important for normal users, unless the computer is troubling you by being slow or heating up quickly, but for extreme users like gamers and graphic designers, proper functioning of these components is very important. Well, all games and design software depends mostly on these components and any shortcoming with the functioning of these components will disrupt the gaming experience.
Well, in Windows OS, the RAM, CPU and GPU can be monitored, so their function can be tracked. With tracking, you can understand how efficiently these components work to provide the necessary performance.
So, viewing their efficiency on a Windows 11 computer is much easier. So, here are some methods you can try to see the CPU, GPU and RAM usage natively on Windows 11.
Recommended Post:- Install Group Policy Management on Windows 10 – Complete Guide
How to easily view the CPU, GPU and RAM usage on Windows 11
Well, natively viewing the usage of these components is pretty easy, if you are aware of the Xbox game bar, it is a gaming utility tool that allows you to capture videos and record your gameplay. Along with these features you also view the CPU, GPU, and RAM usage natively on your computer.
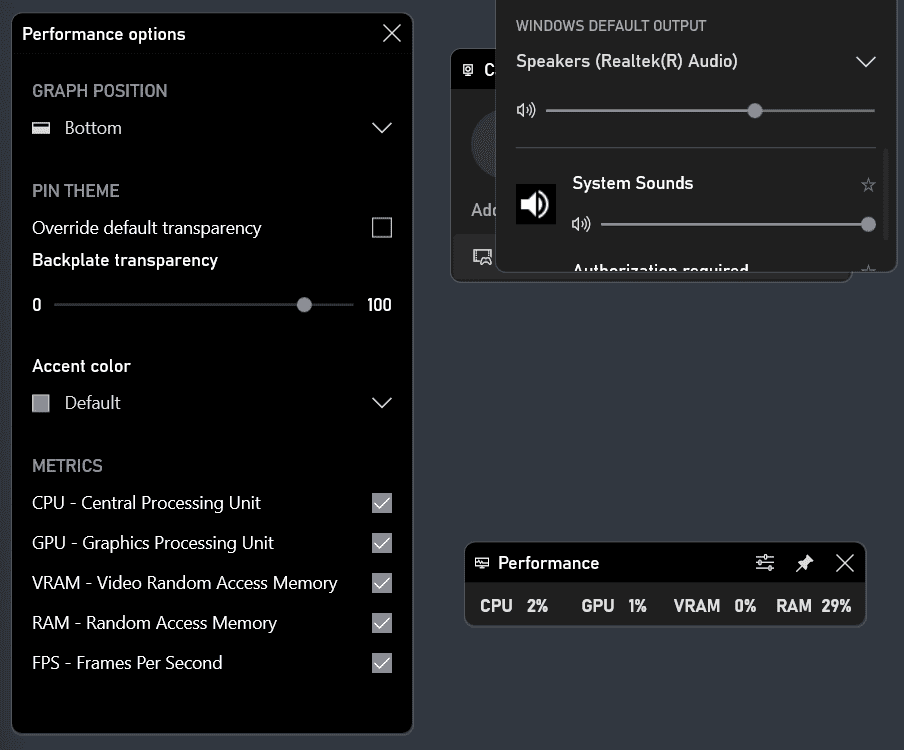
Method 1: Use Xbox Game Bar to Display the Usage of CPU, GPU, and RAM
- To use the Xbox game bar, press the keyboard shortcut Windows and G, here you will find an option called performance, click on it and you will see the CPU, GPU and RAM usage per cent.
Well, this is an easy one, and this screen will not be permanent and will go away if you click through it. There are many options available in the Xbox game bar, that you can explore and work well.
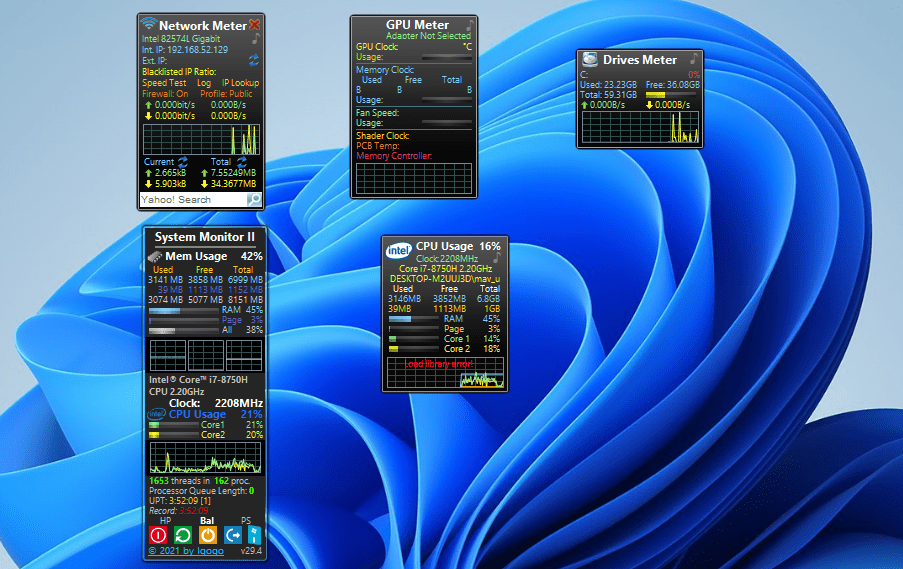
Method 2: Using Third-Party Tools to Display The CPU, GPU and RAM Usage on Windows 11
If you want a permanent view of these components’ usage, there are several third-party applications that you can download and run in the background. Well, displaying the usage of the CPU, GPU and RAM will provide you with a sense of how well the computer is working and how efficiently you can use the computer for performing high-end tasks.
Well, a third-party tool can be used on any Windows OS.
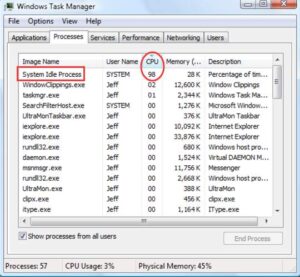
Method 3: Using the Task Manager to Display the Cpu, GPU and the Ram Usage
The task manager is a very easy to use the tool on the OS, it is one of the most important tools that allow users to control tasks on the computer.
The task manager has usage monitors and they can be used to display the usage of the CPU, GPU, and RAM on the screen natively with ease.
- To display the CPU, GPU and RAM usage on the computer, open the task manager tool by pressing the control + shift + escape key on the keyboard.
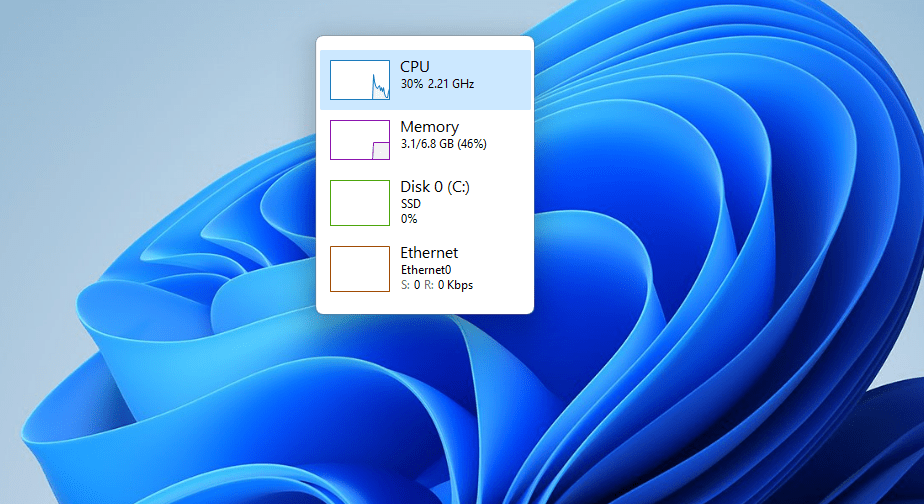
- Here, in the task manager tool, go to the options and then select the option always on the top.
- Now once done, go to the performance tab and then double-click on the left side pane with the miniature monitors.
- This will compact the task manager tool and display the CPU, GPU, RAM and Wi-Fi usage details, which you can track with ease.
Well, these are pretty much everything you can do to display the CPU, GPU and RAM usage on your Windows 11 computer. And according to some sources, Microsoft is about to release new widgets for Windows 11, that will allow third-party developers to develop widgets to natively run on Windows 11. Let’s hope that the new widgets pack comes with a usage display, so you can easily view the usage of the components in the computer.
Hope the information provided above was helpful and informative, with the usage tracker on display, you can track the activities with ease.