Automations has got lots of attention lately. Recent tech developments have been revolutionizing the world with lots of artificial intelligence-induced automation features. Repetitive functions and tasks can be automated to make working easier. Well, there are many automation features and functionalities that employ artificial intelligence to mimic human intelligence to perfect the automation. Even then there is not a single system that can automate everything and it is hoped that such a system will be built soon and our future generations can use powerful automation and artificial intelligence systems. Well, let’s not delve into much and leave the rest to the future. So, we are here to look at Windows 11’s new and powerful automation feature powered by Power Automate. This is one of its kind automation features and Microsoft had done a great job of integrating this feature in their brand new Windows OS.
As we all know, Windows 11 has been a sensation for the past few months. The OS has got a huge presence on the internet and the tech community went a bit crazy over the OS. Well, the OS was an unexpected one for many as Microsoft supposedly announced that Windows 10 would be their last major OS release. So, with the recent official release of Windows 11 users have flocked in to install the OS from Microsoft. The OS will be available for free until the mod of 2022, so every Windows 10 user with a compatible computer can get the OS free. The OS is being tested on and the features of the OS are being brought out by the enthusiasts for a better understanding of the OS. So, here in this article, one such feature will be elaborated and you can start using the feature on your Windows 11 and Windows 10 OS with ease.
Well, the feature we are about to explore is the Power Automate, which has been recently introduced into Windows 11 OS and also for Windows 10. It is basically an application that allows you to automate basic functions and actions on your Windows 11 computer. With the power to automate the application, you can easily follow up on emails, meetings and other professional aspects easier. Power Automate has been there in the Microsoft 365 package as “flow” but with the release of Windows 11, Microsoft has made the Power Automate a built-in application so, users can use it effectively.
Recommended Post:- Windows 11 Task Now Shows Microsoft Edge Processes in Detail
Features of the Power Automate Application
- You can automate your business processes.
- Send automatic reminders and dues of tasks.
- You can move data between systems on schedule.
- Easily automate local tasks on your computer.
- Easily publish a template.
- Schedule tasks and run them with ease.
- Integrate with MS Office applications and automate efficiently.
So, before learning to run the application here are some crucial information you need to know, to use the Power Automate application, you need to have a NET Framework 4.7.2 or higher. Once you are done with checking the .NET Framework, you can get into learning how to automate actions using the power automate.
How to Get Started with Power Automate on Windows 11
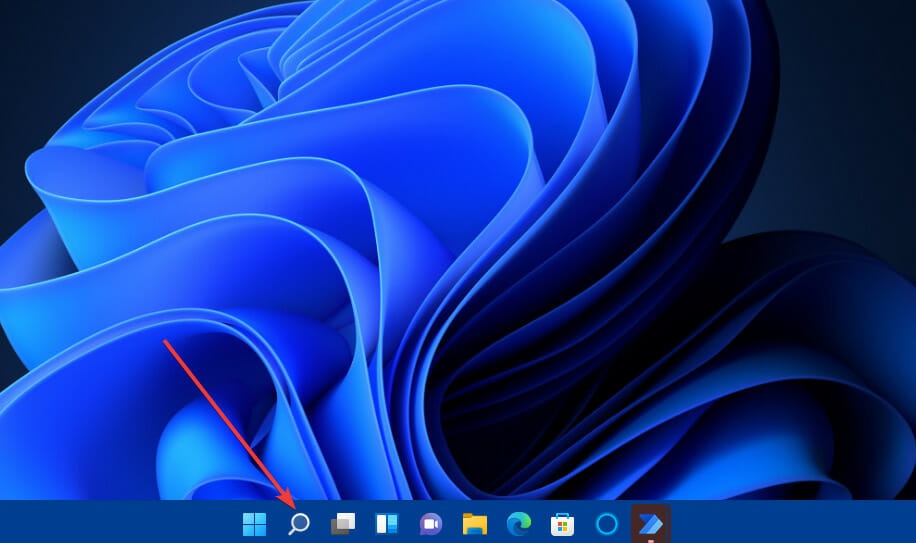
- First, go to the search bar and search for power automate.
- Now, click on the power automate tool to open it.
- Now, you need to sign in with your Microsoft credentials to use the application.
- Once you have signed in, you can start using the application.
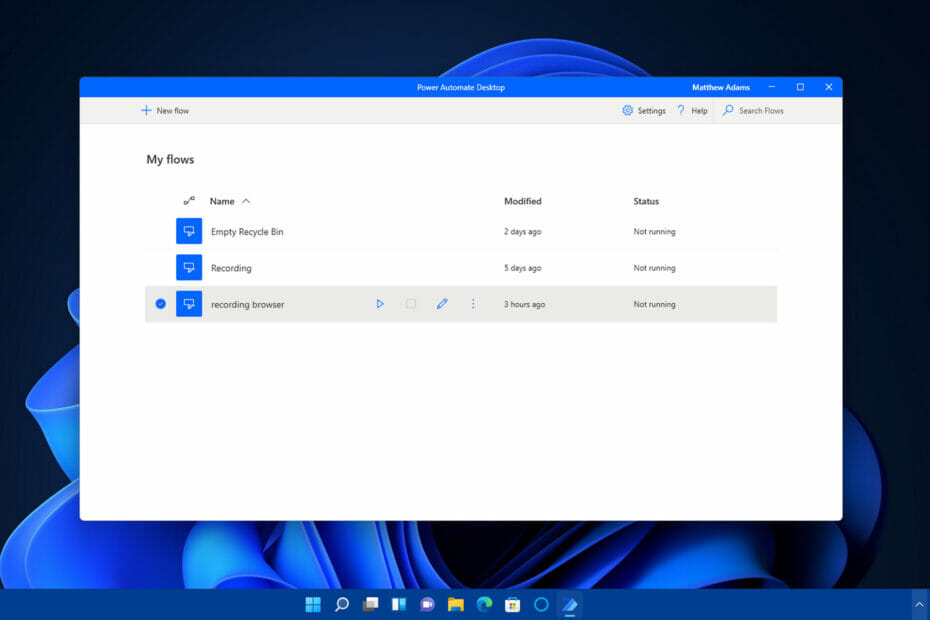
- Here, you can click on the new flow icon to create a flow.
- You have to name the flow and can start with the flow.
- You get to use different options in the application using which you can automate many things like, putting out a Twitter post, recording the desktop screen and m8uch more.
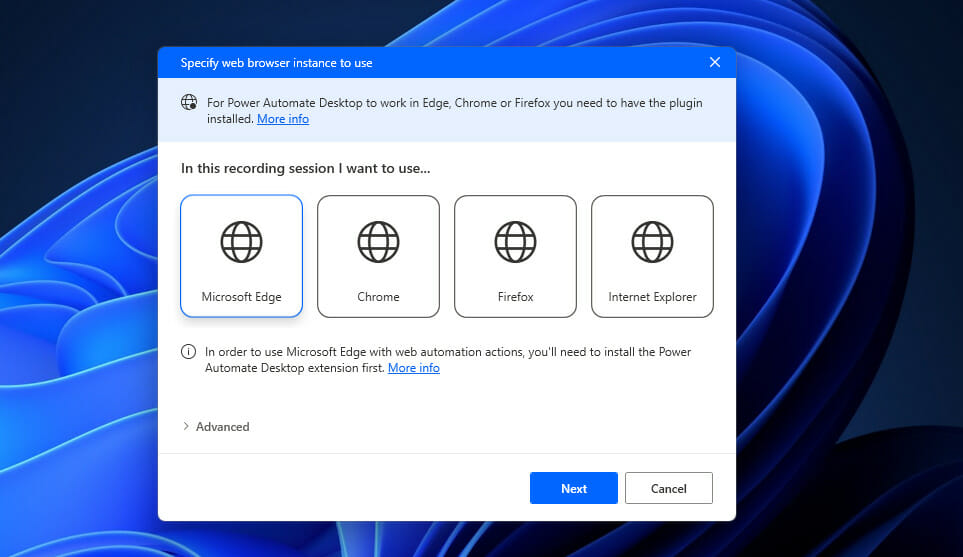
Well, it is not easy to explain the methods and process, so, if you are looking for a specific process, you can refer to the Microsoft documentation or try doing things by yourself. There are three options that you can choose from and depending on your usage, you can select from home user, professional and enterprise user. The home user option is free and the remaining two are paid ones. Apart from this, you can choose which flow, you want to use and choose from them. The three flow options are the cloud flows, the desktop flows, and the business process flows. So, you can choose the one that suits you and use it with ease.
Well, to make things simple, here is a simple step-by-step process to automate a simple task on the Power Automate application.
- Open the Power Automate (Flow) application.
- Select a template from the list. For instance, try the notify and email when a new file is uploaded to OneDrive.
- Select continue once you have selected.
- Select the OneDrive folder you want to use.
- Once you have selected the files, click on the save option.
- So, you have successfully automated the notify and email when a new file is uploaded to OneDrive.
- Well, this is just one simple thing you can do with Power Automate, you can perform various other tasks, just select an automation mode and follow the steps.
Well, the Power Automate application is relatively new and you can experiment with the features and options available and use the features to suit you well.
Hope the information provided above was helpful and informative. Sign in and have fun automating your day-to-day activities with the Power Automate application.